Have you ever found yourself staring at a wall covered in crayon art, wondering if it’s possible to give it a fresh coat of paint without making a mess? You’re not alone. Many of us have been there, whether it’s artwork from kids at home or old marks left on the walls of a new place.
In this article, we’ll dive into the world of painting over crayon marks. We’ll share some straightforward tips on how to cover those colorful scribbles and give your walls a clean, fresh look. Whether you’re a DIY enthusiast or just trying to tidy up, you’ll find helpful advice to make your walls look as good as new. So, let’s get started and turn those crayon-covered walls into a blank canvas again!
Understanding the Crayon Conundrum
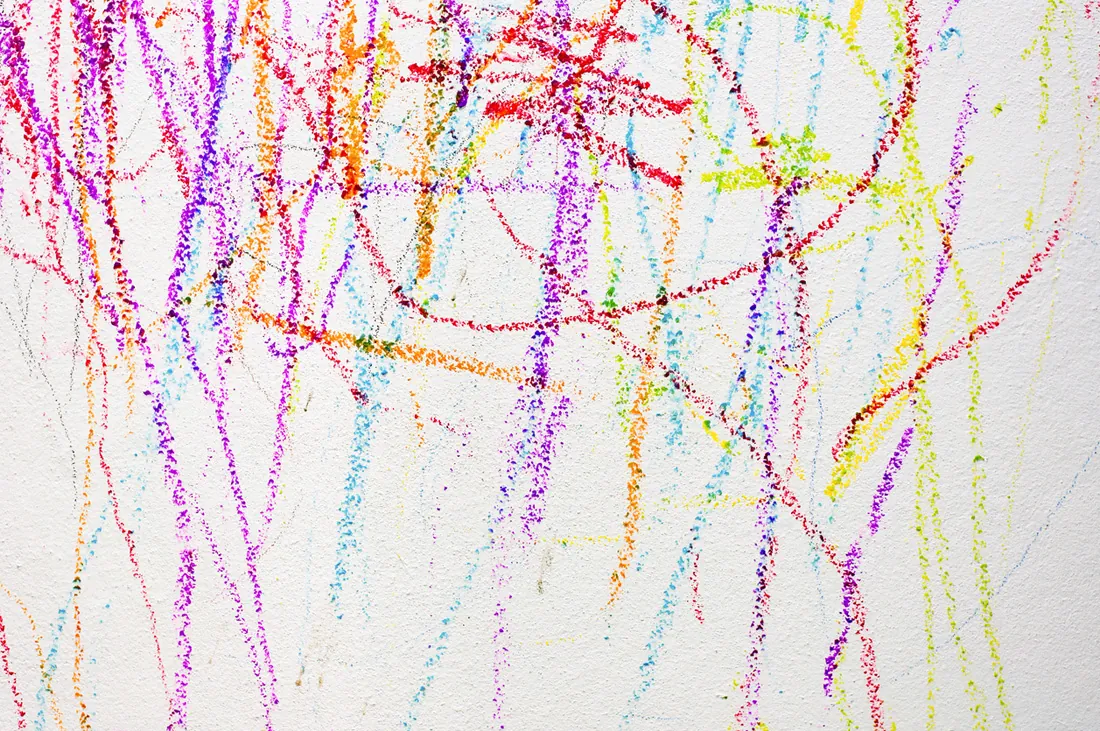
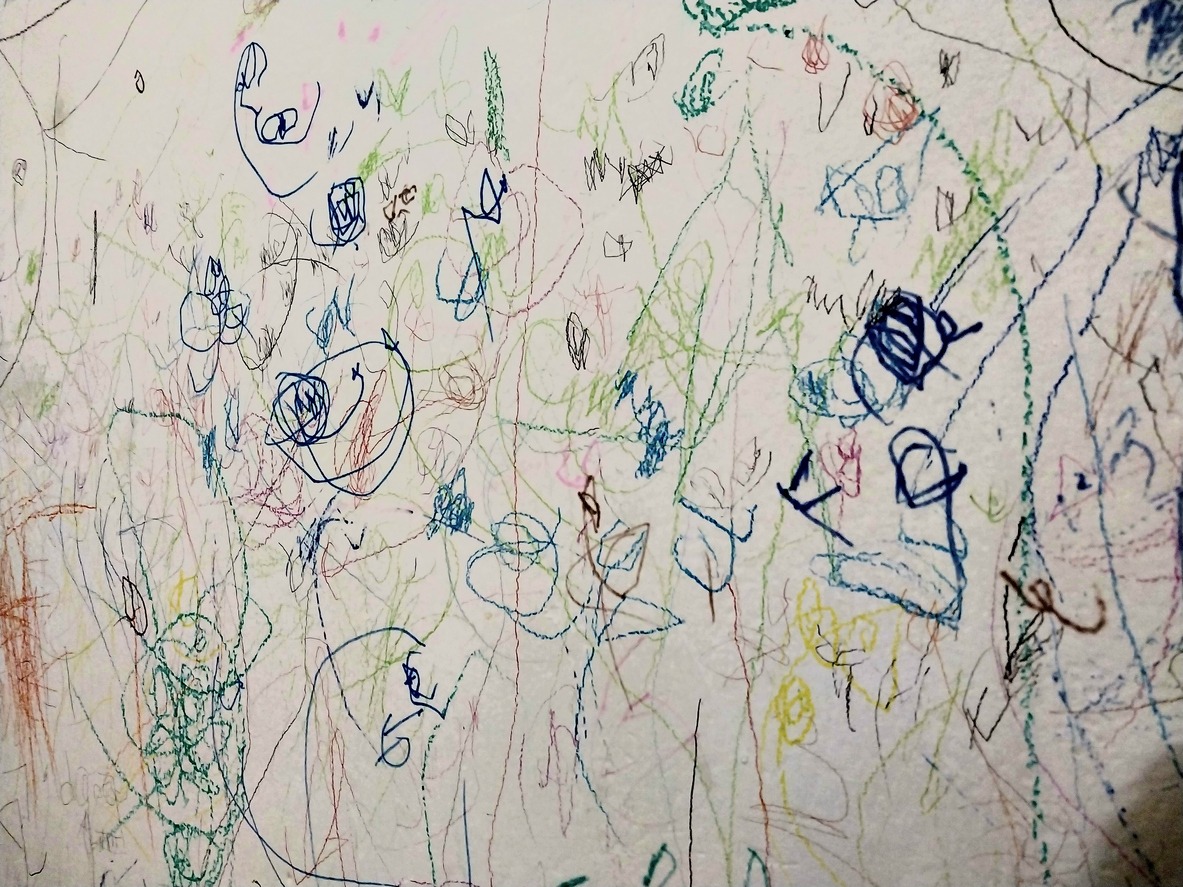
The Crayon Conundrum presents an intriguing challenge for homeowners, parents, and DIY enthusiasts alike. At the heart of this dilemma is a simple question: How does one effectively deal with crayon marks on walls? These colorful scribbles, often the work of young artists in the household, can transform a clean, elegant wall into a canvas of vibrant but unwanted artwork. Understanding this conundrum involves exploring the nature of crayon marks, their impact on home aesthetics, and the various strategies for addressing them.
Crayons, made primarily of wax and color pigments, adhere well to most wall surfaces, making them resistant to simple cleaning methods. This resistance is due to the waxy component, which repels water-based cleaning solutions. As a result, crayon marks can become a persistent sight in homes, especially in spaces dedicated to or frequently used by children.
The impact of these marks goes beyond the visual. They can signify a child’s creativity and development, turning the situation into a balancing act between preserving these expressions and maintaining a home’s decor. This dichotomy adds a layer of complexity to the Crayon Conundrum, making it not just a matter of cleaning but also of respecting the creative impulses of the home’s younger residents.
Addressing the Crayon Conundrum requires a multifaceted approach. It involves exploring various cleaning techniques that range from gentle soap and water to more robust solutions like baking soda or vinegar. Understanding the preparatory steps is crucial for those considering painting over the crayon marks. These include cleaning the walls, applying a primer that can seal the waxy marks, and choosing the right type of paint to ensure a clean, fresh look that lasts.
Pre-Painting Preparation
Before diving into painting over crayon-adorned walls, it’s essential to start with thorough preparation. This initial step is crucial for achieving a smooth, clean finish that looks professional and lasts longer.
Cleaning the Crayon Marks
The first task in your pre-painting preparation is to address the crayon marks directly. While your instinct might be to paint over them immediately, cleaning them as much as possible can significantly improve the final result.
Tips for Effectively Removing Crayons from Walls Using Common Household Items
- Baking Soda: A gentle yet effective abrasive. Dampen a cloth with water, dip it in baking soda, and gently scrub the crayon marks. The mild abrasive nature of baking soda helps lift the wax off without damaging the paint underneath.
- Vinegar: Its acidic nature can break down the wax. Apply white vinegar to a cloth and rub the marks gently. For stubborn areas, let the vinegar sit for a few minutes before wiping.
- WD-40: Though not a typical household cleaning product, it effectively removes crayon marks. Spray a small amount onto the marks, wait a moment, and then wipe clean with a cloth. Always test a small, inconspicuous area first to ensure it doesn’t affect the paint or wallpaper.
When to Opt for Professional Cleaning Solutions
If household items fail to remove the crayon effectively or the affected area is large and daunting, professional cleaning solutions might be the next step. Products designed to remove wax and grease can be more potent and efficient. However, these should be used cautiously and always according to the manufacturer’s instructions to avoid damaging the wall surface.
Surface Preparation is Key
After cleaning, the next step in your preparation should be ensuring the wall surface is perfectly ready for painting. This means the surface should be smooth, clean, and free of debris or oily residues that could interfere with paint adhesion.
Sanding the Crayon Marks: Techniques and Tips
Sanding might be necessary if the crayon has been applied heavily or if residue remains after cleaning. Use fine-grit sandpaper and gently sand the area in a circular motion to avoid damaging the wall. This process helps create a smooth surface and ensures better paint adhesion.
Importance of a Clean, Smooth Surface for Optimal Painting Results
The significance of starting with a clean, smooth surface cannot be overstated. Any imperfections, residues, or textures will likely show through the new paint, leading to unsatisfactory results. By investing time in thorough cleaning and sanding, you ensure the new paint adheres well and looks its best, giving your wall a fresh, new look that is both beautiful and durable.
Primer – Your Best Ally
When tackling the challenge of painting over crayon marks, primer is your best ally. A good quality primer can make all the difference between a paint job that looks professional and one that highlights every imperfection, including those stubborn crayon scribbles. Understanding the critical role of primer and how to apply it effectively is essential for achieving a flawless finish.
The Critical Role of Primer in Covering Crayon Marks
Primer serves several vital functions in the painting process, especially when dealing with crayon marks on walls:
- Adhesion: It provides a suitable surface for the paint to adhere to, ensuring it sticks well and lasts longer.
- Sealant: Primer acts as a sealant, locking in the crayon wax and preventing it from bleeding through the paint.
- Uniformity: It helps to create a uniform surface for painting, minimizing the visibility of any underlying marks or textures.
Recommendations for the Best Types of Primer for Hiding Crayon Under Paint
Oil-based or shellac-based primers are often recommended for covering crayon marks effectively due to their superior sealing properties. These primers are especially effective at preventing wax and other substances from bleeding through the new paint layer. Here are a couple of options:
- Oil-Based Primers: Known for their durability and sealing capabilities, they are excellent for covering crayon marks. However, they have a longer drying time and a stronger odor.
- Shellac-Based Primers: Shellac-based primers offer unparalleled sealing properties and are effective against various stains, including crayon marks. They dry quickly and can be used on both interior and exterior surfaces.
Step-by-Step Guide on Applying Primer Over Crayon Marks
Prepare the Area: Ensure the wall is clean and free from dust. Use a mild detergent or a wall cleaner to remove dirt or grease. Allow the wall to dry completely.
- Sand the Marks: Lightly sand the crayon marks to create a smoother surface. This step is optional but can help achieve a more uniform finish.
- Apply the Primer: Using a paintbrush or roller, apply the primer over the crayon marks. Begin with a thin layer, ensuring it’s evenly spread. For best results, use a brush or roller designed for oil-based or shellac-based products, depending on your choice of primer.
- Let It Dry: Allow the primer to dry completely. Check the product’s instructions for the recommended drying time. Some primers may require a longer drying period, especially in humid conditions.
- Inspect and Reapply if Necessary: Once the primer is dry, inspect the coverage. If crayon marks are still visible, apply a second coat of primer. Ensure the first layer is completely dry before adding another.
- Proceed with Painting: After the final layer of primer is dry and no crayon marks are visible, you’re ready to paint. The primer will have created an ideal surface for the paint to adhere to, ensuring a smooth and uniform finish.
Choosing the Right Paint
When embarking on a project to cover crayon marks and revitalize your walls, selecting the right paint is as crucial as the preparation that precedes it. The type of paint and finish you choose not only affects the appearance of your walls but also their durability and ease of maintenance. Understanding the nuances between different paint types and finishes can guide you to the best option for a successful and lasting transformation.
Insights into Paint Types and Finishes That Best Cover Crayon Marks
Paint Types:
- Latex Paint: Known for its ease of use and quick drying time, it is a popular choice for interior walls. It’s water-based, which makes cleanup easy with soap and water. Latex paint is also less odorous and environmentally harmful than its oil-based counterpart.
- Oil-Based Paint: This type of paint is prized for its durability and resistance to staining, making it an excellent option for areas that require frequent cleaning. Oil-based paint tends to provide a smoother finish over imperfections, which can be beneficial when covering crayon marks.
Finishes:
- Matte or Flat Finish: While this finish offers excellent coverage and hides imperfections well, it is less resistant to staining and harder to clean, which might not be ideal for walls with crayon marks.
- Eggshell and Satin Finishes: These finishes balance being easy to clean and hiding imperfections. They have a slight sheen that reflects light softly, which can help mask the remnants of crayon marks underneath.
- Semi-Gloss and Gloss Finishes: Highly durable and easy to clean, these finishes are ideal for high-traffic areas or spaces prone to dirt and grease. Their reflective properties, however, can highlight imperfections on the wall, so they’re generally not recommended for covering crayon marks unless the surface is flawlessly prepared.
The Benefits of Using High-Quality Paint for a Durable Finish
Investing in high-quality paint offers several advantages, especially when tackling the challenge of covering crayon marks:
- Superior Coverage: High-quality paints often require fewer coats to achieve full coverage, effectively concealing crayon marks and other imperfections with less effort.
- Durability: These paints are formulated to withstand cleaning, touching, and fading, ensuring your walls remain vibrant and mark-free for longer.
- Consistent Color: Premium paints tend to have better pigmentation, offering rich and consistent colors that do not fade over time or when cleaned.
- Easier Application: High-quality paint typically has better adhesion and leveling properties, making the application process smoother and reducing the likelihood of streaks or brush marks.
Painting Over Crayon – Techniques and Tips
Successfully painting over crayon marks, especially after priming, involves careful technique and attention to detail. Following the right steps can ensure even coverage, resulting in a clean and vibrant finish that brings new life to your space. Here’s how to tackle painting over primed surfaces where crayon marks used to be while avoiding common pitfalls that could compromise your results.
Detailed Instructions for Painting Over Primed Surfaces
- Choose the Right Paint: Use high-quality latex paint for optimal coverage over primed crayon marks. A satin or semi-gloss finish is often recommended for walls with a history of crayon markings, as these finishes are more durable and easier to clean.
- Select the Proper Tools: Use a high-quality roller with a nap suitable for the texture of your walls. For smooth walls, a short-nap roller is best. Brushes are useful for cutting in at corners and edges.
- Mix Your Paint Thoroughly: Before starting, thoroughly mix your paint to ensure a consistent color throughout your project. If using more than one can of paint, consider combining them in a large bucket to avoid color discrepancies.
- Cut In Around Edges: Begin by “cutting in,” which means painting the corners, edges, and trim with a brush. This step requires a steady hand or painter’s tape to protect areas you don’t want to be painted.
- Apply the First Coat: Start with the roller in the middle of the wall and roll the paint upwards and then downwards in a smooth, W-shaped pattern. This technique helps distribute the paint evenly and prevents roller marks. Be sure not to overload the roller to avoid drips and runs.
- Allow Proper Drying Time: Refer to the paint can for the recommended drying time before applying a second coat. Rushing this process can result in streaks or peeling.
- Apply the Second Coat (if necessary): A second coat may be needed for complete coverage over the primed crayon marks. Repeat the painting process, ensuring even coverage and allowing for adequate drying time.
How to Achieve Even Coverage and Avoid Common Painting Pitfalls
- Avoid Over-Brushing: When cutting in, avoid over-brushing, which can leave visible marks. Apply paint smoothly and evenly, then leave it to level out and dry.
- Maintain a Wet Edge: To prevent lap marks, maintain a wet edge by overlapping each stroke with the previous one before the paint dries.
- Don’t Paint on Damp Walls: Ensure the primed surface is completely dry before painting. Painting on a damp surface can lead to poor adhesion and longer drying times.
- Watch for Drips and Runs: Regularly inspect your work for drips or runs, especially near edges and corners. Use your brush or roller to smooth them out before they dry gently.
By following these techniques and tips, you can effectively paint over areas once covered in crayon, achieving a beautiful, even finish. Patience and attention to detail in each step—from priming to painting—will ensure your walls look their best and stand the test of time.
Conclusion
Painting over crayon marks on your walls can be straightforward with the right preparation, primer, and painting techniques. However, if you find the task daunting or desire a professional finish, don’t hesitate to call in the experts.
For those who prefer the assurance of top-quality results, Custom Painting, Inc. is here to help. Our team of professionals can transform your walls, ensuring a flawless finish that breathes new life into your space. For a hassle-free painting experience and impeccable results, contact Custom Painting, Inc. at 925-294-8062 or fill out our online form. Let us help you achieve the fresh, clean look your home deserves.