If you’ve ever looked at a piece of particle board and wondered if you could give it a fresh coat of paint, you’re not alone. Particle board is a popular material for furniture and home projects because it’s affordable and versatile. But when painting it, many people aren’t sure where to start. Can you paint particle board? And if so, what’s the best paint to use? In this post, we’ll discuss everything you need to know to transform that plain particleboard into something beautiful and durable.
What is Particle Board?
Particle board is an engineered wood product made from wood chips, sawmill shavings, or sawdust bonded with a synthetic resin or another suitable binder, which is then pressed and extruded. It’s known for being an economical option, making it a favorite for many DIY and home improvement projects. While it may not have the natural beauty of solid wood, it can be quite durable and functional when used correctly.
You might have heard of other materials like MDF (Medium Density Fiberboard) and plywood and wondered how they compare to particle board. Let’s break it down:
- Particle Board: As mentioned, particle board is made from small wood particles that are bonded together. It’s generally the most affordable option but can be less durable compared to MDF and plywood.
- MDF (Medium Density Fiberboard): MDF is made from wood fibers glued under heat and pressure. It’s denser and stronger than particle board, providing a smoother finish for painting. However, it’s also heavier and more expensive.
- Plywood: Plywood is made from thin layers of wood veneer glued together, with each layer’s grain running perpendicular to the one below it. This gives plywood strength and stability, making it ideal for various construction projects. It’s more durable and generally more expensive than both particle board and MDF.
Common Applications of Particle Boards in Home Projects
Despite its lower cost, particle board is versatile and used in various home projects. Some common applications include:
- Furniture: Many flat-pack furniture items, such as bookshelves and cabinets, are made from particle board because it is lightweight and easy to work with.
- Cabinetry: Kitchen and bathroom cabinets often use particle board for their structure, especially in the more budget-friendly options.
- Flooring: Particle board can be used for underlayment and subflooring, providing a stable base for other types of flooring.
- Decorative Panels: Particle boards can be veneered or laminated with a variety of finishes to create decorative wall panels and other design elements.
How to Prepare Particle Board for Painting
Preparing the surface properly before you start painting your particle board is crucial. This will ensure the paint adheres well and looks great. Here’s a guide to get you started.
1. Gather necessary materials and tools.
Here’s what you’ll need:
- Clean cloth or tack cloth
- Mild detergent or soap
- Sandpaper (medium and fine grit)
- Sanding block or electric sander
- Wood filler (if needed)
- Painter’s tape
- Primer suitable for particle board
- Paintbrushes or rollers
- Paint suitable for particle board
- Drop cloths or old newspapers
2. Clean the surface thoroughly.
Start by cleaning your particle board. Use a clean cloth with a mild detergent or soap mixed with water to wipe away any dust, dirt, or grease. This step is essential because any residue left on the board can prevent the paint from sticking properly. Once cleaned, let the surface dry completely.
3. Sand the particle board to create a smooth surface.
Next, it’s time to sand the particle board. Use medium-grit sandpaper (around 120 grit) to sand the entire surface. This helps to smooth out any rough spots and gives the paint a better surface to adhere to. Pay special attention to any edges and corners. After the initial sanding, switch to a finer grit (around 220 grit) for a smoother finish. Remember to wipe away the dust with a tack cloth after sanding.
4. Seal the edges to prevent swelling.
One of the challenges with particle board is that it can swell when exposed to moisture. To prevent this, seal the edges of the board. You can use wood filler or a special edge sealer. Apply the sealer to all the edges and let it dry according to the product instructions. Sand the edges lightly after the sealer has dried to ensure they are smooth.
5. Apply a primer suitable for particle board.
Now, it’s time to prime the surface. A good primer is crucial because it helps the paint adhere better and provides a uniform surface for the paint. Choose a primer that is suitable for particle board, such as a shellac-based or oil-based primer. Apply the primer using a brush or roller, covering the entire surface evenly. Let the primer dry completely before moving on to painting.
Best Types of Paint for Particle Board
Now that your particle board is prepped and ready, it’s time to choose the right paint. The type of paint you use can make a big difference in the look and durability of your project. Here are the best types of paint suitable for particle board:
1. Latex paint
Latex paint is a popular choice for many DIY projects because it’s water-based, easy to clean up, and has low toxic emissions. It dries quickly and is available in various colors and finishes, from matte to high gloss. Latex paint is great for indoor projects and furniture, providing a smooth, durable finish that can withstand everyday use.
2. Oil-based paint
Oil-based paint, on the other hand, is known for its durability and smooth finish. It’s a bit more challenging to work with because it takes longer to dry and requires mineral spirits or paint thinner for cleanup. However, it creates a hard, protective coating that’s excellent for surfaces that need to be extra tough, like kitchen cabinets or bathroom vanities.
3. Chalk paint
Chalk paint has become trendy recently, especially for furniture makeovers. It’s easy to apply, doesn’t require extensive prep work, and can give your particle board a unique, matte, vintage look. Chalk paint also adheres well to most surfaces and can be distressed easily if you’re going for a shabby chic aesthetic. Plus, it’s easy to touch up if needed.
Painting Particle Board
You’ve prepped your particle board and picked out the perfect paint – now it’s time to get down to the actual painting. Here’s a step-by-step guide:
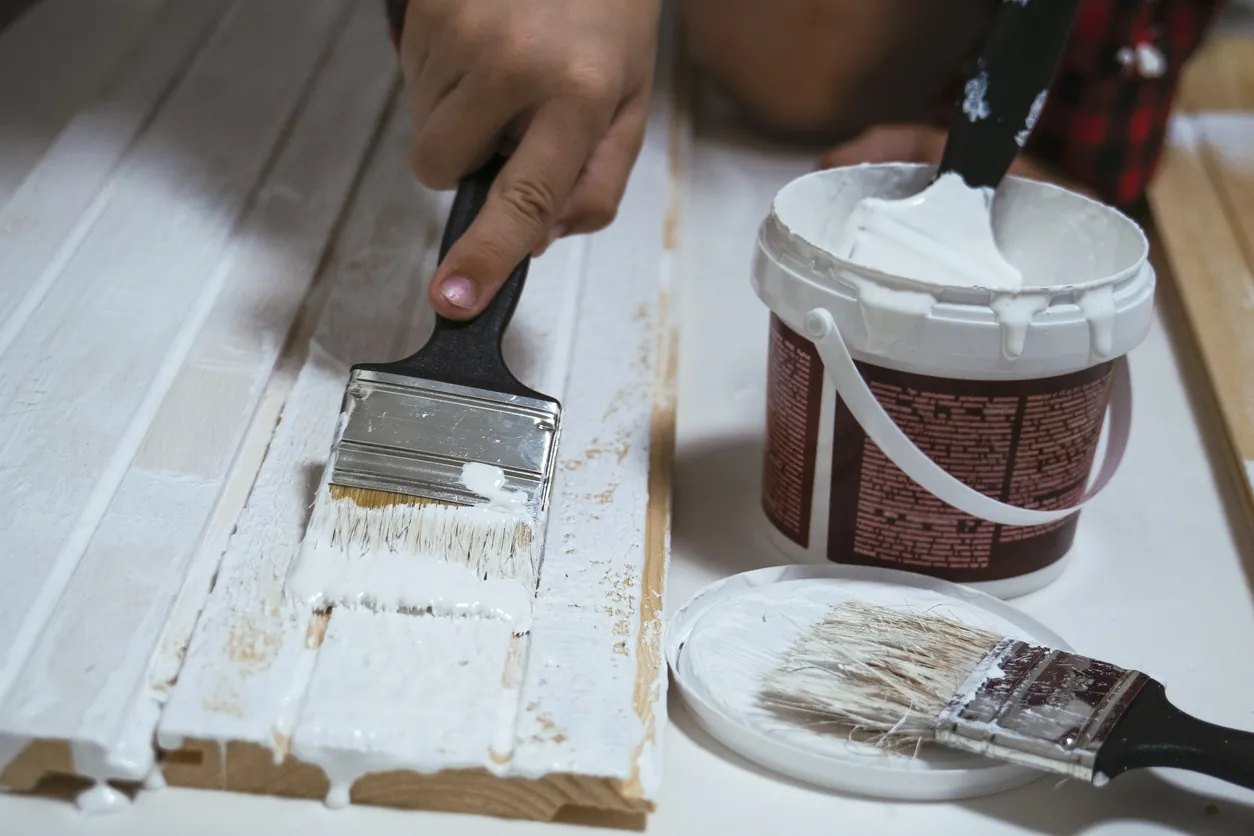
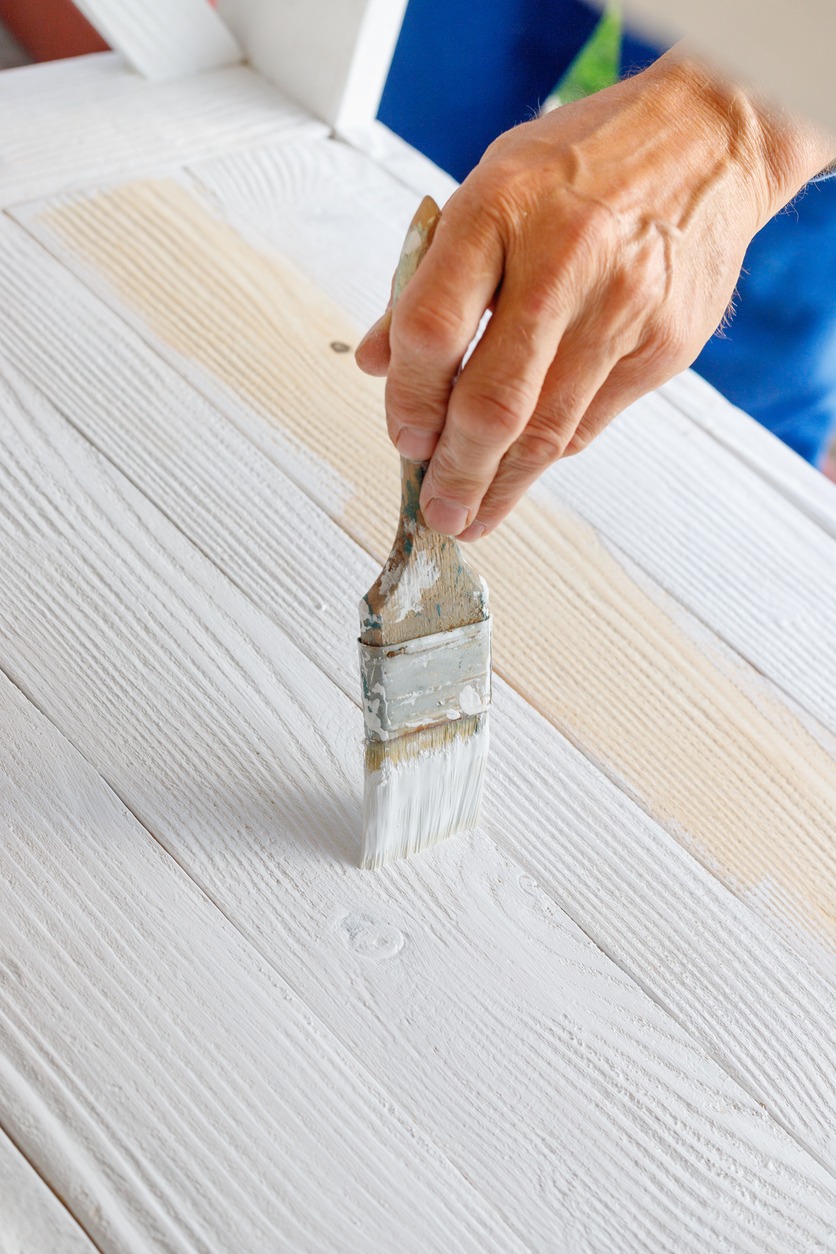
1. Apply the first coat of paint evenly.
Start by applying your first coat of paint. Use a high-quality paintbrush or roller to ensure even coverage. A roller can save time for large, flat surfaces and give you a smoother finish, while a brush is great for edges and corners. Apply the paint in long, even strokes, and try to maintain a consistent thickness. This first coat is crucial as it sets the foundation for the subsequent layers.
2. Allow proper drying time between coats.
Patience is key when painting particle boards. Allow the first coat to dry completely before applying the next one. Drying times can vary depending on the type of paint you’re using, so check the paint can for specific instructions. Typically, latex paint can take about 4-6 hours to dry, while oil-based paint might need 24 hours. Make sure to give each coat ample time to dry to avoid any smudging or unevenness.
3. Apply additional coats.
After the first coat is dry, lightly sand the surface with fine-grit sandpaper (around 220 grit). This helps to smooth out any imperfections and provides a better surface for the next coat. Wipe away any dust with a tack cloth, then apply the second coat of paint. Repeat this process, allowing each coat to dry and sand lightly in between until you achieve the desired opacity and smoothness. Typically, 2-3 coats should be enough.
4. Seal the painted surface for extra protection.
Consider applying a sealant to ensure your painted particle board stands the test of time. A clear polyurethane or polyacrylic sealer works well to protect the painted surface from scratches, moisture, and wear and tear. Apply the sealer in thin, even coats, allowing each layer to dry completely before applying the next. This extra step can significantly extend the life of your project and keep it looking great for years to come.
Conclusion
Painting particle board might seem daunting, but with the right preparation and tools, it can be rewarding. It’s an excellent way to update your space without breaking the bank. Plus, it’s a fun project that can give you a sense of accomplishment when you see the finished result.
If you need any help or want a professional touch, don’t hesitate to contact Custom Painting, Inc. Our team of experts is ready to assist you with all your painting needs, ensuring your project looks fantastic and lasts for years to come. Call us at 925-294-8062 for professional assistance.