If your home is built with cedar shake siding, it’s crucial to maintain its appearance and integrity regularly. Doing so prevents rot, mold, and insect damage, preserving the wood’s integrity and extending its lifespan.
Cleaning cedar shake siding before restaining it provides numerous benefits. It removes dirt, mildew, and old stains, ensuring a smooth and even application of the new stain, which enhances the wood’s appearance and protection.
Understanding cedar shake siding
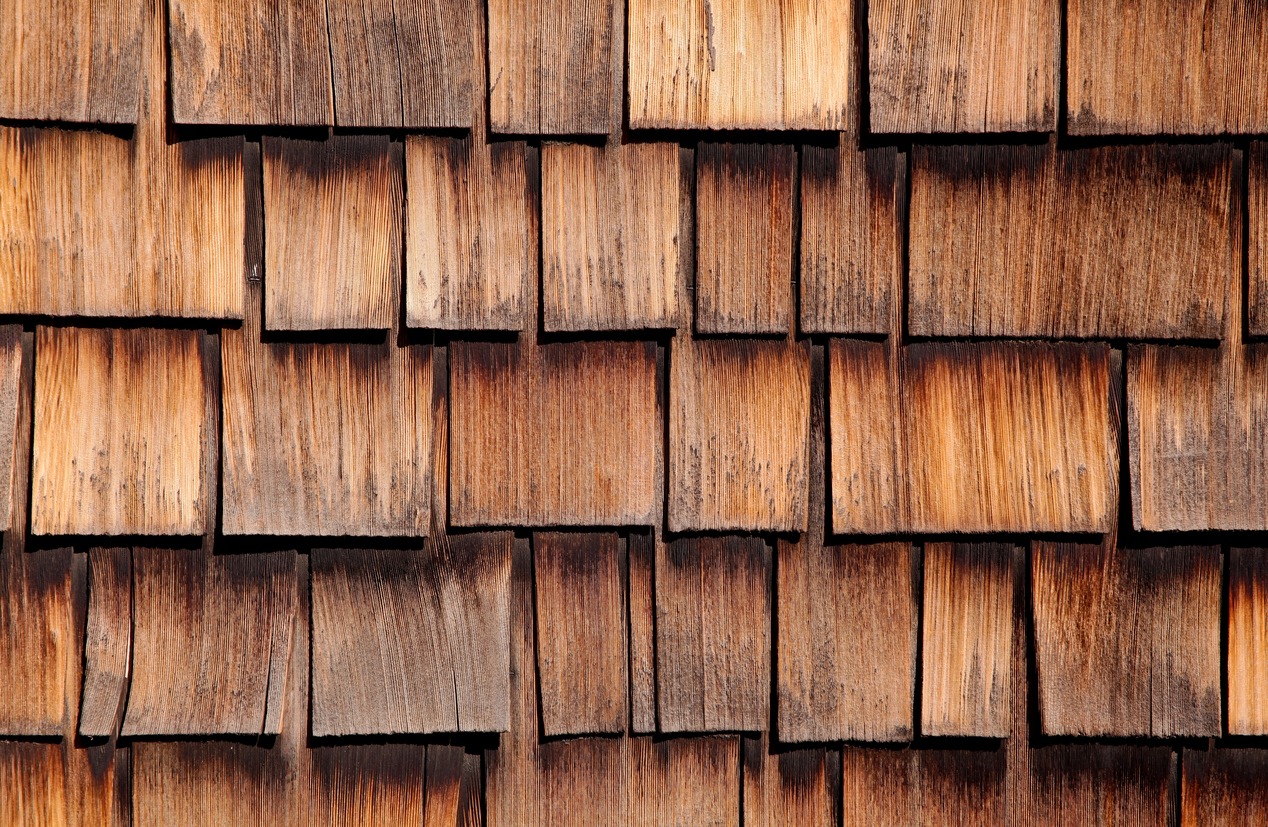
Cedar shake siding is an exterior cladding made from natural cedar wood. It consists of split or sawn pieces of cedar, known as shakes, installed in overlapping rows to create a rustic, textured appearance on buildings. This siding is valued for its durability, natural insulation properties, and aesthetic appeal.
Characteristics and benefits of cedar shake siding
- Natural beauty: Cedar shake siding has a rustic and natural appearance, enhancing the aesthetic appeal of homes.
- Durability: Cedar can naturally resist rot, insect damage, and decay, making it a long-lasting option.
- Insulation: Cedar has good insulating properties, helping to maintain indoor temperatures and improve energy efficiency.
- Eco-friendly: Cedar is a sustainable and biodegradable material, making it an environmentally friendly choice.
- Versatility: Available in various styles, sizes, and finishes, allowing for customizable designs.
Common issues affecting cedar shake siding
- Dirt: Accumulation of dirt can lead to a dull appearance and promote mildew growth.
- Mildew: Humid conditions can cause mildew to develop, leading to staining and potential decay if not treated.
- Discoloration: Exposure to sunlight and weather can cause cedar to fade and lose its natural color over time.
Preparing to clean cedar shake siding
Necessary materials and tools:
- Garden hose or pressure washer (on a low setting)
- Soft-bristle brush or broom
- Buckets
- Ladder
- Tarps or plastic sheeting
- Cleaning solution (oxygen bleach or mild detergent)
- Sponge or cloth
Safety precautions and protective gear
- Wear gloves, safety goggles, and a dust mask.
- Ensure ladder stability and have a spotter if possible.
- Protect plants and surrounding areas with tarps.
- Avoid working on windy or rainy days to prevent falls and ensure cleaning solutions don’t blow away.
Choosing the correct cleaning solution
- Oxygen bleach: Safe and effective for killing mildew and mold without harming plants or wood fibers.
- Mild detergents: Good for general dirt and grime; ensure it is suitable for wood.
- Avoid harsh chemicals like chlorine bleach, which can damage the wood and the environment.
Step-by-step guide to cleaning cedar shake siding
Cleaning cedar shake siding before restaining involves several essential steps to ensure the surface is properly prepared. Here’s a brief overview:
- Inspect and repair: Check for any damaged shakes and repair or replace them as needed to ensure a solid surface.
- Protect surrounding areas: Use tarps or plastic sheeting to cover plants, windows, and other areas that could be affected by the cleaning process.
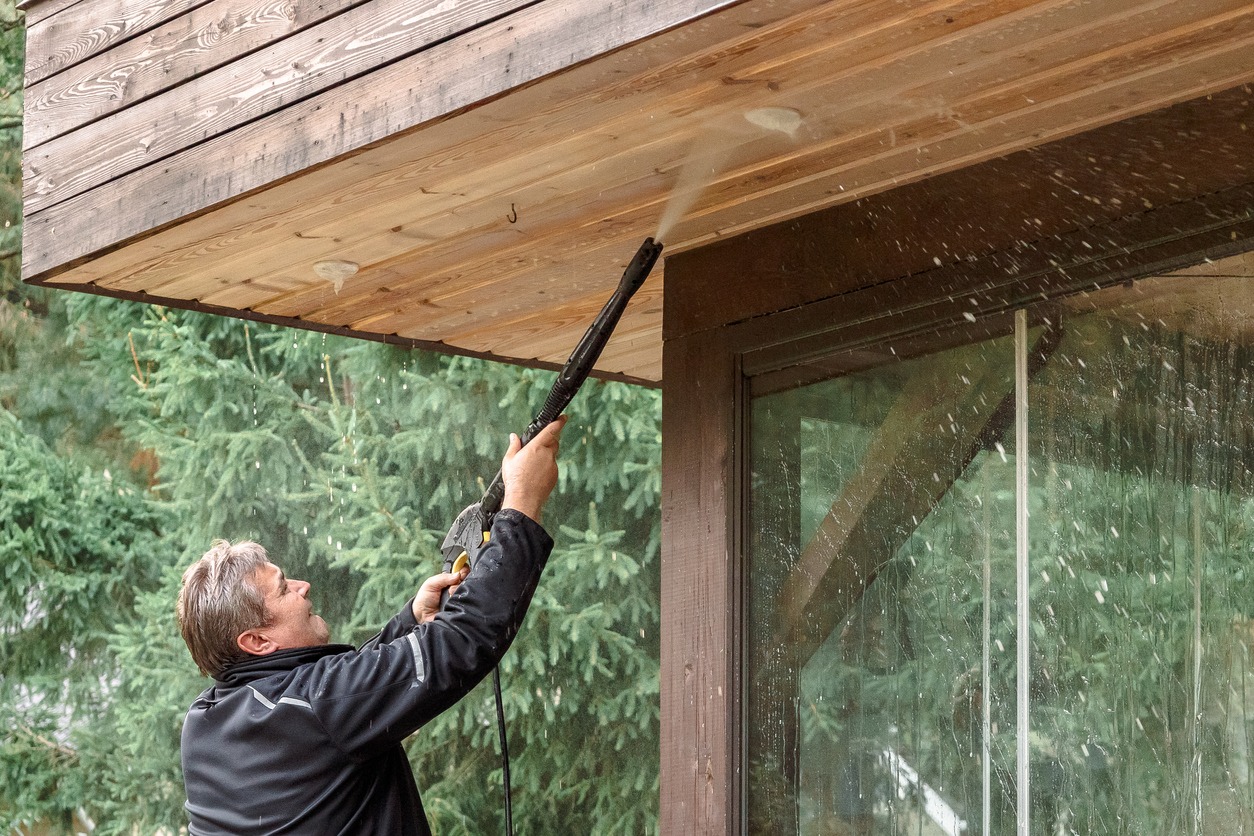
- Apply cleaning solution: Use a sprayer or brush to evenly apply a suitable cleaning solution to the cedar shakes.
- Wait: Allow the cleaning solution to sit for a time recommended by the manufacturer to loosen dirt and stains.
- Scrub: Use a soft-bristle brush to scrub the shakes, paying attention to any particularly dirty or stained areas.
- Rinse: Thoroughly rinse the siding with a garden hose or a low-pressure washer to remove all the cleaning solution and debris.
- Dry: Ensure the siding is completely dry before restaining it to achieve the best results.
Tips for restaining cedar shake siding
Restaining cedar shake siding can significantly enhance the appearance and longevity of your home. Follow these tips to ensure the best results:
Choosing the right stain
1. Oil-based stains:
- Penetration: Oil-based stains penetrate the wood deeper, meaning better protection against moisture and UV rays.
- Longevity: They last longer than water-based stains, requiring less frequent reapplication.
- Appearance: Oil-based stains often give a richer, more natural look to the cedar.
- Drawbacks: They have a longer drying time and can emit noxious odors and VOCs (volatile organic compounds).
2. Water-based stains:
- Environmentally friendly: Water-based stains are lower in VOCs and are easier to clean up.
- Quick drying: They dry faster than oil-based stains, which can be a plus if you work in a humid climate or have a narrow window for your project.
- Maintenance: These stains require more frequent reapplication but are easier to maintain and reapply.
- Appearance: They can sometimes provide a more uniform color but might not penetrate as deeply as oil-based stains.
Applying the stain
1. Preparation:
- Clean the siding thoroughly to remove dirt, mildew, and old stain residue. A power washer can be effective, but be cautious not to damage the wood.
- Allow the wood to dry completely before applying the stain.
2. Application:
- Use high-quality brushes or sprayers designed for stain application. Brushes are better for smaller areas and detail work, while sprayers can cover large areas quickly and evenly.
- Apply the stain evenly and thoroughly. Work in small sections to ensure complete coverage and prevent overlap marks.
- Always follow the wood grain to help the stain penetrate more effectively.
Allowing adequate drying time
- Between coats: If applying multiple coats, allow adequate drying time between each one. This factor can vary based on the type of stain and weather conditions, but generally, 24-48 hours is recommended.
- Final cure: Allow the final coat to cure fully before exposing the siding to heavy rain or washing.
Regular maintenance tips
1. Inspect regularly:
- Check your siding at least once a year for signs of wear, damage, or mildew. Address any issues promptly to prevent further deterioration.
2. Clean annually:
- Clean the siding annually with a mild detergent and water to remove dirt and mildew. Avoid harsh chemicals that can damage the stain or the wood.
3. Touch-up as needed:
- Perform touch-ups on areas that show signs of wear. Doing so can prolong the time between fully restaining projects.
4. Reapply stain:
- Depending on the type of stain used and the environmental conditions, you may need to reapply the stain every 3-7 years. Keep an eye on the color and condition of the stain to determine the appropriate timing.
Follow these tips to keep your cedar shake siding fresh and well-maintained, protecting your home and enhancing its curb appeal.
Conclusion
Cleaning cedar shake siding before applying it with new stain ensures that the topcoat looks better, lasts longer, and provides better protection against the sun’s UV rays, insects, and rotting.
Following the steps in this article can help you achieve a long-lasting and beautiful finish for your cedar shake siding, ensuring your home remains protected and visually appealing for years. For professional assistance and impeccable results, contact only one of the leading painting companies in the Bay Area—Custom Painting, Inc. We love hearing from our current and future customers! Call us today at 925-294-8062, or use our contact form to learn about our services, ask for painting advice, or request a free estimate.