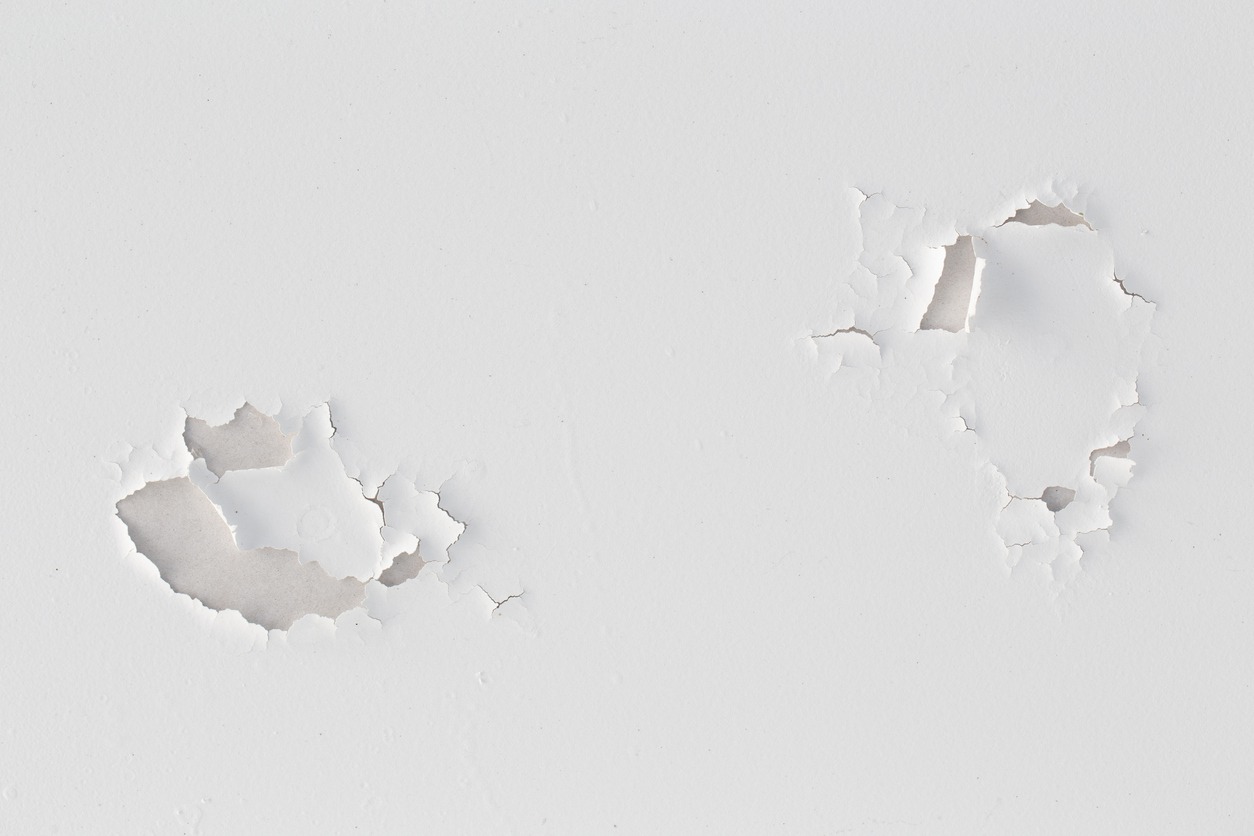
Peeling paint is a common problem for homeowners. It can make walls look old and neglected. However, the right prep work can greatly reduce the chance of this happening. Continue reading to know how to prepare your surfaces properly and why it matters for your painting projects.
Common Causes of Peeling Paint
Peeling paint is caused by numerous factors and issues. Understanding the common causes can help prevent this issue. Below are the main reasons paint might peel:
- Moisture: High humidity or water leaks can cause paint to lose its grip on surfaces.
- Poor Surface Preparation: Not cleaning or sanding the surface before painting can lead to poor adhesion.
- Using the Wrong Type of Paint: Some paints are not suitable for certain surfaces or conditions.
- Applying Paint Too Thickly: Thick layers of paint take longer to dry and are more likely to peel.
- Inadequate Primer: Skipping the primer or using the wrong type can weaken the paint’s bond.
- Painting in Extreme Conditions: Very hot or cold weather can affect how paint dries and adheres.
- Old Paint Layers: Multiple layers of old paint can become unstable and start to peel over time.
Essential Prep Work Steps

Proper prep work is key to a long-lasting paint job. Without prep work, there is a much higher chance of peeling, especially on rough or uncleaned surfaces. Here are the steps you need to follow to prepare your surfaces for painting.
Clean the Surface
Before painting, make sure the surface is clean. Dirt, grease, and grime can prevent paint from sticking properly. Use a mild detergent and water to wash the walls. Rinse thoroughly and let the surface dry completely.
For tougher stains, you might need a stronger cleaner. Avoid using harsh chemicals that can damage the surface. A clean surface will help the paint adhere better and last longer.
Sand the Surface
Sanding is necessary to create a rough texture for the paint to stick to. Use fine-grit sandpaper to smooth out any rough spots. This step is especially important for glossy surfaces.
After sanding, wipe away any dust with a damp cloth. Leaving dust on the surface can interfere with the paint’s adhesion. Sanding also helps to remove any loose or peeling paint from previous paint jobs.
Apply a Primer
Primer is an important part of the prep process. It helps the paint adhere better and provides a uniform base. Choose a primer that is suitable for the surface you are painting.
Apply the primer evenly and let it dry completely before painting. This step can help cover up any stains or discoloration. A good primer can also prevent the paint from peeling in the future.
Fill in Cracks and Holes
Inspect the surface for cracks or holes. Fill them in with filler or putty. Smooth out the filler with a putty knife and let it dry.
Once the filler is dry, sand it down until it is flush with the surface. This step ensures a smooth and even surface for painting. Filling in cracks and holes helps to prevent future peeling.
Remove Hardware and Fixtures
Take off any hardware and fixtures before you start painting. This includes doorknobs, light switch covers, and outlet covers. Removing these items makes painting easier and cleaner. You won’t have to worry about getting paint on them.
Store the hardware and fixtures safely so you can easily reattach them later. If you can’t remove them, cover them with painter’s tape to protect them from paint splatters.
Tape Off Areas
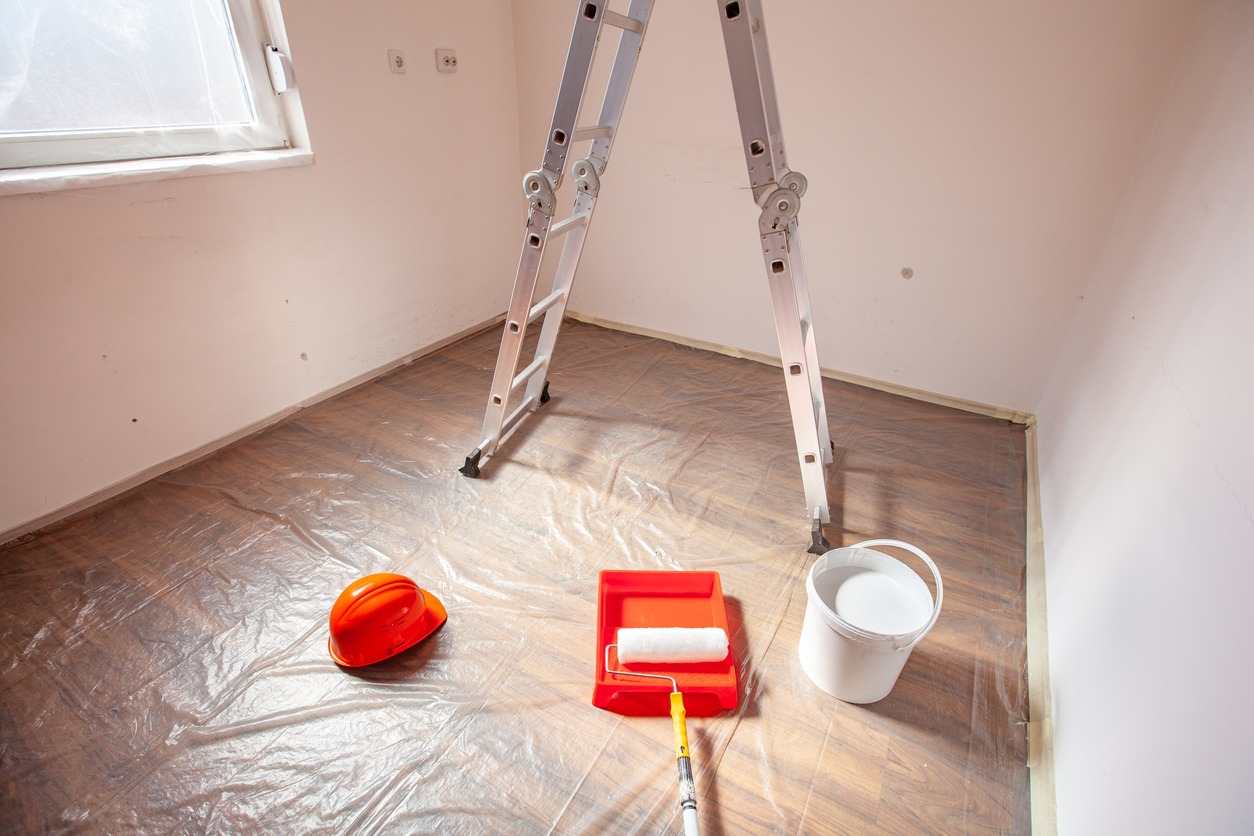
Use painter’s tape to protect areas you don’t want to paint. This includes trim, windows, and edges. Properly taping off areas can save you time and effort in the long run.
Make sure the tape is pressed down firmly to prevent paint from seeping under it. Remove the tape carefully after painting to avoid peeling off any paint. This step helps create clean, professional-looking edges.
Environmental Considerations
When painting, it’s important to think about environmental factors. These considerations can affect both the outcome of your paint job and the environment around you.
Weather Conditions
The weather plays a big role in painting projects. Painting in very hot or cold temperatures can cause issues. Extreme heat can make paint dry too quickly. Cold weather can slow down the drying process. Aim to paint in mild weather for the best results. Avoid painting on rainy or humid days as moisture can prevent paint from adhering properly.
Ventilation
Proper ventilation is important for safety and quality. Paint fumes can be harmful if inhaled. Always work in a well-ventilated area. Open windows and use fans to circulate air. If you’re painting indoors, consider using low-VOC or no-VOC paints. These products release fewer harmful chemicals into the air.
Waste Disposal
Properly disposing of paint and supplies is key to protecting the environment. Never pour leftover paint down the drain. Check with local waste management services for proper disposal methods.
Many areas have recycling programs for paint and paint cans. Clean brushes and rollers with water-based paint in a sink connected to a sanitary sewer system. For oil-based paints, follow specific disposal instructions.
Eco-Friendly Products
Consider using eco-friendly paint products. Many brands offer paints made from natural or recycled materials. These paints are often safer for the environment and your health. Look for labels that indicate eco-friendly or low-toxicity products. Using these products can reduce your environmental footprint while still achieving great results.
Using the Right Tools and Materials
Using the right tools and materials is essential for making a painting project easier and more successful. Check out these tips on what to use and why.
- Quality Brushes and Rollers: Invest in good brushes and rollers. Cheap ones can shed bristles or leave streaks. Quality tools give a better finish and last longer.
- Painter’s Tape: Use painter’s tape to protect edges and trim. It helps create clean lines and prevents paint from spreading to unwanted areas.
- Drop Cloths: Cover floors and furniture with drop cloths. This protects them from paint spills and splatters. Canvas drop cloths are durable and reusable.
- Primer: Choose the right primer for your surface. A good primer helps the paint adhere better and covers stains. It can also enhance the paint color.
- Paint Trays and Liners: Paint trays and liners are easy to clean. Liners can be removed and discarded after use, saving time and keeping your tray clean.
- Extension Poles: Use extension poles for painting high walls and ceilings. This reduces the need for ladders and makes the job safer and faster.
- Sandpaper: Have sandpaper on hand for surface preparation. It helps smooth out rough areas and improves paint adhesion. Different grits are useful for different surfaces.
- Stir Sticks and Paint Can Opener: Use stir sticks to mix the paint thoroughly before application. A paint can opener makes it easy to open and close paint cans without damage.
Conclusion
Proper prep work should always be done before painting to prevent peeling paint. Cleaning, sanding, and priming are important steps. Using the right tools and materials also makes a difference. By following these guidelines, you can achieve a long-lasting paint job.
For help with your painting projects, contact Custom Painting, Inc. Call us at 925-294-8062 or fill out our Contact Form.


