
When removing tape after a painting project, it’s common to find that some of the paint comes off with it. This can be frustrating, especially after investing time and effort into achieving a smooth, even finish. Proper tape removal and repair techniques are crucial to maintain the integrity of your paint job. In this article, we’ll give you effective methods to fix the paint that comes off when removing the tape, ensuring your walls look flawless and professionally done.
Understanding Why Paint Comes Off with Tape
When paint peels off with the tape, it can be due to several underlying issues. Identifying the root cause can help prevent this problem in future projects. Here are some common reasons why paint comes off with tape:
- Quality of the Paint: The quality of the paint used can significantly impact its adherence to the surface. Lower-quality paints may not bond as well, leading to a higher likelihood of peeling when the tape is removed. Investing in high-quality paint ensures better durability and a stronger bond to the wall.
- Surface Preparation Issues: Proper surface preparation is essential for a successful paint job. If the surface is not cleaned, sanded, or primed correctly, the paint may not adhere properly. Dust, grease, and old paint residues can all interfere with the paint’s ability to stick, making it more likely to come off with the tape.
- Type of Tape Used: Not all tapes are created equal. Using the wrong type of tape can contribute to paint peeling. Painter’s tape is specifically designed for this purpose and is less likely to cause damage. However, using regular masking tape or other types of tape can result in stronger adhesion to the paint, leading to peeling.
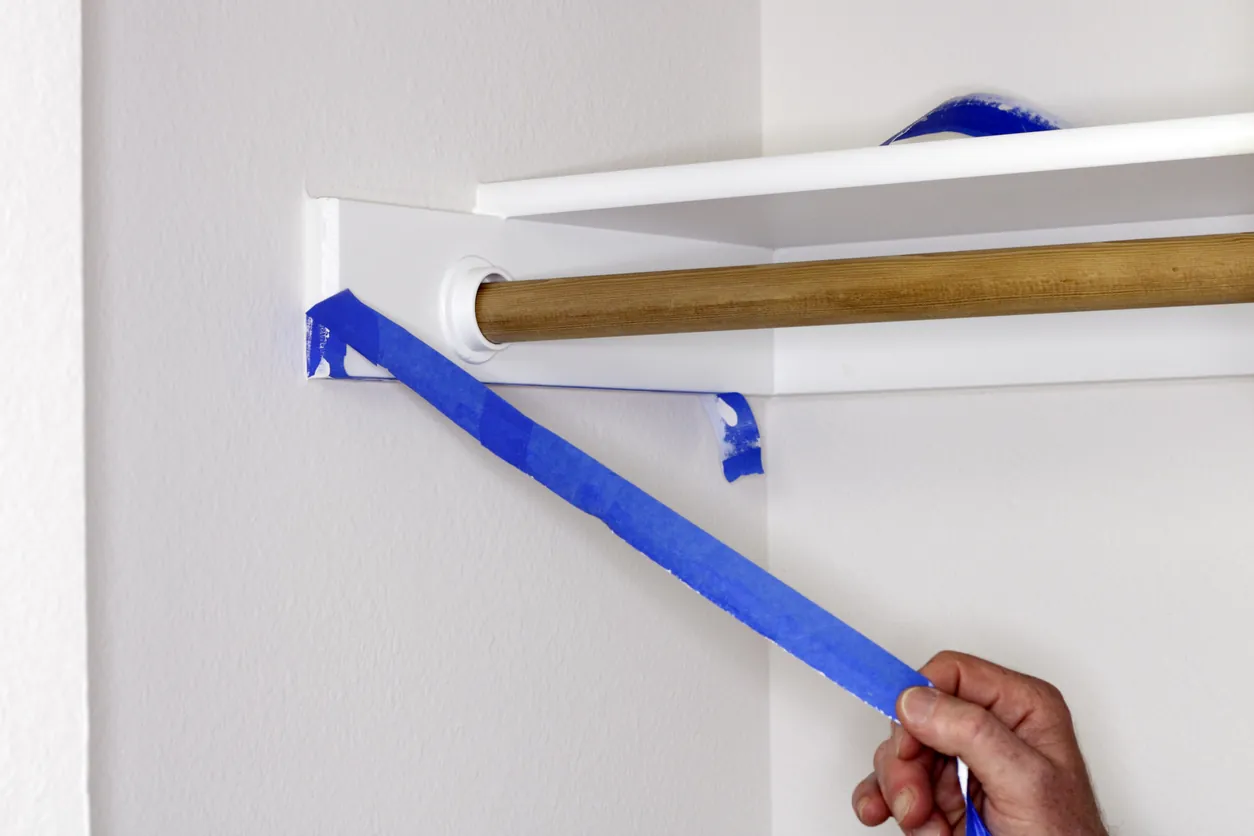
- Incorrect Tape Removal Technique: The method used to remove the tape plays a crucial role in whether the paint stays intact. Removing tape too quickly or at the wrong angle can cause the paint to lift. The best practice is to remove the tape slowly and at a 45-degree angle to minimize the risk of peeling.
By understanding these factors, you can take steps to prevent paint from coming off with the tape, ensuring a smooth and professional finish for your painting projects.
Preventive Measures
Preventing paint from coming off with tape involves a combination of choosing the right materials and using proper techniques. By following these preventive measures, you can achieve a flawless finish and avoid the frustration of peeling paint.
1. Choosing the Right Tape
Selecting the appropriate tape for your painting project is essential. Painter’s tape is designed to create clean lines without damaging the paint underneath. Look for a tape that specifies it’s safe for the type of surface you are working on and has a medium-to low-tack adhesive, which minimizes the risk of peeling.
2. Proper Surface Preparation
Properly preparing the surface before painting is crucial. Ensure the wall is clean, dry, and free of dust or grease. Sand any rough spots and apply a suitable primer if necessary. This will help the paint adhere better to the surface, reducing the chance of it coming off with the tape.
3. Correct Painting Techniques
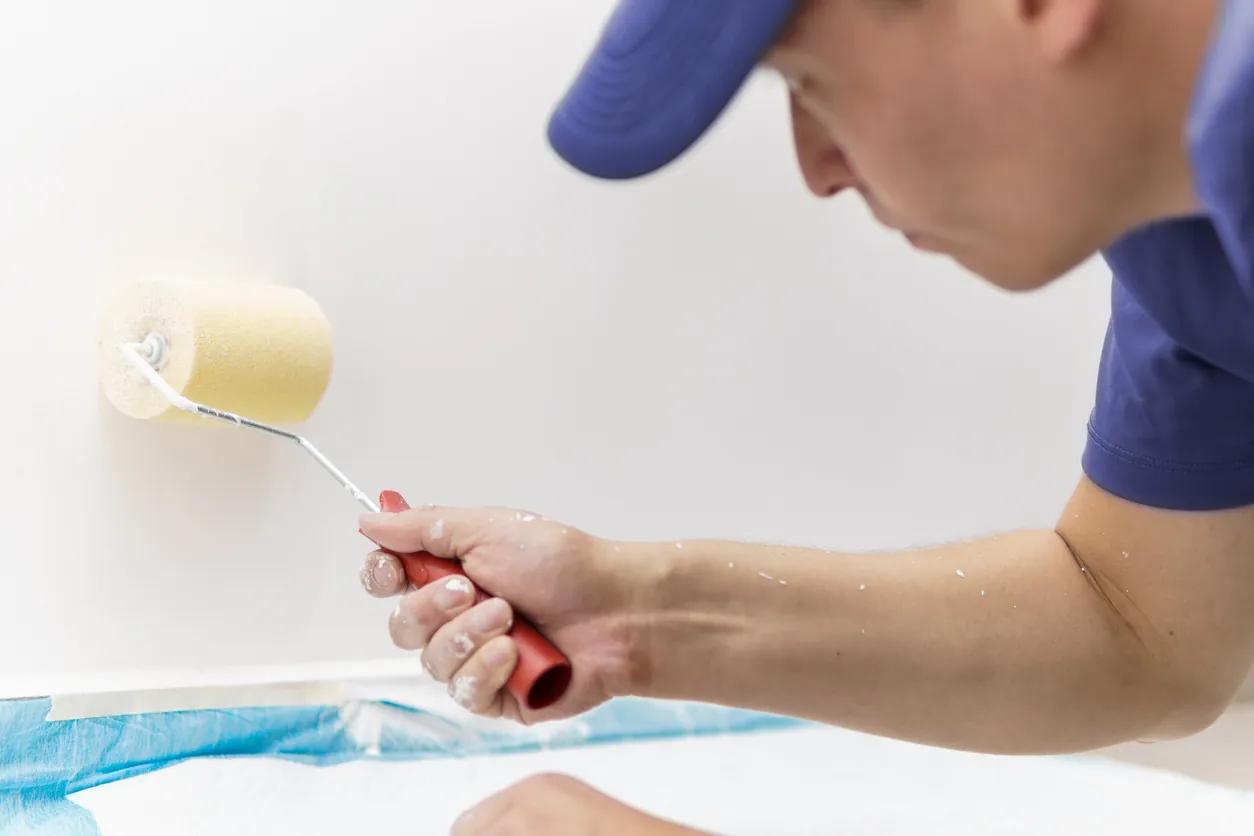
Using the right painting techniques can also prevent paint from peeling. Apply thin, even coats of paint, allowing each layer to dry completely before applying the next. Avoid overloading the brush or roller, as this can lead to uneven application and increased chances of peeling.
4. Timing and Method of Tape Removal
The timing and method of removing the tape are critical. Remove the tape while the paint is still slightly tacky to avoid pulling off dried paint. Peel the tape back slowly at a 45-degree angle to minimize the risk of lifting the paint. If the paint has dried, use a sharp blade to score along the edge of the tape before removing it.
By implementing these preventive measures, you can ensure a smooth, professional-looking paint job and avoid the hassle of repairing peeled paint.
Immediate Steps to Take When Paint Comes Off
When paint comes off with the tape, it’s important to act quickly to address the issue. Immediate steps can help mitigate the damage and prepare the area for effective repair. Here’s what you need to do:
Assessing the Damage
Begin by carefully assessing the extent of the damage. Examine the peeled area to determine how large it is and how deep the peeling goes. Understanding the severity of the damage will help you decide the best approach for repair. Look for the following:
- Size of the peeled area
- Depth of the damage (surface level or deeper)
- Condition of the surrounding paint
Cleaning the Affected Area
Before proceeding with any repair work, it’s crucial to clean the affected area thoroughly. This will ensure that the new paint adheres properly and blends seamlessly with the rest of the wall. Follow these steps:
- Remove Loose Paint: Gently wipe away any loose paint chips or debris using a soft, dry cloth.
- Clean the Surface: If the area is dusty or greasy, clean it with a mild detergent mixed with water. Use a soft sponge or cloth to avoid damaging the paint further.
- Dry Completely: Allow the area to dry completely before applying any new paint. This will prevent moisture from affecting the adhesion of the new paint layer.
By assessing the damage and cleaning the affected area promptly, you can ensure a smoother and more effective repair process, restoring the flawless appearance of your painted surface.
Repair Techniques
When paint comes off with the tape, using the right repair techniques can restore your wall to its original, flawless condition. Here are some effective methods for addressing and fixing paint damage:
Touch-Up Paint
Touching up the paint is one of the simplest and most direct methods for repairing minor damage. Follow these steps:
- Match the Paint Color: Ensure you have the exact same color and finish of the original paint.
- Prepare the Area: Clean and lightly sand the edges of the peeled area to create a smooth surface.
- Apply the Paint: Use a small brush to carefully apply the paint to the damaged area, blending it into the surrounding paint.
- Allow to Dry: Let the paint dry completely and apply additional coats if necessary to achieve full coverage.
Sanding and Repainting
For larger or more severe damage, sanding and repainting may be required to achieve a seamless repair. Here’s how to do it:
- Sand the Area: Use fine-grit sandpaper to sand the damaged area and feather the edges into the surrounding paint.
- Prime the Surface: Apply a primer to the sanded area to ensure proper adhesion of the new paint.
- Repaint: Use the original paint color to repaint the area, starting with thin, even coats. Allow each coat to dry before applying the next.
- Blend the Edges: Blend the edges of the new paint into the existing paint for a smooth, uniform finish.
Using a Paint-Blending Pen
A paint-blending pen is a convenient tool for small touch-ups and minor damage. It allows for precise application and easy blending. Here’s how to use it:
- Choose the Right Pen: Select a paint-blending pen that matches your paint color and finish.
- Prep the Area: Clean the damaged area and make sure it’s dry.
- Apply the Paint: Use the pen to carefully fill in the damaged spot, working from the center outwards.
- Blend and Smooth: Gently blend the new paint into the surrounding area using the pen’s built-in blending tool or a soft cloth.
By using these repair techniques, you can effectively fix any damage caused by tape removal and ensure your paint job looks as good as new.
Tips for a Seamless Finish
Achieving a seamless finish when repairing paint damage requires attention to detail and proper techniques. Here are some tips to ensure your repaired area blends perfectly with the surrounding paint:
Feathering Techniques
Feathering is a technique used to blend the edges of new paint into the existing paint for a smooth transition. Here’s how to do it:
- Light Sanding: Lightly sand the edges of the damaged area to create a smooth transition between the peeled and intact paint.
- Thin Layers: Apply the new paint in thin layers, gradually building up the coverage. This helps to avoid a noticeable ridge where the new paint meets the old.
- Feather the Edges: Use a dry brush or a lightly loaded paintbrush to gently feather the edges of the new paint into the surrounding area, creating a seamless blend.
Blending the New Paint with the Old
Blending new paint with the old paint is crucial for a seamless finish. Follow these steps:
- Color Matching: Ensure the new paint matches the existing paint in both color and finish. Using leftover paint from the original job is ideal.
- Consistent Application: Apply the new paint using the same method as the original (brush, roller, or spray) to maintain consistency in texture.
- Overlap Slightly: To blend the edges, slightly overlap the new paint with the old paint. Use light strokes to merge the colors smoothly.
Final Touch-Ups and Inspections
After the initial repair, final touch-ups and inspections are necessary to achieve a flawless finish. Here’s what to do:
- Inspect the Area: Once the paint is dry, inspect the repaired area under different lighting conditions to ensure it blends well with the surrounding paint.
- Touch Up as Needed: If any discrepancies are noticed, apply additional touch-ups with a small brush, carefully blending the paint into the existing finish.
- Smooth Out Imperfections: Lightly sand any rough spots or uneven areas and apply a final thin layer of paint if necessary.
- Clean Up: Remove any painter’s tape and clean up your tools. Make sure the area looks neat and professional.
Conclusion
With the right techniques, repairing paint that comes off with tape can be straightforward. By understanding the causes, taking preventive measures, and using proper repair methods, you can maintain a flawless finish on your walls. For professional assistance, contact Custom Painting, Inc. at 925-294-8062 or through our contact form. We’re here to help with all your painting needs.