
Painting a house is not just about beautification or updating its appearance—it’s a crucial aspect of home maintenance that can also increase property value and protect the structure from environmental elements. Whether it’s a fresh coat to breathe new life into your home or a complete color change to match your evolving style, the expertise of a professional painting contractor is indispensable.
Hiring a professional painting contractor ensures that the job is done correctly, efficiently, and safely. A skilled contractor brings the necessary experience, tools, and techniques to handle various challenges that might arise during the painting process. From surface preparation to the final coat, every step requires careful attention to detail to achieve a flawless finish.
So, let’s explore the journey of a painting contractor as they transform a house with their expertise, ensuring it looks stunning and stands the test of time.
1. Initial Consultation and Assessment
When painting your house, the first step a professional painting contractor should take is to schedule an initial consultation and assessment.
The initial meeting is crucial as it allows the contractor to understand your vision and expectations. It’s a chance for you to express what you want, whether it’s a specific color scheme, a particular finish, or any special requirements you might have. This face-to-face interaction ensures that both you and the contractor are on the same page from the very beginning.
What happens in a consultation?
During this consultation, the contractor will also thoroughly inspect your house. They’ll check the condition of the walls, identify any problem areas like cracks or peeling paint, and assess what kind of preparation will be needed before the painting starts. This inspection helps the contractor understand the scope of work and foresee any potential challenges.
This is also the time to discuss your preferences in detail. Do you want eco-friendly paint? Are there particular areas that need special attention? Maybe you have a tight deadline or specific times when work can be done. All these details are crucial for the contractor to know so they can plan the project accordingly and ensure your satisfaction.
2. Detailed Quotation and Agreement
Once the initial consultation and assessment are complete, the next step is to provide you with a detailed quotation and agreement. This step is all about transparency and setting clear expectations.
What must be included in a quote?
A professional painting contractor will provide a detailed and transparent quotation. This document should break down the costs involved, including labor, materials, and any other expenses. It ensures no hidden costs, and you know exactly what you’re paying for.
The quotation should also outline the scope of work. This means specifying exactly what areas will be painted, what kind of preparation work will be done, and what materials will be used. The contractor will detail the type of paint, the number of coats, and any other relevant details. Additionally, a timeline will be provided, giving you a clear idea of how long the project will take from start to finish.
Once you have agreed on the quotation, you will discuss the terms of the agreement. This includes payment terms, warranties, and any other contractual obligations. The contractor will review this agreement with you to ensure you understand and agree to all the terms. Your approval is essential before any work begins, ensuring everyone is aligned and ready to move forward.
3. Surface Preparation
Before any paint touches your walls, the surfaces need to be prepped correctly. This step is essential to ensure the paint adheres well and looks smooth. Good preparation can make the difference between a paint job that lasts for years and one that starts showing problems within months.
First step: Cleaning
The first part of surface preparation is cleaning. Contractors will wash the walls to remove dirt, mildew, and any loose paint. This step is crucial because paint won’t stick well to dirty or greasy surfaces. Cleaning creates a fresh, clean base for the new paint.
Second step: Sanding, scraping and repairing
Next, any rough spots, old paint chips, or imperfections need to be dealt with. Sanding smooths out these areas, while scraping removes loose paint. Cracks or holes in the walls are filled with putty or filler and then sanded smooth once they’re dry. This creates an even surface for the paint to adhere to, ensuring a flawless finish.
Third step: Priming
Finally, the prepped surfaces are primed. Primer is a special type of paint that helps the topcoat stick better and last longer. It also helps cover up any stains or darker colors, making sure the final color looks vibrant and even. Priming is especially important on new drywall or patched areas to ensure an even finish.
4. Choosing the Right Paint and Materials
A professional painting contractor will help you choose the best quality paints and materials for your home. They’ll recommend brands and types of paint that are known for their durability and excellent finish. Quality materials might cost a bit more upfront but can save you money in the long run by lasting longer and looking better. Several factors need to be considered when choosing paint, including:
- Climate: Different climates can affect paint durability and performance. For example, homes in humid areas might need mildew-resistant paint.
- Surface type: Proper paint selection ensures better adhesion and longer-lasting results. Different surfaces (wood, drywall, metal, etc.) require different types of paint.
- Homeowner preferences: Your preferences in color and finish can also affect the choice of paint. Contractors rely on your preference, but if you’re not that particular, they will recommend the best choice for you.
5. Protecting Surrounding Areas
Before any paint touches your walls, protecting the surrounding areas is crucial. A professional painting contractor will take the time to cover and protect your furniture, floors, and any other surfaces that won’t be painted. This usually involves using drop cloths, plastic sheeting, and painter’s tape. Outside, landscaping, walkways, and other elements are protected to prevent accidental paint spills or splashes.
Windows, doors, and fixtures like light switches and outlets need to be carefully masked to avoid getting paint on them. Contractors use special masking tape and paper to cover these areas, ensuring clean, crisp lines where the paint meets different surfaces. This attention to detail helps achieve a professional, polished look.
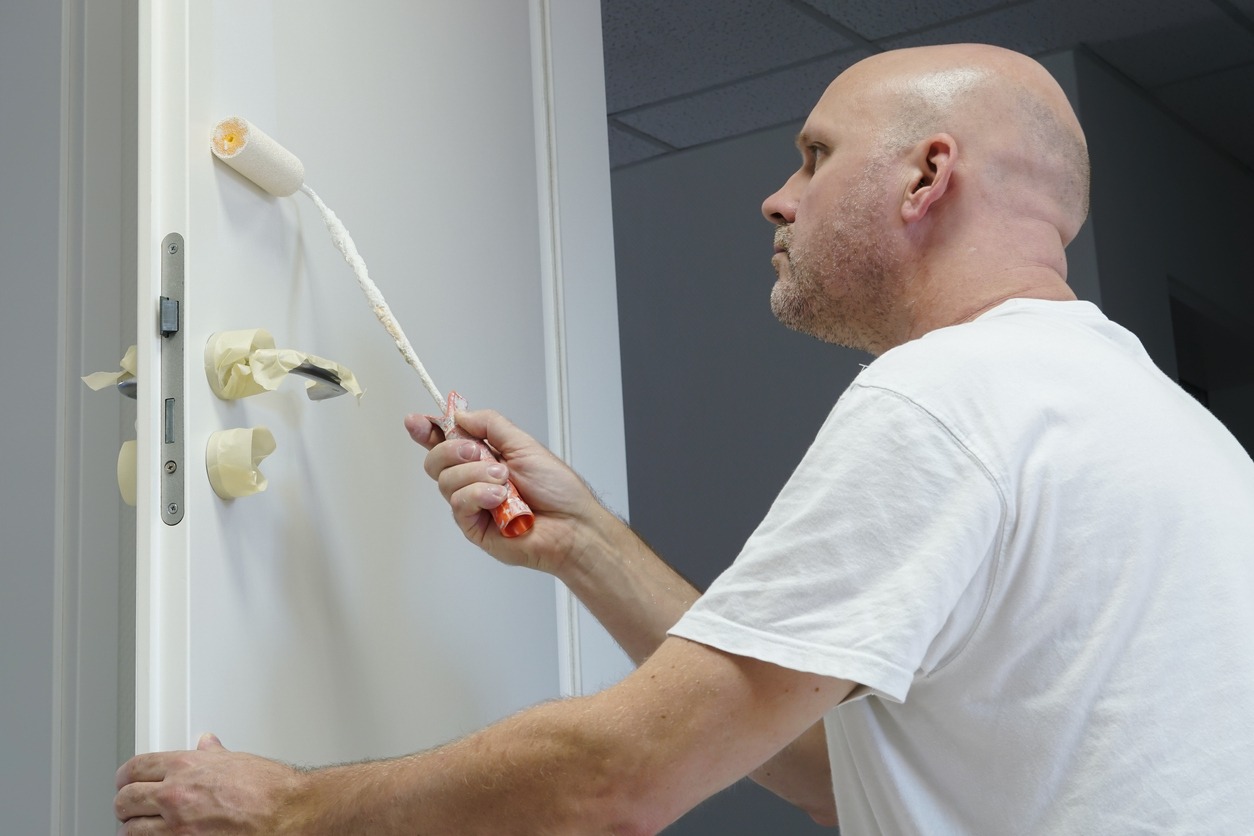
6. Applying Paint
Once everything is prepped and protected, it’s time to start painting. This step is where the transformation really begins.
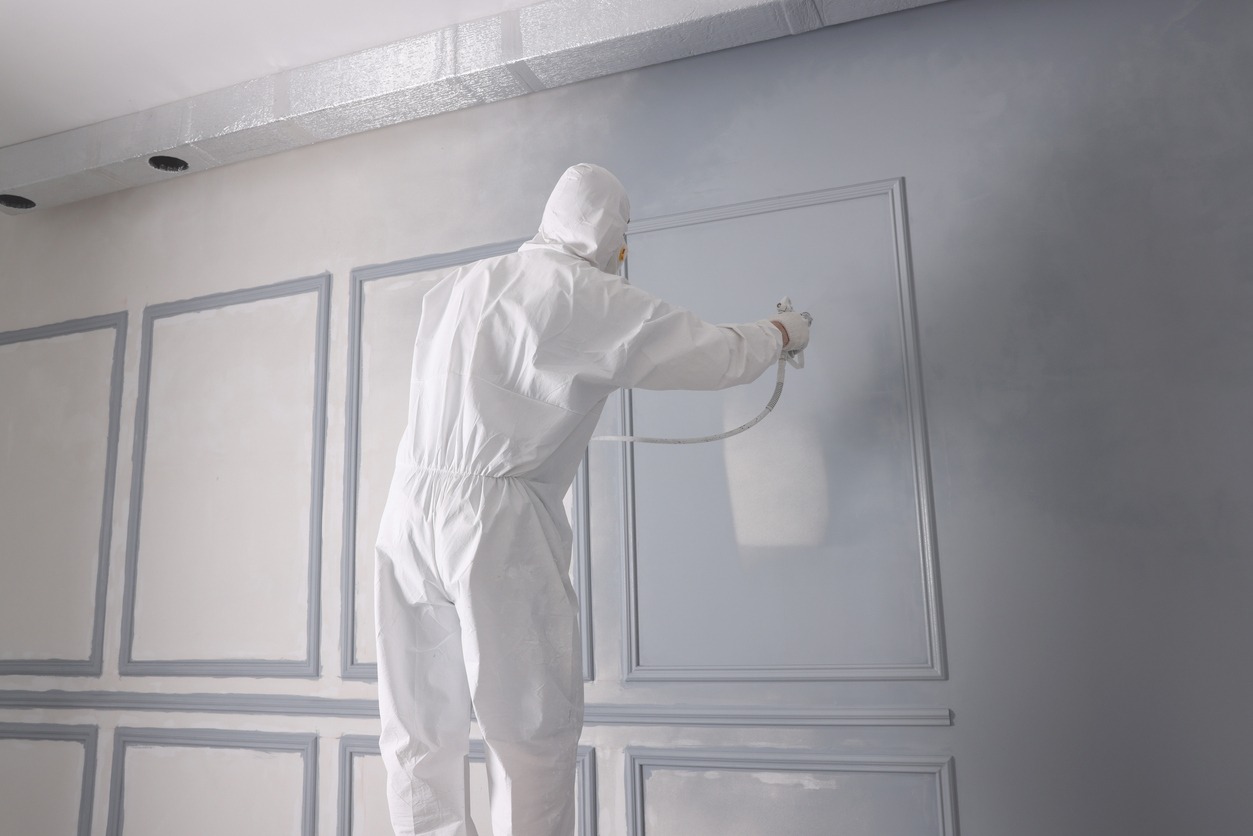
The painting process starts with cutting in, which involves painting the edges of walls and around trim and fixtures with a brush. This creates a border that rollers can connect to, ensuring full coverage. After cutting in, contractors use rollers or sprayers to cover the larger areas. This method ensures a smooth, even finish.
What painting techniques do pros use?
Professional painters use specific techniques to apply paint evenly and smoothly. They might use different brushes and rollers for various parts of the job and apply the paint in a particular direction to avoid streaks and lap marks. They also maintain a wet edge and keep working back into the still-wet paint to avoid lines and streaks.
Should they apply multiple coats?
Applying multiple coats of paint is essential for both durability and color consistency. The first coat often serves as a base that may not fully cover the previous color or imperfections. The second coat ensures a rich, uniform color and adds a layer of protection. Sometimes, a third coat might be necessary, especially for vibrant or dark colors, to achieve the desired depth and finish.
7. Quality Control and Touch-Ups
After the paint has been applied and dried, the contractor will conduct a thorough inspection of the entire area. They’ll look closely at every wall, corner, and surface to check for any missed spots, streaks, or imperfections. This careful examination helps identify any areas that need extra attention.
What if there are any missed spots, streaks, or imperfections?
If the contractor finds any spots that were missed or areas that aren’t quite perfect, they will touch them up. This might involve adding another coat of paint in some places or fixing minor blemishes. The goal is to make sure that every inch of the painted surface looks flawless and meets the professional standards you expect.
A good contractor will take the time to ensure that you’re happy with the final result. They’ll walk you through the finished project, pointing out the work done and addressing any concerns you might have. Your feedback is important, and they’ll make any necessary adjustments to ensure you’re delighted with the job.
8. Cleanup and Final Walkthrough
The contractor will clean up the work area once all the painting and touch-ups are complete. This includes removing protective coverings, gathering up debris, and ensuring that all tools and materials are removed. They’ll leave your home looking tidy and free from any mess left over from the painting process.
What happens after the cleanup?
After the cleanup, the contractor will conduct a final walkthrough with you. This is your chance to inspect the work closely and make sure everything is to your satisfaction. They’ll explain what was done, show you any areas touched up, and ensure you’re happy with the overall job.
What if you still have concerns?
If you have any final concerns or see anything that needs adjustment, this is the time to address them. A professional contractor will be more than willing to make any last-minute fixes to ensure the job is perfect. They want you to be completely satisfied with their work, so they’ll do whatever it takes to ensure everything is right.
9. Post-Project Follow-Up
After the job is done, your contractor should offer some helpful tips on maintaining the fresh new look of your paint job. This might include advice on cleaning painted surfaces without damaging the paint, spotting and fixing small issues before they become bigger problems, and how often to consider repainting to keep your home looking its best.
After the work is done, what can you expect from your contractor?
A reliable contractor stands by its work, often providing warranties or guarantees. If any issues arise with the paint job within a certain period, the contractor will return and fix them at no extra charge. Knowing that your investment is protected gives you peace of mind and confidence in the quality of the work.
They will also encourage you to share your experience and provide feedback, which is crucial for any service provider. This helps them improve their services and ensures they are meeting customer expectations. Additionally, they might ask for reviews or testimonials, which can help other homeowners make informed decisions when looking for a painting contractor.
Conclusion
We have walked through the essential steps a professional painting contractor should follow when painting a house. From the initial consultation and detailed quotation to surface preparation, paint application, and post-project follow-up, every step is vital for achieving a high-quality, long-lasting paint job.
If you need a reliable painting contractor to paint your house, contact Custom Painting Inc. today. Call us at 925-294-8062 or fill out our Contact form to schedule your consultation. Our experienced professionals are here to provide you with top-notch service, ensuring your house looks stunning and stands the test of time.