We at Custom Painting, Inc. understand that our goal is not just to make your living spaces look beautiful but also to make them durable, reliable, and safe.
Paint projects usually involve more than painting walls, ceilings, and sidings. Our painters usually encounter issues in a paint job, like water damage on ceilings or wood rot on the siding. We usually do light carpentry work to produce the best surfaces for painting or other finishes. Read on to learn more about the importance of light carpentry work in our painting projects.
What is light carpentry work?
Light carpentry work generally includes basic tasks that improve or maintain a home. Examples are repairing or replacing trim and molding, assembling furniture, fixing doors and cabinets, and fixing water damage on ceilings. It usually requires only basic carpentry skills and hand tools, making it more accessible and less labor-intensive than heavy carpentry or structural work.
Custom Painting, Inc.’s light carpentry services
We provide light carpentry services alongside our painting jobs to ensure a flawless finish and well-prepared surfaces. Here’s how we typically handle these tasks:
- Fixing door frames: This includes repairing dents, cracks, or misalignments in door frames to create a smooth, well-fitted frame ready for painting. Our professional painters may fill gaps, sand down rough edges, and adjust hinges to ensure proper function.
- Repairing water damage on ceilings: We usually address small areas of water damage by scraping off damaged paint or drywall, patching, sanding, and priming the area to blend with the surrounding ceiling.
- Leveling bookshelves: We also level uneven bookshelves by adjusting shelf brackets or shimming them at the base to ensure stability. This is often done before painting to ensure an even and professional finished look.
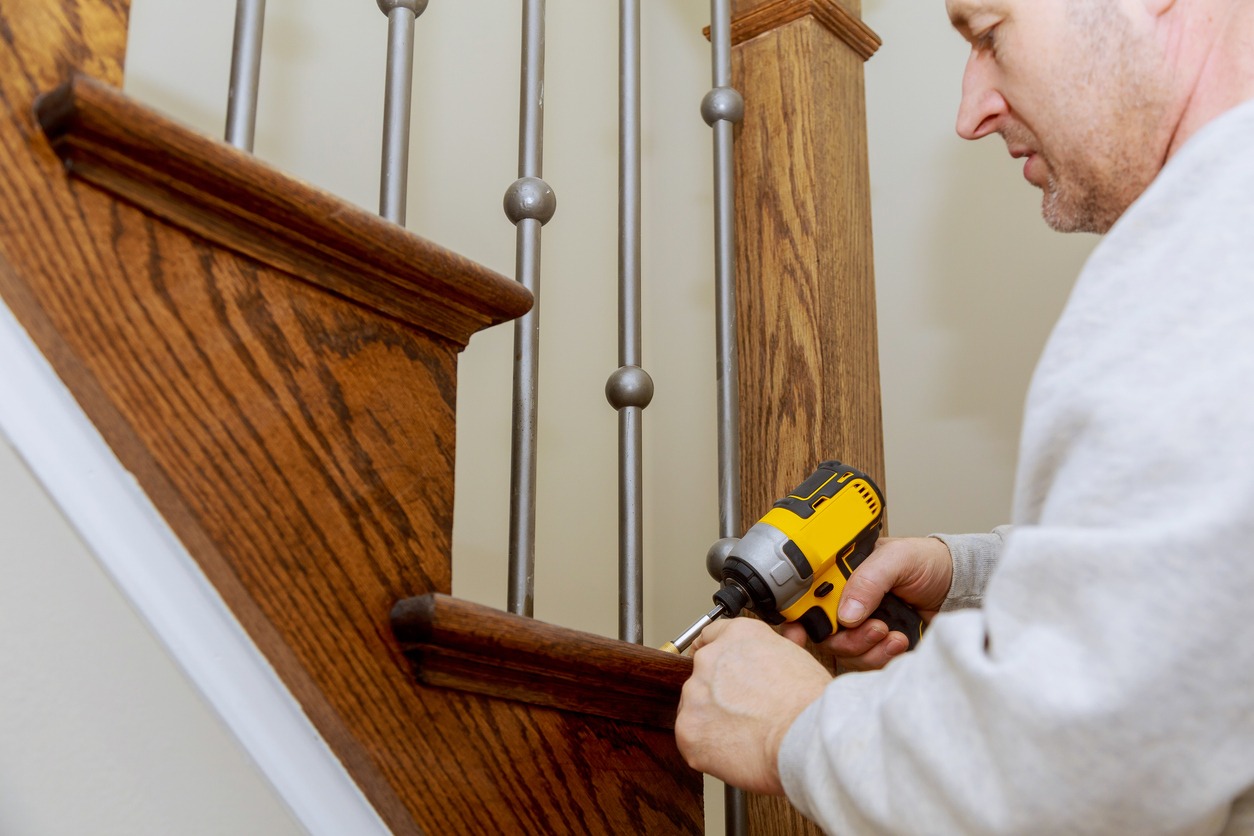
- Fixing banisters on stairs: We repair loose or damaged banisters by tightening or replacing hardware, adding adhesives, or filling cracks. These steps help secure the banister and prevent future issues.
- Repairing wood rot: We may use wood filler or replacement wood to address small areas of rot on trim, siding, or frames. After filling, we sand the surface smooth, prime, and paint for a seamless repair.
- Repairing kitchen cabinet hinges: Loose or damaged hinges are adjusted or replaced, ensuring cabinet doors close properly and align with the overall look. This is a quick fix but crucial for cabinets to look cohesive after painting.
These light carpentry services help prepare surfaces, ensuring the paint job has a smooth, durable finish.
Benefits of light carpentry before painting
Fix or repair issues
Addressing structural issues, such as filling in holes, smoothing rough areas, and securing loose boards, provides a sound base for the paint to adhere to. Without these repairs, paint can highlight imperfections, leading to an uneven look.
Better paint job
A clean, well-prepared surface allows the paint to be applied smoothly, resulting in a more professional, durable finish. By sanding, filling gaps, and fixing flaws, you’ll get a smoother, more even application with fewer brush strokes or visible imperfections.
Benefits of light carpentry after repainting
It prevents issues from getting worse
Regular maintenance and light carpentry post-painting can help prevent minor issues, like small cracks or loose fixtures, from turning into major repairs. Addressing these problems early ensures the underlying structure remains intact.
Longer-lasting paint job
Repairing small damages or touch-ups ensures the paint adheres properly and stays intact. This can prolong the paint’s lifespan, so you don’t have to repaint as often.
Increase in the property’s value
Well-maintained properties tend to have better resale value. Light carpentry after painting shows a commitment to upkeep and care, which can make a strong impression on potential buyers or appraisers.
Contact us!
Now you know what light carpentry’s role in a paint job and its benefits to your homes. Not only does it make your living spaces more beautiful, but it also makes them safe and maintains their structural integrity.
Does your home have any surface issues that need repair and restoration? If you live in and around the California Bay Area and East Bay, contact our Custom Painting, Inc. team at 925-294-8062 or via our contact form so that we can discuss how to fix certain issues before painting.