Garage floors endure a lot of traffic and wear and tear due to various factors. They include frequent movement from vehicles, exposure to heavy loads, and contact with dirt and chemicals like oil, gasoline, and cleaning agents. Temperature changes and moisture also contribute to the wear.
So, if your garage floors look a bit worse now, it’s time to paint them or treat them with other floor coatings. Painting a garage floor offers several benefits, including improved aesthetics, protection against stains and moisture, and easier maintenance due to a smoother, sealed surface. Opting for a professional painting company ensures a durable, long-lasting finish with expert surface prep, quality materials, and precise application.
In this guide, you’ll learn the steps from preparation—cleaning, patching, and priming the floor—to applying the final coat of paint or epoxy. We’ll cover all essential tips for achieving a flawless, professional-looking finish.
Why paint your garage floor?
Here are good reasons to paint your garage floor:
1. Aesthetic appeal: Painting your garage floor can instantly transform a dull, stained surface into a clean, modern-looking space. It enhances the garage’s overall look, making it more inviting and polished.
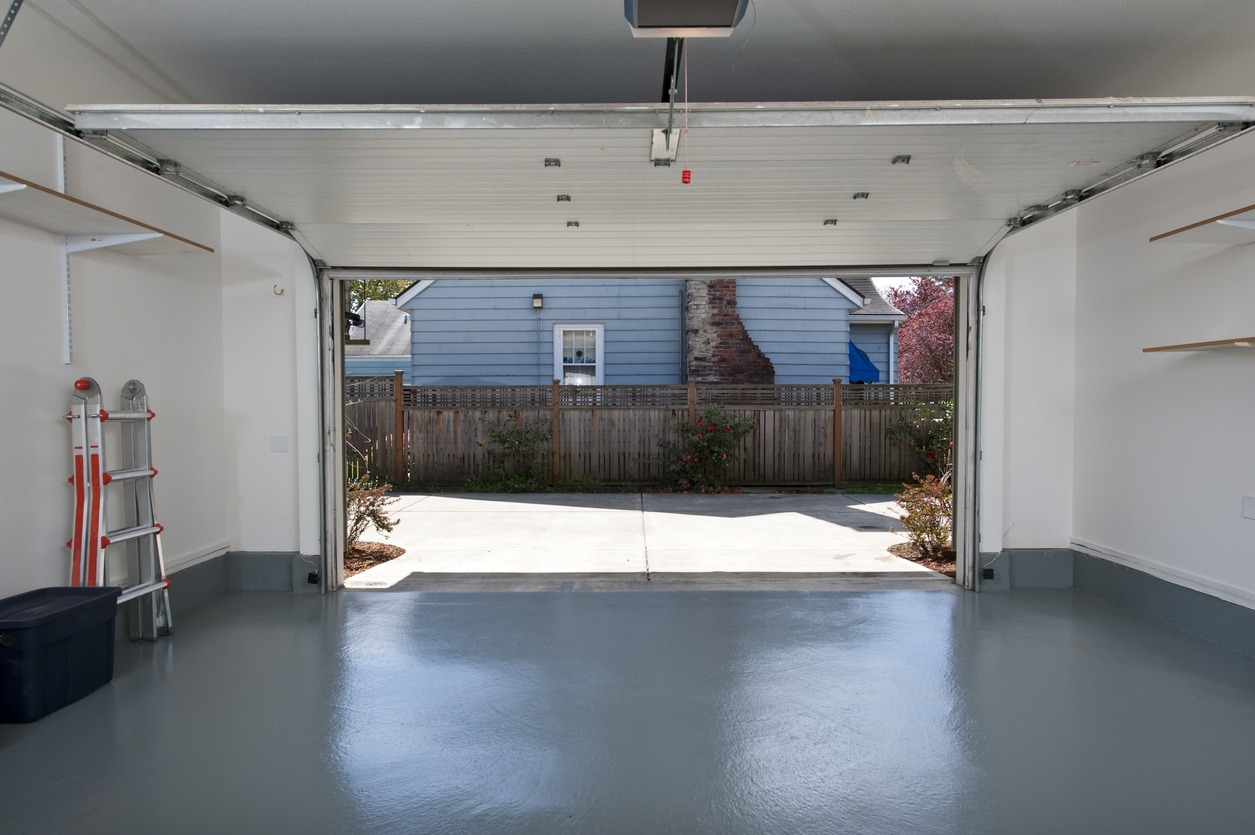
2. Protection from wear and tear: A painted floor acts as a protective layer for the concrete, shielding it from oil spills, chemicals, moisture, and general wear. It helps prevent long-term damage and staining, extending the life of the garage floor.
3. Easy maintenance: Painted garage floors are easier to clean since spills and dirt don’t soak into the concrete. This makes sweeping and wiping up messes much simpler, keeping the space tidy with less effort.
4. Increased durability: A durable floor coating resists cracking, chipping, and peeling, providing a longer-lasting surface. It ensures the floor stays in good condition, even with heavy use or exposure to harsh elements.
Choosing the right floor paint or coating
When choosing the right paint or floor coating for a garage or similar space, here are crucial options to consider:
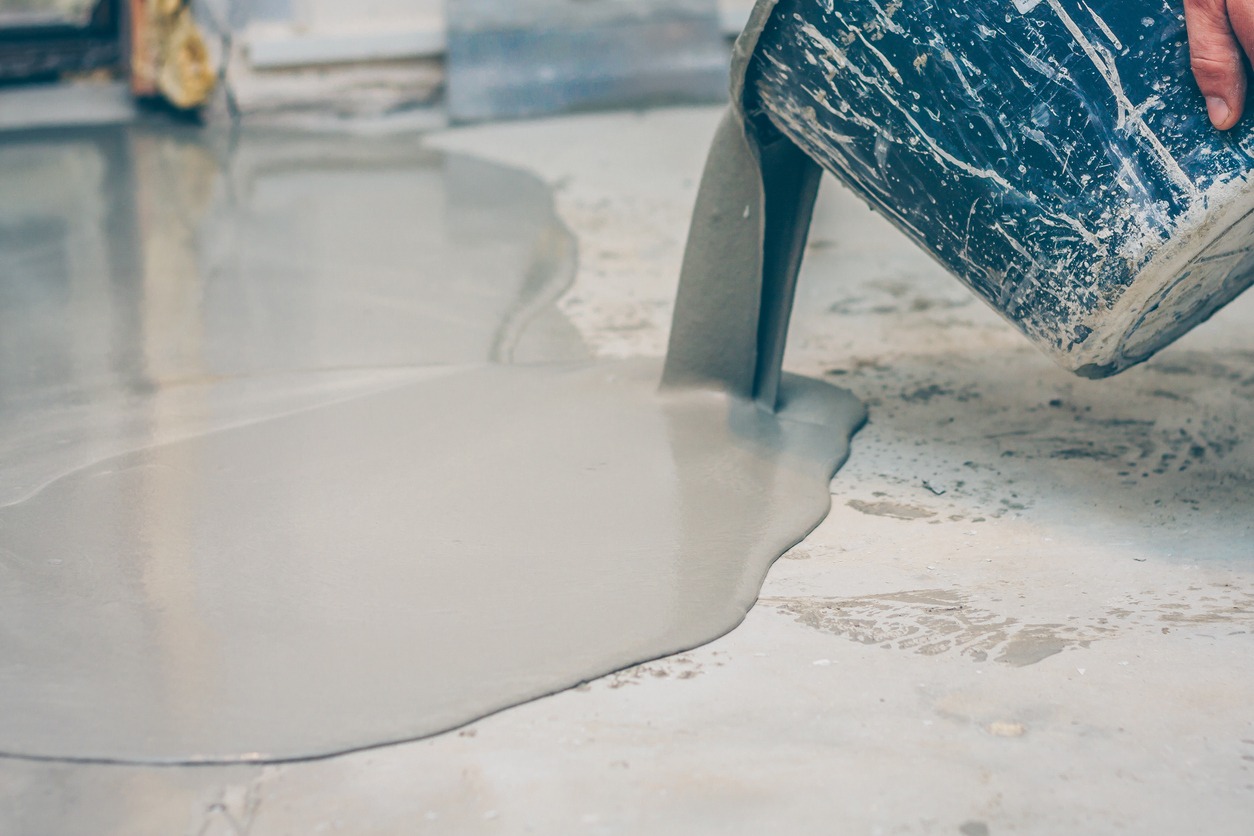
- Epoxy coatings: Epoxy is a popular choice for garage floors due to its incredible strength, durability, and resistance to chemicals, oils, and stains. It forms a durable, long-lasting surface that can handle heavy vehicles and equipment, making it ideal for high-use areas.
- Acrylic concrete paint: Acrylic-based concrete paint is a budget-friendly option that’s easy to apply. It provides decent protection and color to concrete surfaces. It’s not as durable as epoxy but is a good choice for lighter-use areas where frequent reapplication isn’t a concern.
- Polyurethane coatings: Polyurethane can be applied as a topcoat over epoxy or other coatings to enhance durability and add an extra layer of protection. It also creates a glossy, high-quality finish that improves the floor’s appearance and lifespan.
- Anti-slip additives: Adding anti-slip additives to your paint or coating is crucial for increasing safety, particularly in high-traffic or wet areas. These additives provide traction, reducing the risk of slips and falls, which is especially important in garages or workshops.
Preparing the garage floor for painting
Here are the following steps for preparing the garage floor for painting:
Step 1: Cleaning the floor
A thorough cleaning is essential for ensuring the paint adheres properly. Remove all dirt, oil stains, and debris using degreasers or pressure washing. Focus on any greasy spots, as oil can prevent the paint from sticking.
Step 2: Repairing cracks and holes
Patching cracks and holes is crucial to creating a smooth surface for painting. Use concrete patching compounds or epoxy fillers to repair these imperfections, ensuring they are fully cured before proceeding.
Step 3: Etching the concrete
Acid etching or using a concrete grinder roughens the floor surface to improve paint adhesion. This process creates tiny grooves that help the coating bond with the concrete, preventing peeling over time.
Step 4: Priming the surface
Applying a concrete primer ensures better paint adhesion and provides a smoother finish. It also seals the surface, reducing the chances of moisture affecting the paint job.
Step-by-step guide to painting the garage floor
Here’s a detailed step-by-step guide to painting your garage floor:
Step 1: Applying the first coat
- Preparation: Before applying the first coat, ensure the garage floor is fully cleaned, repaired, etched, and primed (as covered in the surface preparation process).
- Tools:
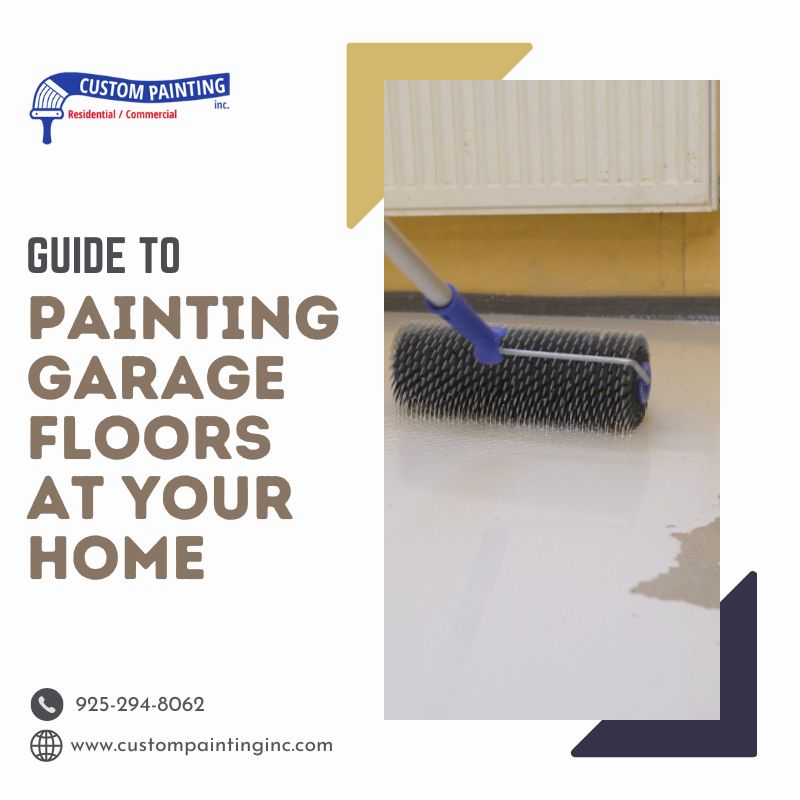
- Roller: For smooth application across large surfaces, use a long-handled roller with a ⅜-inch or ½-inch nap. Foam rollers are best for epoxy.
- Brush: A quality brush (2-3 inches wide) is ideal for cutting in along the edges, corners, and around obstacles like columns.
- Sprayer: If using a sprayer, ensure it’s designed for floor coatings and follow the manufacturer’s instructions for even application.
- Application:
- Stir the paint or epoxy thoroughly before use to ensure the pigments and resins are evenly mixed.
- Paint the edges of the floor using a brush and fill in the rest with the roller.
- Work in small sections to avoid drying lines, applying thin, even layers to prevent pooling.
- For epoxy, consider adding anti-slip additives for safety.
Step 2: Allowing proper drying time
- Importance: Proper drying time between coats is crucial to prevent issues like bubbling, peeling, or an uneven finish.
- Guidelines:
- Check the paint or epoxy label for recommended drying times. Generally, floor paint requires 24 hours between coats, while epoxy needs at least 12-24 hours.
- Ensure proper ventilation to speed up drying, but avoid overly humid or cold conditions that may extend drying times.
Step 3: Applying the second coat
- Preparation: Once the first coat is fully dry, lightly sand any uneven spots or areas where debris might have settled. Wipe the surface with a damp cloth to remove dust.
- Application:
- Use the same tools as the first coat, starting again with the edges and moving toward the center.
- Apply the second coat more generously than the first, ensuring a smooth, even layer to cover any thin spots.
- Watch for roller marks or streaks, especially with epoxy, and smooth them out quickly before they dry.
Step 4: Adding a clear protective topcoat
- Benefits: A clear topcoat (such as polyurethane or a clear epoxy finish) adds a layer of protection against abrasions, chemicals, and UV damage while also providing a glossy finish.
- Application:
- Mix the topcoat thoroughly and apply it using a clean roller or sprayer.
- Work in sections, applying a thin, even layer. Ensure you do not apply too thickly, which can cause clouding or uneven curing.
- Allow the topcoat to cure fully, typically 24-48 hours before using the garage.
This process will help create a durable, attractive finish for your garage floor that stands up to heavy use.
Post-painting care and maintenance
- Allow curing time: Wait 3 to 7 days for the paint to fully cure before parking vehicles or placing heavy equipment on the surface. Lighter foot traffic is usually fine after 24-48 hours, but heavy loads need the full curing period.
- Cleaning and maintenance tips: Sweep regularly to remove debris and dirt, which can cause scratches. Clean with mild detergents and water—avoid harsh chemicals that could damage the paint. Wipe up spills promptly to prevent staining.
- Periodic recoating: Depending on the usage, consider recoating every 3-5 years. High-traffic areas may require more frequent touch-ups to maintain both appearance and protection.
Common mistakes to avoid
Here are some common mistakes to avoid when painting garage floors:
- Skipping surface preparation: Proper cleaning, etching, and repairing are crucial for ensuring the paint adheres well. Skipping this step can lead to peeling, flaking, and reduced durability over time.
- Using the wrong paint: Garage floors require specific coatings, like epoxy or concrete paint, designed to withstand heavy traffic and moisture. Using standard paint will result in peeling or chipping.
- Rushing the process: Allowing adequate drying and curing time between coats is essential. Rushing leads to bubbling, cracking, and an uneven finish.
- Ignoring temperature and humidity levels: Extreme temperatures or high humidity can prevent proper drying and adhesion, compromising the paint job’s longevity.
Why hire a professional for your garage floor painting
Hiring a professional for garage floor painting offers several benefits:
- Expert preparation and application: Professionals thoroughly prepare the surface by cleaning, repairing, and priming it, ensuring a smooth, long-lasting finish. Their experience guarantees the application is precise, minimizing issues like bubbling or peeling.
- Access to high-quality materials: Professionals use top-tier, commercial-grade epoxy and coatings that provide superior durability and resistance compared to DIY products, ensuring a more robust and lasting finish.
- Time-saving and efficiency: A professional team works efficiently, completing the job quickly and effectively, which reduces disruption to your daily routine and often finishes the project in a fraction of the time it would take for a DIY effort.
- Guaranteed results: Many painting companies offer warranties and satisfaction guarantees, providing peace of mind that the project will meet high standards and any issues will be addressed.
Conclusion
Painting your garage floor has several benefits, including protection against wear and tear, increased durability, ease of cleaning and maintenance, and aesthetics.
For homeowners, considering a professional painting company for your garage floor ensures a high-quality, durable finish that lasts. Call Custom Painting, Inc. at 925-294-8062 or message us on our contact page for a consultation and estimate to get started on your garage floor transformation!


