Wallpaper removal may appear to be a simple DIY project, but it can expose homeowners to hidden risks such as wall damage, mold, adhesive residue, lead paint, and even electrical hazards. Different wallpaper types require different removal techniques, and improper removal can create costly repairs before painting can begin. Professional painters use specialized tools, safe removal methods, and proper surface preparation techniques to protect walls and ensure a smooth, paint-ready finish.
Key Takeaways
- DIY wallpaper removal can cause significant drywall or plaster damage.
- Hidden mold, mildew, and water damage may be uncovered during removal.
- Adhesive residue can interfere with paint adhesion and finish quality.
- Older homes may contain lead-based paint beneath wallpaper.
- Proper wall repairs and priming are essential after wallpaper removal.
- Different wallpaper types require different removal methods.
- Professional painters have the tools and expertise to safely remove wallpaper and prepare surfaces for painting.
For most DIY home improvement enthusiasts, wallpaper seems a simple project that they wouldn’t have second thoughts about attempting.
While DIY wallpaper removal may seem tempting, it carries significant risks, such as damaging the walls, leaving behind adhesive residue, or causing issues that could require costly repairs. Hiring a professional painting company ensures the wallpaper is safely and effectively removed, preserving the integrity of your walls and saving you from potential headaches and expenses in the long run.
Common risks for DIY wallpaper removal
Many DIYers remove the wallpaper mainly to save time and money. However, many don’t seem to understand the following risks:
- Wall damage: Improper removal techniques, such as pulling too hard or not using the correct tools, can result in significant wall damage. It includes gouges, tears, and peeling of drywall or plaster, which can lead to costly repairs and require additional work to smooth the surface before repainting or re-wallpapering.
- Hidden mold and mildew: Removing wallpaper can expose hidden mold or mildew, particularly in older homes or humid environments where moisture gets trapped behind the wallpaper. It poses a risk to the wall’s structural integrity and presents serious health hazards, including allergies and respiratory issues.
- Residual adhesive: Leftover adhesive from the removed wallpaper can affect the finish of new paint or wallpaper if not thoroughly cleaned. It can lead to unsightly bumps, stains, or uneven surfaces, requiring additional time and effort to prepare the wall for new finishes.
- Structural issues: During the wallpaper removal process, underlying structural issues may be uncovered, such as cracks in plaster, loose drywall, or signs of water damage. These issues often require professional assessment and repair, potentially escalating the scope and cost of the project.
- Electric hazards: Another potential risk is the electrical wiring behind the walls. If the DIYers aren’t cautious, they may accidentally cut or penetrate an electrical component while removing wallpaper, which could result in an electrical shock, fire, or electrocution.
Before taking the DIY step, consider whether DIY wallpaper removal is worth the risk or call a professional to do the work.
The importance of surface preparation
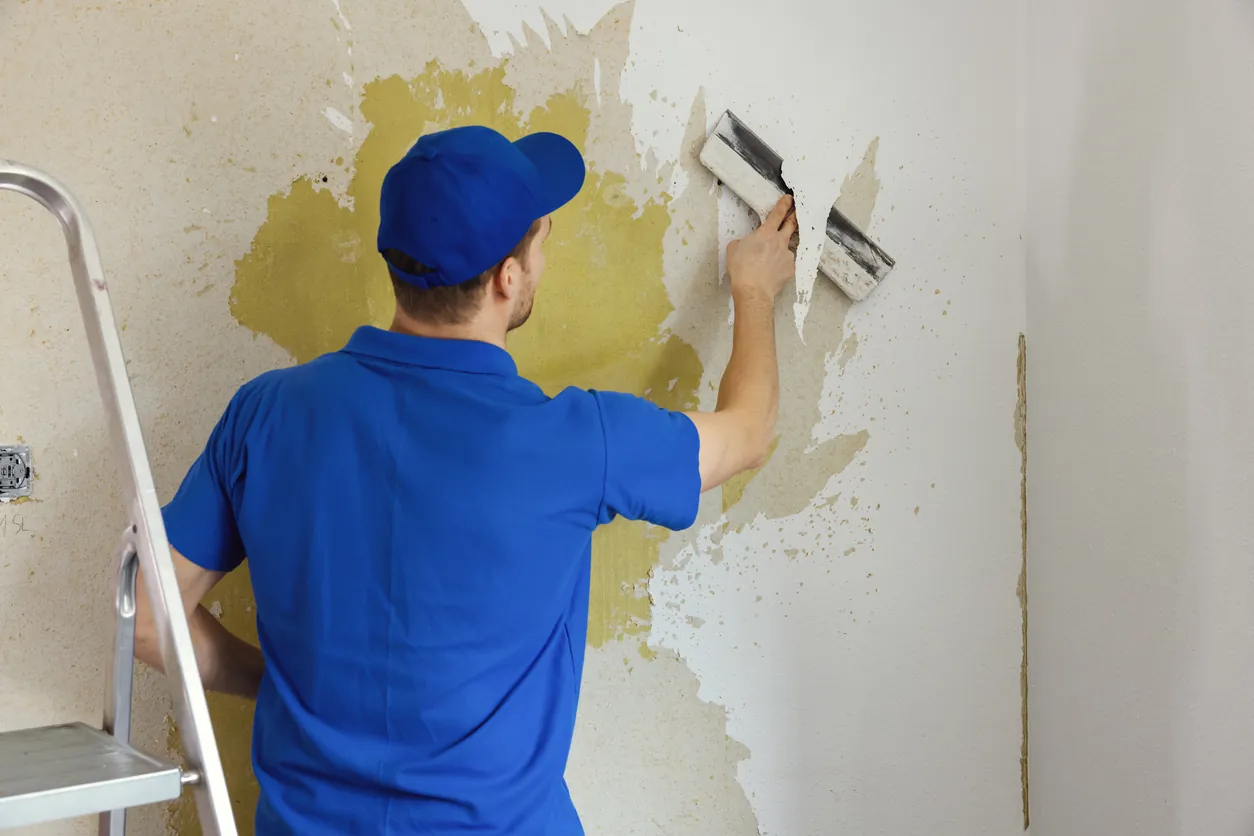
- Surface damage minimization: Professionals prioritize protecting walls during wallpaper removal by testing different methods to determine the best approach. It involves understanding the type of wallpaper (e.g., vinyl, fabric, or peelable) and the wall material (e.g., drywall, plaster). Using the appropriate removal technique—such as steaming, soaking, or chemical solutions—minimizes the risk of damaging the wall surface.
- Removing adhesive residue: Thorough removal of adhesive residue is crucial to achieving a smooth, paint-ready surface. The residue left behind can cause bumps and imperfections, affecting the quality of subsequent paint or wall coverings. Professionals use specialized tools and cleaning solutions to ensure the complete removal of the adhesive, creating a clean foundation for the next steps.
- Repairs before painting: Once wallpaper and adhesive are removed, walls may need patching or repairing, especially if the surface has minor dings, holes, or scratches. Professionals are skilled in identifying these issues and performing the necessary repairs—such as filling holes, sanding, and priming—to ensure a flawless finish when painting or applying new wall coverings.
Preparing the walls for painting after wallpaper removal
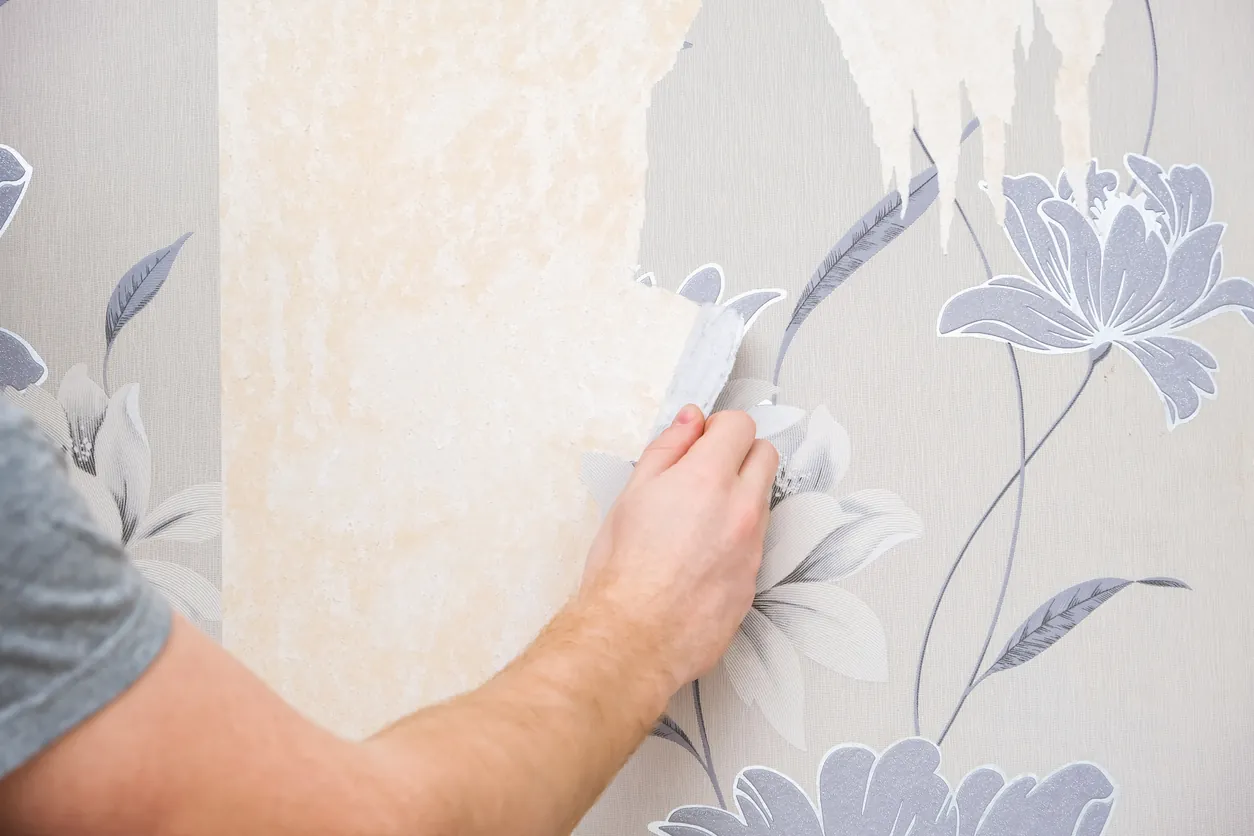
Preparing walls for painting after wallpaper removal involves several crucial steps to ensure a smooth, flawless finish:
1. Smoothing the surface
After wallpaper removal, walls may have residual adhesive, texture, or minor damage. Professionals carefully smooth the surface by:
- Removing residual adhesive: Scrape off any remaining wallpaper paste and clean the walls with a damp sponge and mild detergent to eliminate all residues.
- Sanding: Use sandpaper or a sanding block to smooth out rough areas, ensuring all old adhesive and textures are completely gone.
- Repairing damage: Filling in holes, dents, or cracks with a patching compound and sanding the repairs flush with the wall creates a seamless surface ready for priming and painting.
2. Priming the walls:
Priming is essential after wallpaper removal to ensure a quality paint job:
- Sealing the surface: A primer seals in leftover adhesive that might cause stains or paint bubbling, providing a uniform base.
- Improving paint adhesion: Priming enhances paint adhesion, especially on porous or newly repaired surfaces, preventing peeling and uneven finishes.
- Blocking stains: Special stain-blocking primers can prevent discoloration from old wallpaper adhesive from bleeding through the new paint.
3. Choosing the right paint:
Selecting the best paint type for newly bare walls depends on several factors:
- Wall material: Consider the wall material (drywall, plaster, etc.) and the repair work done. High-quality latex paint is often recommended for its durability and ease of application.
- Finish: Choose a finish that complements the room’s needs—matte or eggshell for a smooth, subtle look, or satin and semi-gloss for more durability and washability, especially in high-traffic areas.
- Coverage and durability: Choose a paint that offers good coverage and is durable enough to handle imperfections or wall repairs.
Proper preparation, priming, and paint selection are crucial steps to achieve a professional-looking paint job after wallpaper removal.
Why hiring a professional company is the best choice
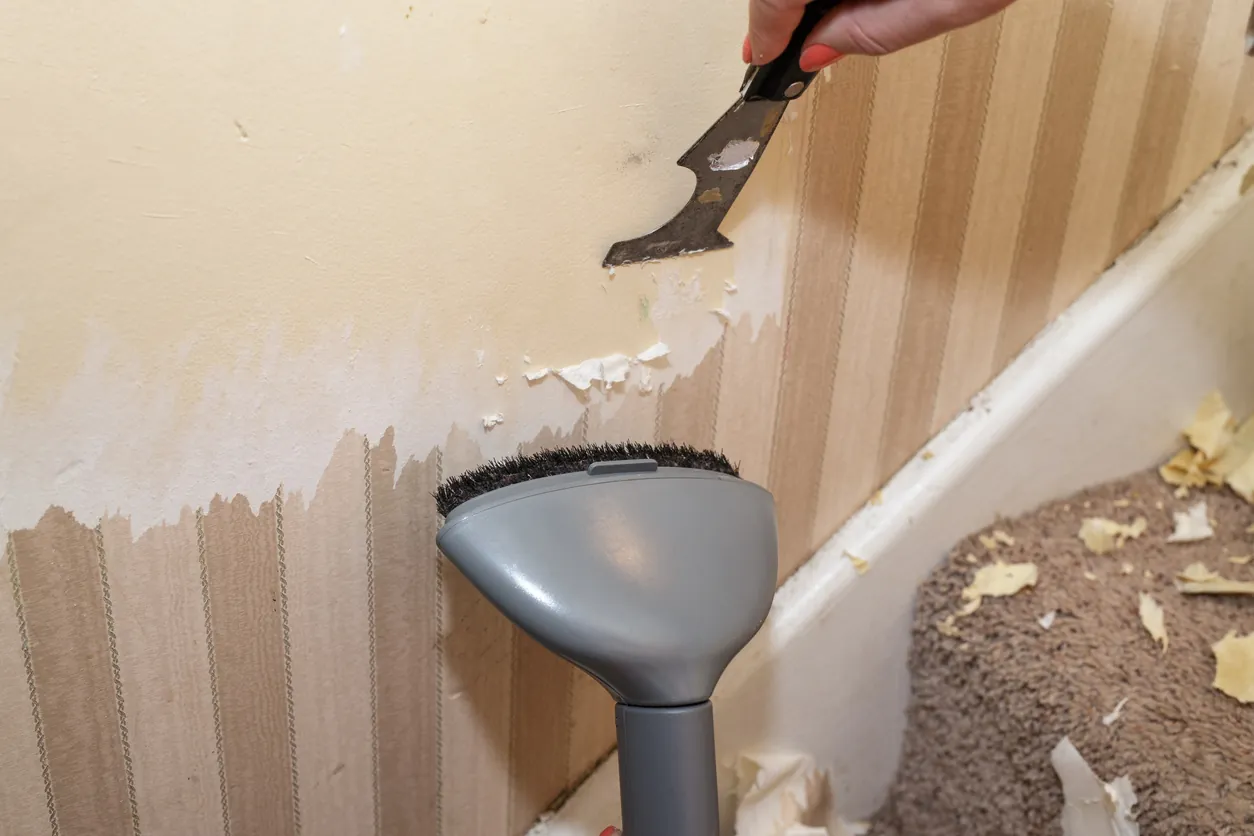
- Experience and expertise: Hiring a professional company for wallpaper removal is the best choice because of their experience and expertise. Professional painters understand the complexities of wallpaper removal, including how to avoid damaging the underlying walls and ensure a clean, smooth surface.
- Tools and techniques: Professionals have access to specialized tools and techniques that make the process safer and more efficient, minimizing risks and reducing the time spent on the project.
- Handling surprises: Professionals are equipped to handle unexpected issues, such as mold, damaged drywall, or hidden structural problems, ensuring the project stays on track and is completed to a high standard.
Conclusion
Attempting to do DIY wallpaper removal can come with many risks: wall damage, adhesive residue, hidden health hazards, and electrical hazards. Any DIYer who does not practice caution when removing wallpaper may experience any of these risks.
Trusting professional painters for wallpaper removal ensures a safe, efficient process that properly prepares your walls for a fresh, high-quality finish. Contact Custom Painting, Inc. today at 925-320-3242 or message our contact page for a consultation and estimate on wallpaper removal and painting services!
FAQ
Is wallpaper removal harder than it looks?
In many cases, yes. The difficulty depends on the wallpaper type, the adhesive used, the number of layers present, and the condition of the wall underneath.
Can wallpaper removal damage drywall?
Yes. Pulling wallpaper too aggressively or using improper techniques can tear drywall paper, gouge surfaces, and create extensive repairs before painting can begin.
What happens if adhesive residue is left behind?
Residual wallpaper adhesive can cause paint adhesion problems, visible imperfections, bubbling, and uneven finishes.
Should walls always be primed after wallpaper removal?
Yes. Primer helps seal repaired surfaces, blocks stains, improves paint adhesion, and creates a uniform foundation for new paint.
Can wallpaper hide mold or water damage?
Absolutely. Wallpaper can conceal moisture problems, mold growth, mildew, and other wall damage that may not become visible until removal begins.
Is it safe to remove wallpaper in older homes?
Older homes may contain lead-based paint beneath wallpaper. If lead paint is suspected, proper testing and safety precautions should be taken before disturbing wall surfaces.