The warm spring air is here again. Most of us associate spring with fresh starts and new beginnings. It’s a sign that you should update your home’s look and feel with cleaning and repairs.
Painting your home with fresh colors is also a timely and appropriate way to give it a new lease on life. Don’t forget to inspect the interior and exterior walls first and get them ready for new paint.
Interior paint – checking the surfaces and repainting
Spring cleaning is usually done inside your home. But do more than just cleaning – how about refreshing your interior walls with paint? It is a great way to update the look of your home. Here’s a step-by-step guide from inspecting for stains to final clean-up and disposal:
Inspecting for stains and damage
Checking for stains – Look for stains, mold, or mildew on your walls. Use a sponge and mild detergent to clean these areas. There are many ways to get rid of stains and mold. Mix hot water with soap and baking soda and transfer the solution to a spray bottle. Vinegar (undiluted) can be an effective mold-buster. You can also remove mold using borax, ammonia, and hydrogen peroxide.
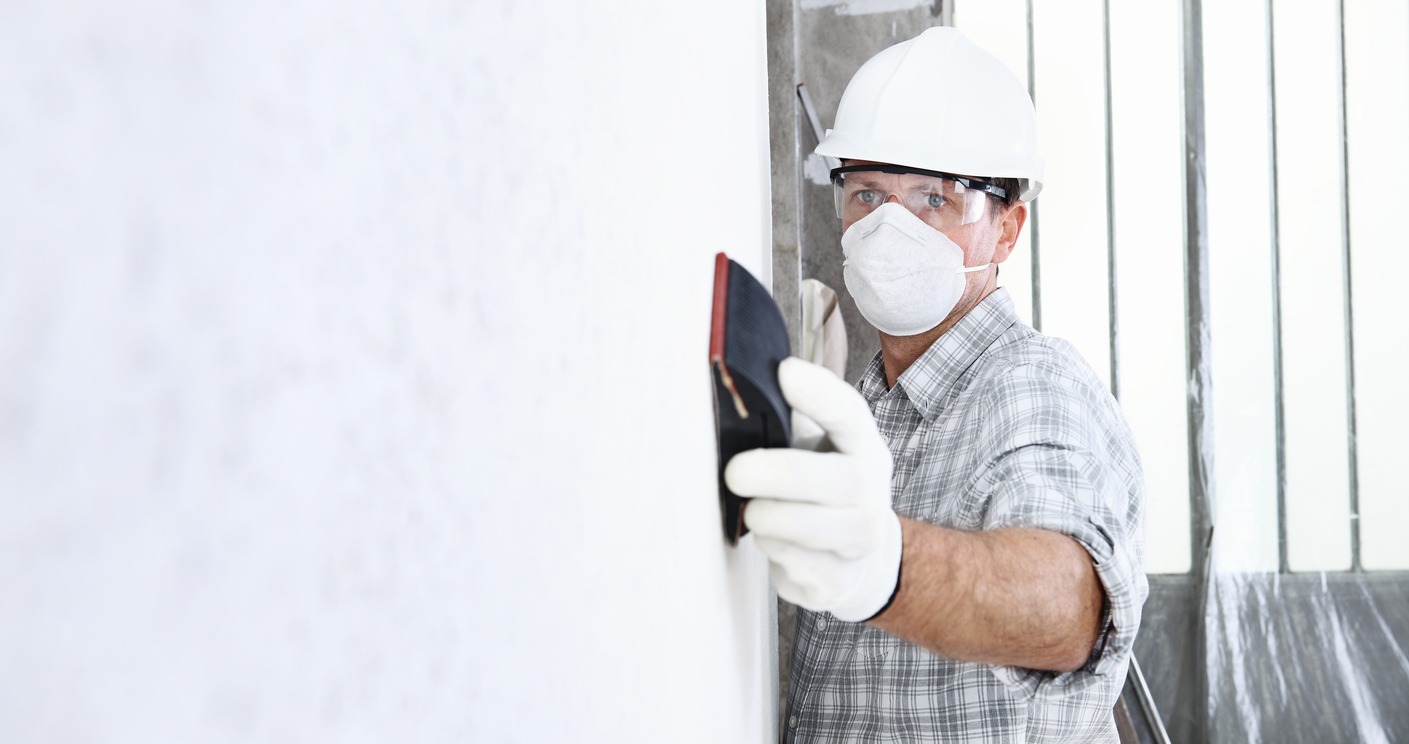
Assess damage – Check for cracks, holes, fading paint, or peeling paint. Fill small holes with spackle, sand smooth, and use a primer if needed.
One of the best ways to prevent damage to your walls is to buy high-quality paints beforehand. These paints may take years before they fade and chip, unlike cheap and inferior paints that lose their color more quickly.
Preparing the room and painting

1. Preparing the room
- Move furniture – Move furniture away from walls or out of the room entirely. Cover any remaining items with plastic sheets.
- Cover floors – Use drop cloths or plastic sheeting to protect the floor from paint spills.
- Remove wall hangings – Take down pictures, shelves, and other wall hangings.
- Tape off areas – Use painter’s tape to cover trim, windows, and doorframes.
2. Cleaning the walls
- Dust and wash – Dust the walls and wash them with a solution of warm water and a mild detergent. Rinse with clean water and let dry completely.
3. Priming the walls
- Apply primer – Use a primer if painting over dark colors, stained areas, or new drywall. Doing so helps the paint adhere better and provides an even finish.
4. Choosing paint and supplies
- Select paint – Choose the correct type of paint (e.g., matte, eggshell, satin, semi-gloss) based on the room and desired finish.
- Gather supplies – You’ll need brushes, rollers, paint trays, stir sticks, and a ladder.
5. Painting the walls
- Cut in – Start by “cutting in” around the edges of the walls with a brush. It means painting a strip along the edges where the roller can’t reach.
- Roll Paint – Use a roller to apply paint to the larger areas. Roll in a “W” or “M” pattern to avoid streaks and ensure even coverage.
- Apply multiple coats – Apply at least two coats of paint, allowing the first coat to dry completely before applying the second.
6. Final touches
- Remove tape – Once the paint is dry to the touch, carefully remove the painter’s tape.
- Touch up – Inspect the walls for any missed spots or uneven areas and touch up as needed.
7. Clean-up
- Clean brushes and rollers – Wash brushes and rollers immediately after use with warm and sudsy water for water-based paints or the appropriate solvent for oil-based paints.
- Dispose of paint properly – Check local regulations for disposing of unused paint. Many communities have hazardous waste disposal sites.
8. Reassembling the room
- Rehang wall decorations – Once the paint is completely dry, rehang pictures, shelves, and other decorations.
- Move furniture back – Move furniture back into place carefully to avoid scratching the fresh paint.
Tips
- Ventilation – Ensure the room is well-ventilated while painting and drying.
- Lighting – Use good lighting to spot any areas that need more attention.
- Safety – Use a ladder safely and wear appropriate protective gear like gloves and masks if needed.
These steps will help you achieve a professional-looking paint job and refresh your interior walls effectively.
Exterior painting – checking the surfaces and repainting
Spring is also the perfect time to enhance your home’s curb appeal! The warmer air makes spring an ideal time for outdoor painting.
Inspection of the exterior surfaces
Depending on where you live, your home’s exterior surfaces may have stood up to mild or harsh winter. If that’s the case, there’s a good chance that the surfaces might show signs of wear and tear. Temperature fluctuations can also play a role in wearing down your home’s siding paint. It’s always a good idea to closely inspect your home’s exterior and watch for signs of damage at the beginning of spring. Likely, there’s more than mere touch-up work to keep your home in good shape.
Here are some inspection tips:
- Ensure corner boards’ undersides are painted to prevent water seepage and rot.
- The type of siding determines maintenance. Stucco needs less upkeep than wood, while wood siding requires frequent repainting.
- Mold and mildew can be a nuisance, especially in warm and humid climates. Use paints or primers with mildewcide to prevent these fungi from forming on sidings and trim. In case your paints lack mildewcide, mix in a separate additive.
- External surfaces that face the sun, wind, rain, and snow are prone to weather damage. For protection, coat problem areas with primer and two paint layers after prepping the surface diligently. Use high-quality paint for durability.
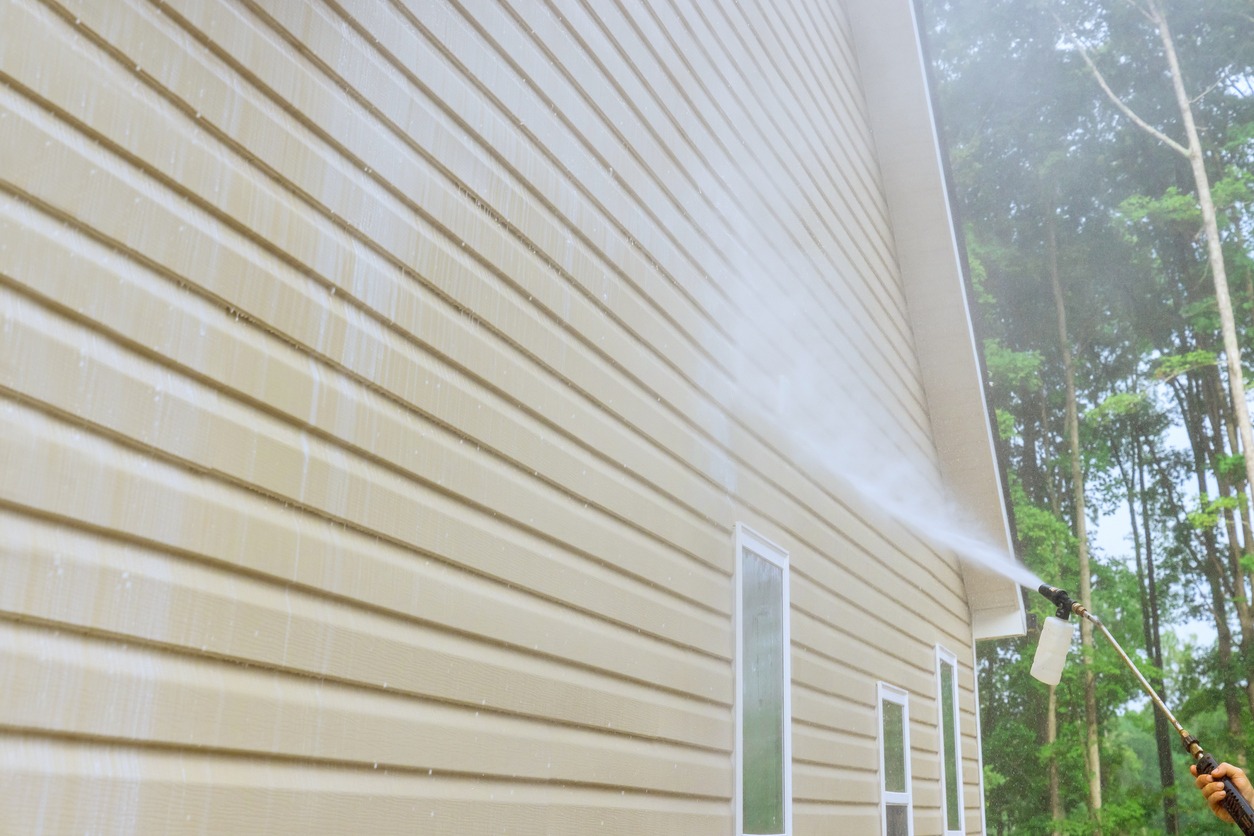
- Check the surfaces for dirt. Use a pressure washer if needed, especially every 5-6 years post-paint. A yearly hose wash can help if a pressure washer isn’t an option.
Refreshing your exterior walls with paint involves several key steps, from inspection to final clean-up. Here’s a general guide:

1. Inspection and preparation
Inspect the surface
- Examine the walls for cracks, peeling paint, mold, mildew, and structural damage.Note areas that need repairs or special attention.
-
Clean the surface
- Use a pressure washer to remove dirt, dust, and loose paint.
- For areas with mold or mildew, use a mixture of water and bleach (3:1 ratio) to clean the surface.
- Rinse the surface thoroughly and allow it to dry completely.
-
Repair and patch
- Fill any cracks or holes with an exterior-grade filler or caulk.
- Sand the repaired areas to ensure a smooth surface.
- Replace or repair any damaged siding or trim.
-
Protect surrounding areas
- Cover plants, windows, and other surfaces not being painted with drop cloths or plastic sheeting.
- Use painter’s tape to protect edges and trim.
2. Priming
Choose the right primer
- Select a primer suitable for your wall material (wood, stucco, brick, etc.).
- Use a stain-blocking primer for areas with stains or heavy repairs.
Apply primer
- Apply the primer using a brush for edges and a roller for larger areas.
- Let the primer dry completely, following the manufacturer’s instructions.
3. Painting
Select the paint
- Choose a high-quality exterior paint appropriate for your climate and wall material.
- Consider a paint with built-in primer for added durability.
-
Mix the paint
- Stir the paint thoroughly before use.
- Pour the paint into a roller tray.
-
Apply the paint
- Start with a brush to paint the edges and trim.
- Use a roller for large and flat areas. Apply in a consistent direction to avoid lap marks.
- Apply two coats for even coverage, allowing the first coat to dry completely before applying the second.
4. Final clean-up and disposal
Clean tools
- Wash brushes and rollers with warm, soapy water if using water-based paint or the appropriate solvent for oil-based paint.
- Allow them to dry completely before storing.
-
Remove protective coverings
- Carefully remove painter’s tape and drop cloths or plastic sheeting.
Dispose of waste properly
- Dispose of empty paint cans, used brushes, rollers, and other materials following local regulations.
- Store leftover paint for touch-ups or donate it to community projects.
-
Inspect the finished work
- Check for any missed spots or uneven areas and touch up as needed.
- Ensure all surfaces are clean and any debris is properly disposed of.
Tips for best results
- Paint in suitable weather conditions (mild temperatures, low humidity, and no rain forecast).
- Work in manageable sections to maintain a wet edge and avoid lap marks.
- Use high-quality brushes and rollers for a smoother finish.
- Consider adding a topcoat or sealant for added protection against the elements.
Following these steps ensures you a refreshed and well-protected exterior for your home.
Refresh your home this spring with Custom Painting, Inc.
There’s something about spring that makes us want to change things. It usually takes the form of spring cleaning in our homes, but it can also mean updating them with a fresh coat of paint.
If you want to give your home a fresh look this spring, give it a facelift with Custom Painting, Inc.’s services! Our professional paint crew is here to help you transform your living space into a beautiful and welcoming oasis. We only use the highest quality paints, tools, and materials and follow the proper application techniques to ensure your home will look fantastic for years. Call us at 925-294-8062 or complete our contact form to schedule a free consultation and estimate. We’ll help you bring your vision to life!

