Achieving a great result with house painting involves more than just picking the right color. Proper preparation and techniques can make a huge difference in the final outcome. This article provides practical tips to help you get a professional-looking finish for your painting project.
What are the Benefits of House Painting?
House painting offers numerous benefits that go beyond just improving the appearance of your home. Here are some of the key advantages of painting your house.
- Increased Home Value: A fresh coat of paint can boost your home’s market value. It makes your property more attractive to potential buyers.
- Enhanced Curb Appeal: Painting the exterior of your house can dramatically improve its curb appeal. This gives a positive first impression to visitors and neighbors.
- Protection from the Elements: Paint acts as a barrier against weather damage. It protects your home from rain, sun, and wind, preventing potential damage.
- Improved Indoor Air Quality: Using low-VOC and eco-friendly paints can improve the air quality inside your home. This creates a healthier environment for you and your family.
- Personalization: Painting allows you to personalize your space with colors that reflect your style and preferences. It can make your home feel more like your own.
- Preventing Stains and Damage: A good quality paint job can prevent stains and damage from daily wear and tear. It adds a layer of protection to your walls.
- Boosts Mood and Energy: The right colors can positively affect your mood and energy levels. Bright and cheerful colors can make spaces feel more welcoming and lively.
- Cost-Effective Renovation: Painting is a cost-effective way to update and refresh your home without the expense of major renovations.
- Easy Maintenance: Painted surfaces are easier to clean and maintain. Regular touch-ups can keep your home looking fresh and new.
Tips for House Painting

House painting can seem like a daunting task, but with the right tips, you can achieve a professional-looking result. Continue reading below for practical tips to help you through the process.
Prepare the Surface
Before you start painting, make sure the surface is clean and smooth. Remove any dirt, grease, and loose paint using soap and water or a suitable cleaner. Sand down rough spots and fill in any holes or cracks with spackle or filler. This step ensures the paint adheres properly and provides a smooth finish.
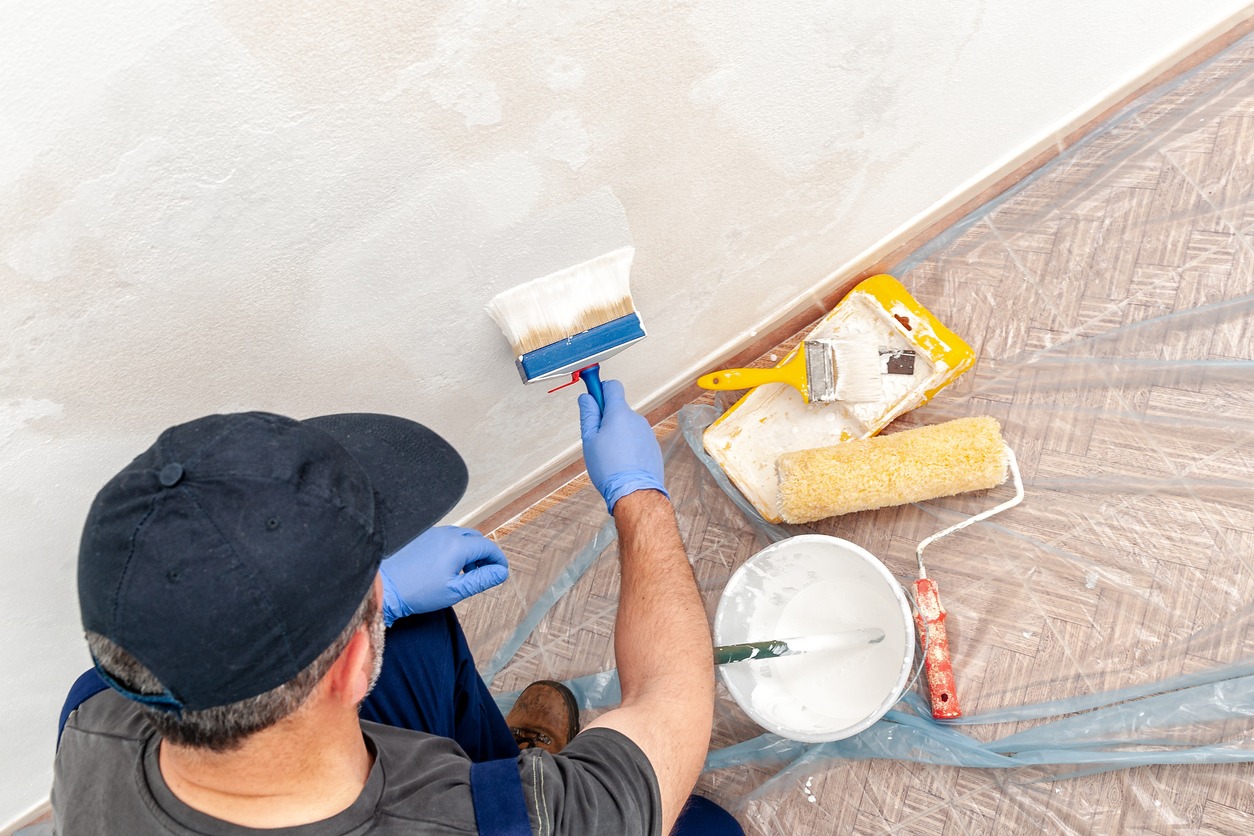
Proper preparation also includes protecting your furniture and flooring. Use drop cloths to cover areas you don’t want to paint, and apply painter’s tape to edges and trim. This will help you avoid unwanted paint splatters and achieve clean lines.
Use Primer
Applying a primer before painting is essential for a long-lasting finish. Primer helps the paint adhere better to the surface and can cover up stains and darker colors. Choose a primer that is suitable for the type of surface you are painting, whether it’s wood, drywall, or metal.
Priming also ensures that the paint color appears more vibrant and even. It creates a uniform base that allows the paint to go on smoothly, reducing the number of coats needed and enhancing the overall durability of the paint job.
Choose the Right Paint
Selecting the right type of paint is crucial for achieving the best results. Consider the room and the surface you are painting. For example, use moisture-resistant paint for bathrooms and kitchens to prevent mold and mildew. For high-traffic areas, choose durable, washable paint that can withstand frequent cleaning.
Color selection is also important. Test paint samples on the walls to see how they look in different lighting conditions. This will help you make an informed decision and avoid costly mistakes.
Use Quality Tools
Investing in high-quality brushes, rollers, and other painting tools can make a significant difference in the outcome of your project. Good quality brushes and rollers apply paint more evenly and smoothly, reducing streaks and brush marks.
Using the right tools also speeds up the painting process and makes it more efficient. Clean your tools properly after each use to maintain their condition and extend their lifespan.
Apply Multiple Coats
For a professional finish, apply multiple coats of paint. One coat is rarely enough to achieve a uniform color and coverage. Allow each coat to dry completely before applying the next one. This ensures better adhesion and a more durable finish.
Applying multiple coats also helps to hide imperfections and provides a richer, more consistent color. Be patient and take your time to ensure each coat is applied evenly.
Maintain Proper Ventilation
Painting can release harmful fumes if inhaled. Ensure proper ventilation by opening windows and using fans to circulate air. This helps the paint dry faster and reduces the buildup of fumes inside the house.
If you are using low-VOC (volatile organic compounds) or zero-VOC paints, ventilation is still important. It ensures a safer and more comfortable environment while you work and during the drying process.
Hiring the Best Professional Painters for House Painting

Hiring the best professional painters can help you achieve a high-quality finish for your home. Here are some tips to help you find the right painters for your project.
- Check Credentials: Ensure the painters are licensed and insured. This protects you from liability and guarantees they meet industry standards.
- Look at Experience: Choose painters with a proven track record in house painting. Experienced painters handle various surfaces and challenges effectively.
- Ask for References: Request references from previous clients and contact them. This gives you insights into the painters’ reliability and quality of work.
- Review Portfolios: Look at their portfolio of previous projects. This helps you gauge their skill and see examples of their work.
- Get Detailed Quotes: Request detailed quotes from multiple painters. Compare the costs, materials, and timelines to find the best fit for your project and budget.
- Read Reviews: Check online reviews on platforms like Google and Yelp. Positive reviews indicate reliable painters who deliver satisfactory results.
Conclusion
Achieving a great result with house painting involves proper preparation, choosing the right materials, and using the best techniques. By following the tips we provided, you can get a professional-looking finish that enhances the beauty and value of your home.
For expert painting services, contact Custom Painting, Inc. Call us at 925-294-8062 or fill out a Contact Form.

