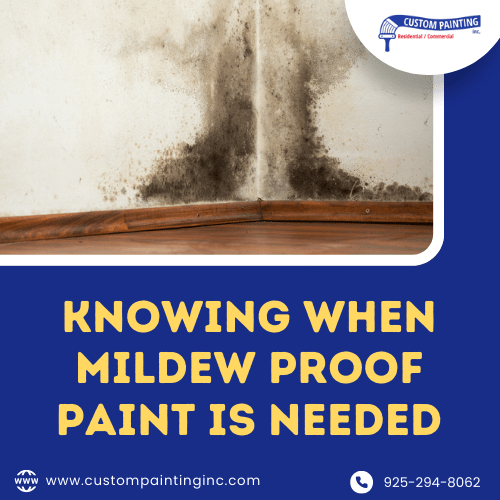
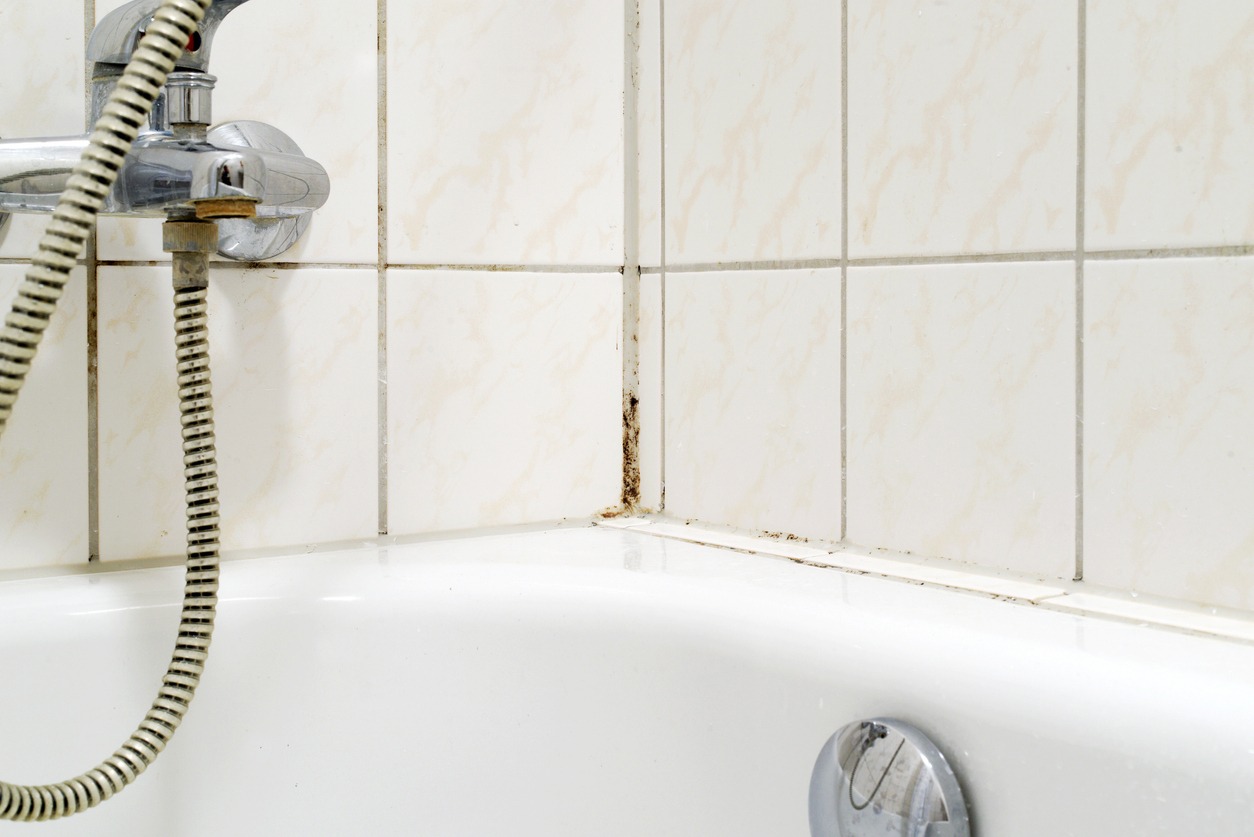
Mold and mildew are common surface issues—unwelcome guests that homeowners must deal with. These pesky fungi are also one of the usual pet peeves of every painter. They look unsightly on surfaces and are challenging to remove. If the problem worsens, there is no other choice but to replace the drywall or other damaged structural parts.
Mold and mildew in a home can impact anything – from painted surfaces to health and safety. Here’s how mold and mildew in your home can have several adverse effects:
- Health issues include respiratory problems, allergic reactions, asthma exacerbation, headaches, and skin irritation.
- Structural damage includes the weakening of walls, ceilings, and floors, as mold can degrade building materials.
- Odor occurs when musty and unpleasant smells that can permeate the home.
- Aesthetic damage, such as discoloration and staining on walls, ceilings, and fabrics.
- Decreased property value. Mold and mildew can reduce home value due to potential health risks and needed repairs.
- Increased cleaning and maintenance costs. There is an ongoing need for cleaning and repairs to prevent mold and mildew growth.
Preventive measures include using mold- or mildew-resistant paint, ensuring good ventilation, controlling humidity levels, and locating the moisture source that caused mold and mildew. Regular maintenance and inspections will help identify and mitigate potential issues before they can lead to severe damage.
Understanding mildew
Understanding mildew’s characteristics can help you identify and address mildew problems in homes and other environments.
Mildew is a type of fungus falling under the broader mold category. It is a flat-growing fungus that thrives in humid and moist environments where it can grow on various surfaces, including paper, leather, fabrics, and walls. Mildew usually appears as a thin, superficial coating or discoloration.
More of mildew’s typical characteristics:
- Appearance – Mildew often appears as a thin, powdery, or fluffy growth on surfaces. It can be white, gray, yellow, or black.
- Texture – Mildew usually has a powdery or downy texture. Unlike mold, which can be slimy or fuzzy, mildew is often lighter and more powdery.
- Growth pattern – Mildew tends to grow in flat patches. It often spreads in circular patterns and can cover large areas if they are not controlled.
- Odor – Mildew emits a musty, earthy smell that is typically unpleasant. This smell is a strong indicator of its presence.
- Affected areas – Mildew commonly affects organic materials such as fabrics, paper, leather, and plant leaves. It also frequently grows on surfaces in damp areas like bathrooms, kitchens, basements, and poorly ventilated rooms.
- Health effects – Exposure to mildew can cause allergic reactions, respiratory issues, and other health problems, particularly for individuals with allergies, asthma, or compromised immune systems.
- Conditions for growth – Mildew thrives in high humidity, poor ventilation, and warm temperatures. It requires moisture to grow and can often be found in areas where the water damage has occurred, or condensation is typical.
The need for mildew-proof paint
When and where should you need mildew-proof paint?
Mildew-proof paint is paint with formulations to resist the growth of mildew, mold, and other fungi. It contains antimicrobial agents that inhibit these microorganisms from growing on the painted surface. This paint is helpful for environments where high humidity, moisture, or poor ventilation might encourage mildew and mold growth.
Essential features of mildew-proof paint
- Antimicrobial additives – The paint contains fungicides and biocides that prevent the growth of mold and mildew.
- Moisture resistance – It helps the surfaces withstand moisture and humidity, which are common conditions for mildew growth.
- Durability – Mildew-proof paint is often more durable and easy to clean than regular paint.
When and where to use mildew-proof paint:
1. Bathrooms and kitchens:
- These areas are prone to high humidity and moisture, making them ideal candidates for mildew-proof paint.
- Use on walls and ceilings, especially near showers, bathtubs, sinks, and stoves.
2. Basements:
- Basements often have poor ventilation and can be damp, creating an environment conducive to mold growth.
- Apply on basement walls and floors to protect against mildew.
3. Laundry rooms:
- The moisture from washing machines and dryers can create a breeding ground for mildew.
- Paint the walls and ceilings in laundry areas to prevent mildew growth.
4. Exterior surfaces:
- Exterior walls and surfaces exposed to the elements can benefit from mildew-proof paint to prevent mold and mildew buildup.
- It is particularly suitable in humid or rainy climates.
5. Garages and sheds:
- These spaces may not be as well-ventilated as the main house, making them susceptible to mold and mildew.
- Use mildew-proof paint on walls, ceilings, and even floors.
6. Attics and crawl spaces:
- These areas often suffer from poor ventilation and can accumulate moisture, making them prime locations for mildew.
- Applying mildew-proof paint can help in preventing mold growth in these hard-to-reach areas.
Applying mildew-proof paint
Applying mildew-proof paint involves several crucial steps to ensure the paint adheres well and effectively resists mildew growth. Here’s a detailed guide:
Materials needed
- Mildew cleaner or bleach solution
- Water
- Sponge or scrub brush
- Rags or towels
- Sandpaper (medium and fine grit)
- Painter’s tape
- Drop cloths
- Primer (mildew-resistant, if needed)
- Mildew-proof paint
- Paintbrushes and rollers
- Paint tray
- Ladder (optional)
- Safety equipment (gloves, mask, goggles)
Steps
1. Preparation:
- Clear the area: Remove furniture, wall hangings, and any obstructions from the area to be painted.
- Protect surfaces: Lay down drop cloths to protect floors, then tape off edges and trim with painter’s tape.
- Ventilation: Ensure the area is well-ventilated by opening windows and using fans if necessary.
2. Cleaning:
- Remove mildew: Clean the surfaces with a mildew cleaner or a bleach solution (1 part bleach to 3 parts water). Apply the solution with a sponge or scrub brush, focusing on areas with visible mildew.
- Rinse: After cleaning, rinse the surfaces with clean water to remove any remaining cleaner or bleach.
- Dry: Allow the surfaces to dry completely. Depending on humidity levels, drying may take a few to several hours.
3. Surface preparation:
- Repair damages: Patch any holes or cracks in the walls with a spackle or a suitable filler. Allow it to dry and sand smooth.
- Sand surfaces: Lightly sand the surfaces to be painted with medium-grit sandpaper to remove any gloss and ensure good paint adhesion. Follow with fine-grit sandpaper for a smooth finish.
- Dust removal: Wipe down the surfaces with a damp cloth to remove dust from sanding.
4. Priming (if needed):
- Apply primer: If the surface has never been painted or has stains or previous mildew issues, apply a mildew-resistant primer. Use a brush for corners and edges and a roller for large and flat areas.
- Dry: Allow the primer to dry according to the manufacturer’s instructions.
5. Painting:
- Stir paint: Stir the mildew-proof paint thoroughly before use.
- Cut in: Start by “cutting in” around the edges and corners, and trim with a brush.
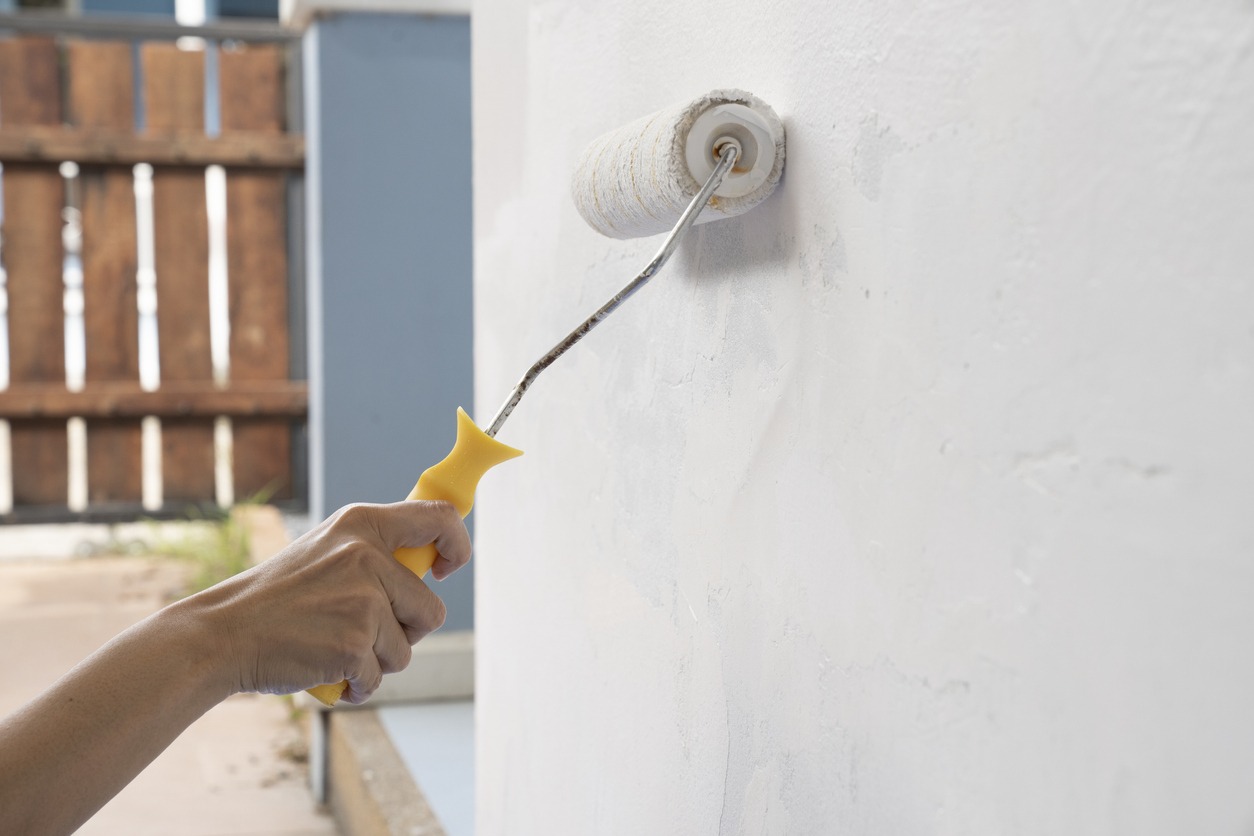
- Roll paint: Use a roller to apply the paint to larger areas. Work in small sections and use long, even strokes to ensure an even coat.
- Second coat: If needed, apply a second coat after the first coat is completely dry. Follow the paint manufacturer’s recommendations for drying times.
6. Cleanup:
- Remove tape: Carefully remove the painter’s tape before the paint is fully dry to avoid peeling off any paint.
- Clean tools: Clean brushes, rollers, and any other tools with soap and water (or according to the paint manufacturer’s instructions).
- Dispose of waste: Properly dispose of any leftover paint and cleaning materials according to local regulations.
7. Final steps:
- Reassemble room: Once the paint is fully dry, return furniture and decorations to their places.
- Inspect: Check for any missed spots or touch-ups needed and address them promptly.
Parting words
Removing mildew and cleaning the surfaces are crucial before applying mildew-proof paint. Following these steps ensures you a thorough application of mildew-proof paint. It will help prevent mildew growth and keep your painted surfaces fresh and clean for years.
To learn more about Custom Painting, Inc.’s services, please contact our team at 925-294-8062 or message us here to request a free estimate.


