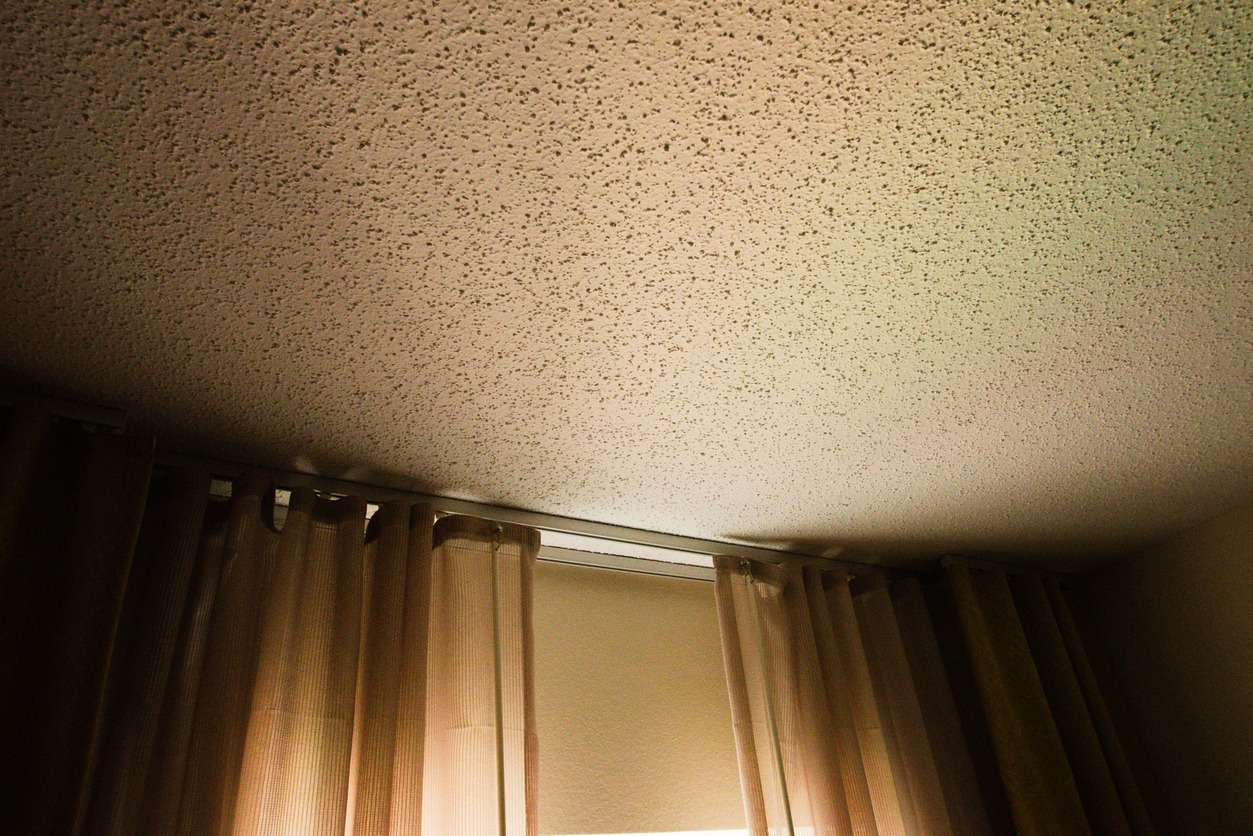
If you live in a home built before the 1980s, it probably has popcorn-textured acoustic ceilings. They used to be quite popular back in the day, but now they are seen as obsolete. Families living in older homes want to get rid of them. They can do so in two ways – removing the acoustic ceilings themselves or having them professionally removed by an interior painting company in Livermore.
The pros and cons of acoustic ceilings
Acoustic ceilings were an interior design trend from the 1950s up to the 1980s, but the reasons they were popular may be more practical than aesthetic.
Acoustic ceilings hide surface imperfections, absorb noise, and are easy to install. They are also an affordable way to add visual appeal to your home. However, acoustic ceilings are not for everyone. Those not fans of these textured ceilings cite lumpy surfaces as the main reason they think they’re old-fashioned and unsightly. However, there are far deeper reasons than just aesthetics.
Acoustic ceilings are highly porous. Their lumpy, crater-like surface collects dust, dirt, spider webs, and even insects, making them very hard to clean. And have you ever tried painting acoustic ceilings without a sprayer? Next to impossible!
The risk of asbestos poisoning from acoustic ceilings is significantly higher in homes and commercial buildings built during or before the 1980s. If you are particularly concerned about the possibility of asbestos content in your popcorn ceilings, it’s best to have them tested by a professional.
Once your popcorn ceilings are confirmed to have asbestos, hire a licensed painter near me who will remove the texture safely and prepare the ceiling surface for the new paint. It is advisable to stay out of the area where the acoustic ceiling removal takes place to ensure your safety.
Removing acoustic ceilings, the safe way
Suppose your acoustic ceilings do not contain traces of asbestos; it’s safe to say you can DIY the removal and painting process. However, expect to encounter dust and debris as you scrape the acoustic ceilings away, so wearing safety gear such as eye protection and a dust mask is essential.
Prepare the work area by removing all furniture and covering the walls and floor with plastic sheeting. It’s important to have a stable step ladder to help you reach the ceiling.
Using a garden spray bottle, spray the ceiling with water before carefully scraping away the acoustic ceiling texture. Don’t soak the texture, though, as doing so could damage the sheetrock underneath it. Allow about 15 minutes to let the texture absorb all the water to ensure that it is easy to scrape off.
Now, you’re set to begin scraping. Use a drywall taping or wide putty knife and gently scrape the acoustic texture. Be careful while you scrape so as not to gouge the ceiling underneath. Continue around the room until all the acoustic texture is removed. You may make a second round of scraping if necessary. You can spray the texture away to make the removal easier.
If there’s any damage to the ceiling due to the texture removal, such as dents and gouges, as well as other imperfections like visible nails or screws, cover them with spackle or joint compound. Let the filling dry and sand the excess.
After repairing and sanding the ceiling, it is now ready for texture. Apply a coat of primer and then a fresh coat of paint.
Once the priming and painting are done, remove all the coverings and return all the furniture. You can now enjoy a more modern-looking space.
Let Custom Painting, Inc. remove acoustic ceilings in your home
At Custom Painting, Inc., we know that removing outdated acoustic ceilings is a sure way to improve the look and feel of your home. Removing acoustic ceilings is extremely time-consuming and labor-intensive. It also involves meticulous preparation.
First, our paint crew covers everything in the area to be worked on in plastic, including walls, floors, and all furniture. Next, they scrape all the acoustic texture off the ceiling. Once all the acoustic is removed, our crew does the necessary repairs to the ceiling and sands the surface to make it ready for texture. And finally, they prime and paint the ceiling.
After painting, the crew cleans off all the debris, removes the coverings in the area, and puts all the furniture back in place.
Most companies only remove the acoustic ceiling and texture and skip priming and painting. But not us! We take care of all the details from A to Z. All you have to do is enjoy the new, smooth, and clean look of your ceiling!
Hire a single contractor to do the entire job right!
Why get separate contractors to remove acoustic ceilings and paint the new ceiling surface when you could hire one contractor to do it?
Custom Painting, Inc. offers competitive pricing on acoustic ceiling removal, texture, and paint, so you can say goodbye to hiring multiple contractors!
An average home takes two to three days for the entire process of removing acoustic ceilings and texture and finishing the prepared surface with prime and paint. We offer flexible scheduling – we would also work on weekends if need be!
Your home is your retreat and a haven from the rush and tumble of the world. And how your home makes you feel is important to us. That’s why when we paint your home, we treat it as if it were ours.
Customer satisfaction is our goal. After all, a happy customer is a loyal customer. Nothing beats repeat customers and word of mouth as effective marketing strategies that are vital to any business’ success. It’s little wonder we take our workmanship seriously. We have our success and future riding on your satisfaction and happy testimonials.
Give the best residential painting company in the Bay Area a call, and we will refresh and modernize the look of your home!


