Dealing with mold in the bathroom can be a real headache, especially when you’re getting ready to give your space a fresh coat of paint. You might be tempted to simply slap a coat of paint in there to hide the dark patches, but it will not solve your problem. While it’s physically possible to paint over mold, it will always reappear without adequately dealing with it first. And remember – it’s not just unsightly – it can also pose health risks, so getting rid of them is not just an aesthetic consideration.
If mold problems hinder your bathroom renovation plans, don’t worry—we’re here to help you deal with them.
What Causes Mold in My Bathroom?
Bathrooms are the perfect breeding ground for mold. Why? It’s simple – moisture. With all the showers, baths, and sinks, bathrooms are constantly exposed to water and humidity. When moisture lingers on surfaces like walls, ceilings, and floors, it creates the ideal environment for mold to thrive. Poor ventilation, leaky fixtures, and inadequate cleaning can also contribute to mold growth. It’s essential to address these issues to keep your bathroom mold-free.
Not all mold is the same. In bathrooms, you might encounter a few different types:
- Aspergillus: This is a common mold found in bathrooms. It’s usually green, white, or gray and can grow on walls, ceilings, and even on soap scum and shampoo residues.
- Cladosporium: This mold appears as black or green spots and often grows on painted surfaces, wood, and even in the grout between tiles.
- Stachybotrys: Also known as black mold, Stachybotrys is less common but more dangerous. It appears as dark black or greenish-black spots and usually grows on materials with high cellulose content, like wood and paper.
How to Identify Mold in Different Areas of the Bathroom
Mold can hide in various places in your bathroom, so knowing where to look is crucial. Here are some tips on identifying mold in different areas:
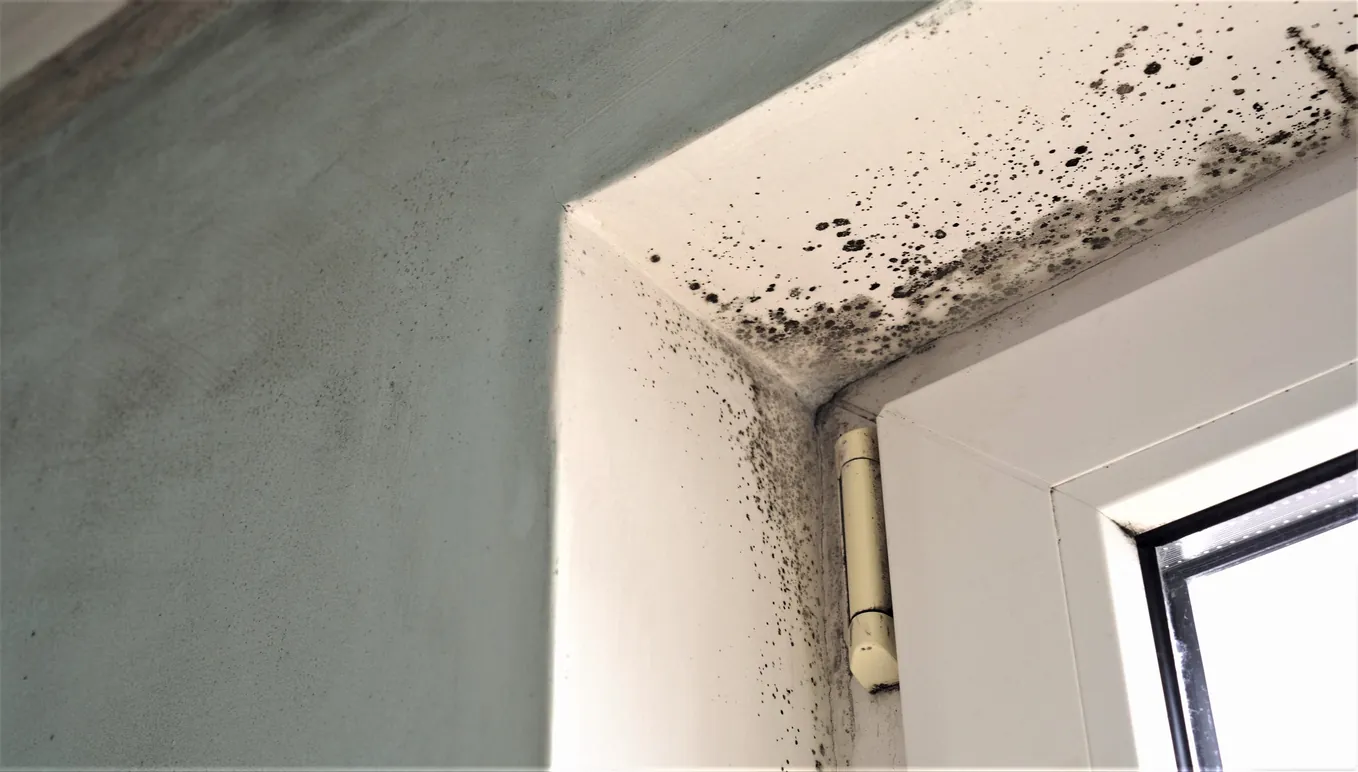
- Walls and ceilings: Look for discoloration or spots ranging from black and green to white and even orange. Peeling paint or wallpaper can also be a sign of mold lurking underneath.
- Tile grout and caulking: Inspect the grout lines between your tiles. Mold often appears as black or greenish patches. Pay special attention to the areas around the bathtub, shower, and sink.
- Behind the toilet and under the sink: These spots are often overlooked but can be mold hotspots due to leaks and condensation. Check for any discoloration or musty smells.
- Ventilation fans and ducts: Mold can grow inside ventilation fans and ducts if they are not properly cleaned. If you notice a musty smell when you turn on the fan, it’s worth taking a closer look.
Preparing to Remove Mold
Before proceeding with mold removal, it’s crucial to prepare properly. This means gathering the right materials, ensuring your safety, and preventing mold from spreading. Let’s break it down.
1. Gather necessary materials and tools.
First things first, you’ll need some basic materials and tools to tackle mold removal effectively. Here’s a handy checklist:
- Cleaning solutions: Commercial mold removers are available, but a mixture of water and white vinegar or water and baking soda works well, too.
- Scrub brushes: Have a variety of sizes on hand to reach different areas. Old toothbrushes are great for small, tight spots.
- Spray bottles: These are useful for applying your cleaning solution to affected areas.
- Sponges and cloths: Keep plenty of these around for wiping down surfaces and absorbing moisture.
- Buckets: For mixing and carrying your cleaning solutions.
- Trash bags: These are used to dispose of any contaminated materials.
- Utility knife: This is in case you need to remove and replace moldy caulking or grout.
2. Observe safety and wear protective gear.
Mold removal can expose you to harmful spores, so it’s essential to protect yourself. Here’s what you need:
- Gloves: Use rubber or latex gloves to protect your hands from mold and cleaning solutions.
- Masks: A mask, preferably an N95 respirator, will help avoid inhaling mold spores.
- Goggles: Protect your eyes from splashes of cleaning solutions and mold spores.
- Old clothes: Wear clothes you don’t mind getting dirty or potentially stained by cleaning solutions.
- Plastic sheeting: Use this to cover areas you’re not working on to prevent mold spores from spreading.
3. Ventilate and contain the area.
Mold spores can easily become airborne and spread to other areas of your home, so it’s crucial to contain the area and ensure proper ventilation. Here’s how:
- Open windows: Proper ventilation is key. Open windows and doors to allow fresh air to circulate and help dry out damp areas.
- Use fans: Place a fan near an open window to direct airflow out of the bathroom and help expel airborne spores.
- Seal off the area: Use plastic sheeting and painter’s tape to seal off the bathroom from the rest of your house. Cover doorways and vents to prevent spores from spreading.
- Turn off HVAC systems: If possible, turn off your heating and air conditioning systems while you work. This will prevent mold spores from being distributed throughout your home.
Step-by-Step Guide to Removing Mold
Now that you’re prepared, it’s time to roll up your sleeves and start removing that mold. Here’s a simple, step-by-step guide to help you tackle the job effectively.
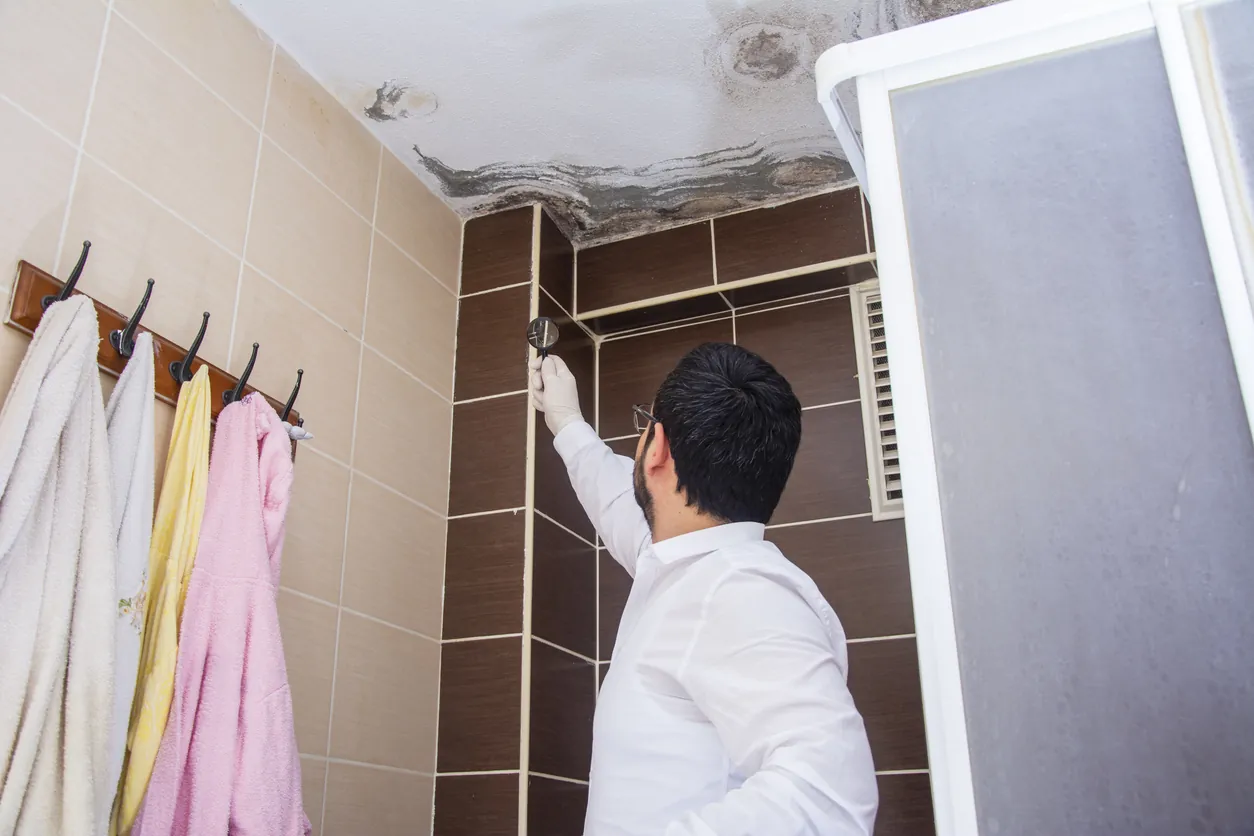
1. Inspect and identify mold-affected areas.
Take a close look around your bathroom to identify all the areas affected by mold. Look for:
- Discoloration on walls and ceilings (black, green, or even white spots).
- Black or green patches in tile grout and caulking.
- Musty smells can indicate hidden mold behind fixtures or under sinks.
Use a flashlight to check less obvious spots like behind the toilet, under the sink, and in corners. The more thorough your inspection, the better you can target your cleaning efforts.
2. Clean the surface with mold-killing solutions.
Once you’ve identified the moldy areas, it’s time to clean. Choose your mold-killing solution – you can use a commercial cleaner or a DIY mix of water and white vinegar or baking soda. Here’s how:
- Prepare your solution: If using vinegar, mix one part vinegar with one part water in a spray bottle. For baking soda, mix a few tablespoons with water to create a paste.
- Spray or apply: Spray the solution generously on the moldy surface. If using a paste, apply it with a cloth or sponge.
- Let it sit: Let the solution sit for 15-20 minutes to break down the mold.
3. Use a scrub brush to remove mold stains.
After letting the cleaning solution work its magic, grab your scrub brush. Scrub the moldy areas using a circular motion. For tough stains, apply a bit more pressure, but be careful not to damage the surface. Use smaller brushes, like an old toothbrush, for tight spots, grout lines, and corners.
4. Rinse and dry the area thoroughly.
Once you’ve scrubbed away the mold, it’s crucial to rinse and dry the area to prevent mold from returning. Use a sponge or cloth dampened with clean water to wipe away any remaining cleaning solution and mold residue. Then, use dry cloths or towels to thoroughly dry the area. If possible, use a fan to speed up the drying process.
5. Apply a mold-resistant primer.
To prevent mold from coming back, it’s a good idea to apply a mold-resistant primer before painting. Apply it evenly and follow the manufacturer’s instructions. Typically, you’ll need to use an even coat over the entire cleaned area. Allow the primer to dry completely before you start painting.
How to Prevent Future Mold Growth
Now that you’ve tackled the mold and repainted it and your bathroom is sparkling clean, let’s talk about how to keep it that way. Preventing mold from returning involves maintaining a dry, well-ventilated environment, keeping up with regular cleaning, and making a few strategic improvements. Here’s how you can do it.
1. Keep your bathroom dry and well-ventilated.
When using the bathroom for showers and baths, always turn on your exhaust fan. Let it run for at least 15-20 minutes after you finish to clear out excess moisture. Then, use a squeegee or towel to wipe down the walls, mirrors, and other wet surfaces after your shower or bath. This can help reduce moisture.
If your bathroom has windows, open them to let fresh air in and moisture out. Also, keep the door open after using the bathroom to help improve air circulation.
2. Clean your bathroom regularly.
Make it a habit to clean your bathroom thoroughly at least once a week. Focus on areas that tend to stay damp, like showers, tubs, and sinks. Scrub the grout lines and caulking regularly to prevent mold from taking hold. Use a mild bleach solution or a specialized grout cleaner.
3. Use mold-resistant paints and finishes.
When painting your bathroom, opt for mold-resistant paints. These are specifically formulated to resist moisture and inhibit mold growth. Make sure you use a mold-resistant primer before painting can provide an extra layer of protection.
4. Fix leaks and improve ventilation systems.
Any leak, no matter how small, can lead to mold growth. Regularly check for leaks around sinks, toilets, and tubs and fix them immediately. Also, ensure that there are no gaps or cracks where water can seep in. Use caulk to seal around tubs, sinks, and toilets.
If your bathroom has inadequate ventilation, consider upgrading to a more powerful exhaust fan. This is especially important in bathrooms without windows.
Conclusion
Congratulations! You’ve learned how to effectively remove mold from your bathroom and prepare it for a fresh coat of paint. It’s not just about getting rid of mold—ongoing prevention is key to keeping your bathroom mold-free.
Contact a pro to ensure your problem is dealt with as effectively as possible. Custom Painting, Inc. offers residential painting services in the Bay Area. Our team is equipped with the skills and experience to tackle any mold issue and give your bathroom the fresh, clean look it deserves. Don’t wait—call us now at 925-294-8062 to schedule a consultation and get a free quote. You can also fill out our online form and we’ll get back to you.