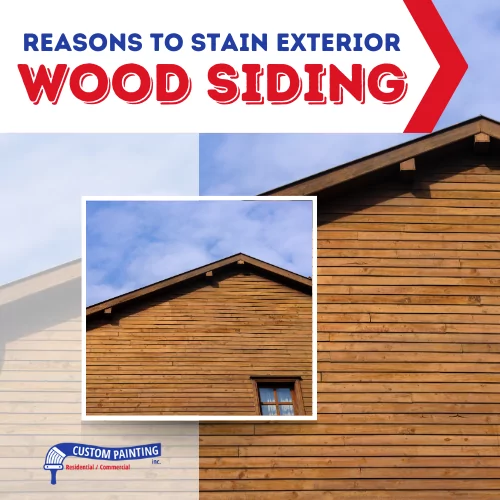
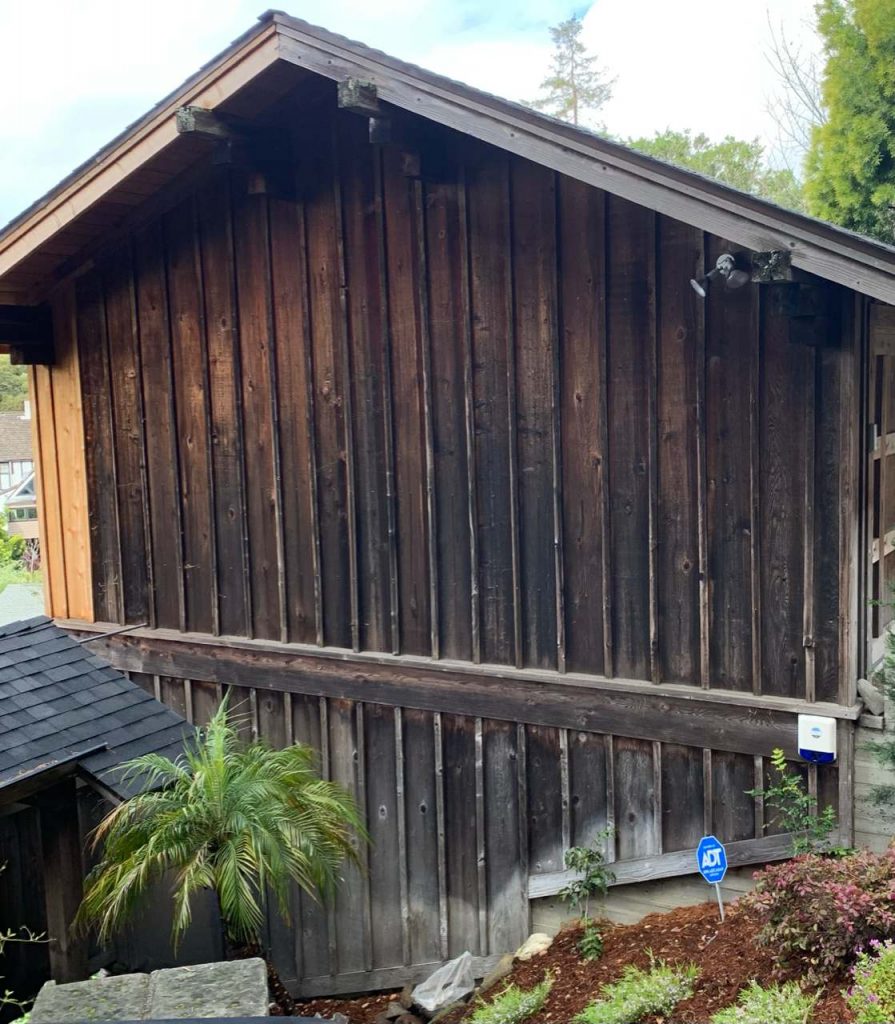
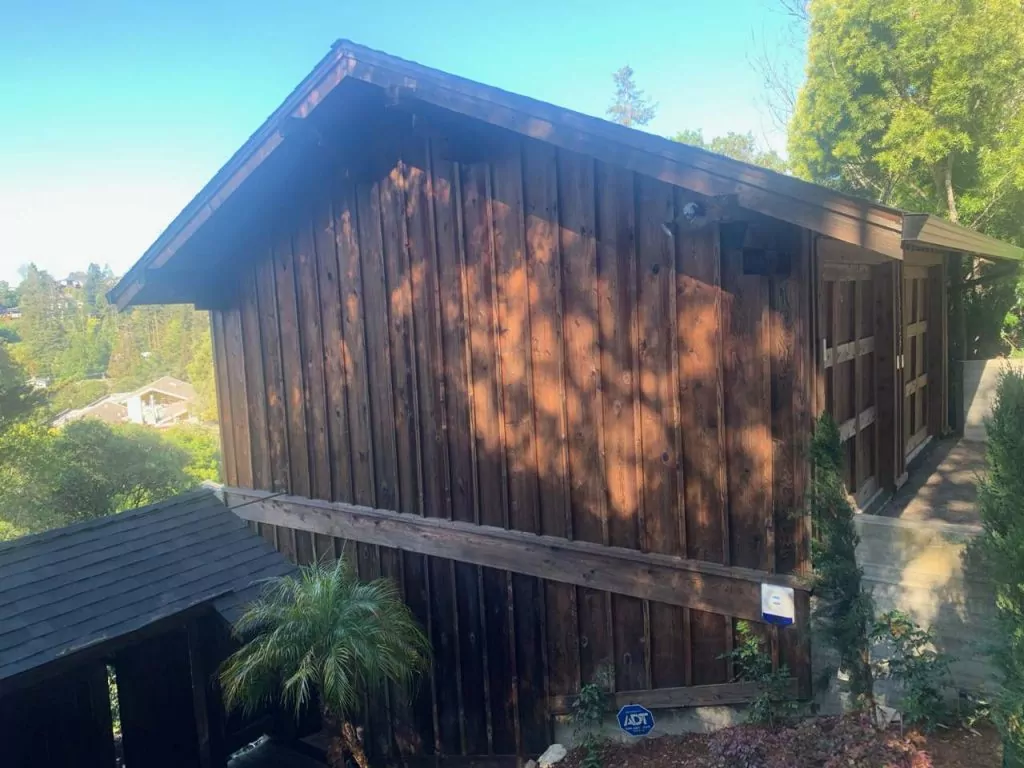
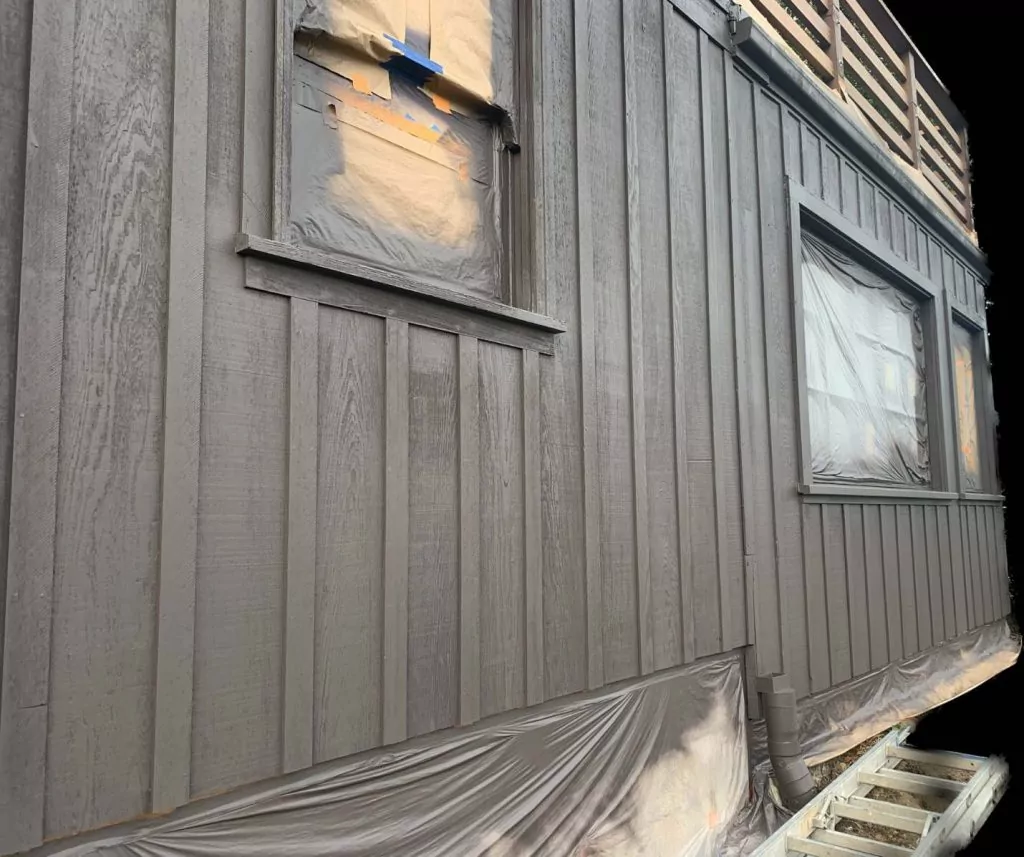
Many homes in California have wood siding, whether made of cedar, spruce, redwood, or others. Many homeowners will stain wood one time and not repeat the process very often.
Custom Painting, Inc., who has been painting homes for over 40 years, knows that leaving wood to the elements without a coating is not a good idea. The wood will be left exposed to the elements, compromising its quality over time. As a result, your home’s appearance will suffer, so will its safety.
This article will help you learn about and understand the types of wood used for siding, the history of wood siding, the pros and cons of staining your wood siding, and everything else you need to know about this particular home improvement project.
Types of wood siding
Natural wood is still a popular material for siding for many reasons.
- It is an environmentally friendly choice.
- As a siding material, wood can last for years, even decades, especially if maintained properly.
- Wood can be made into many siding styles, from lap to shingle to bevel.
- Wood brings warmth and character to your home, creating a welcoming and visually appealing look.
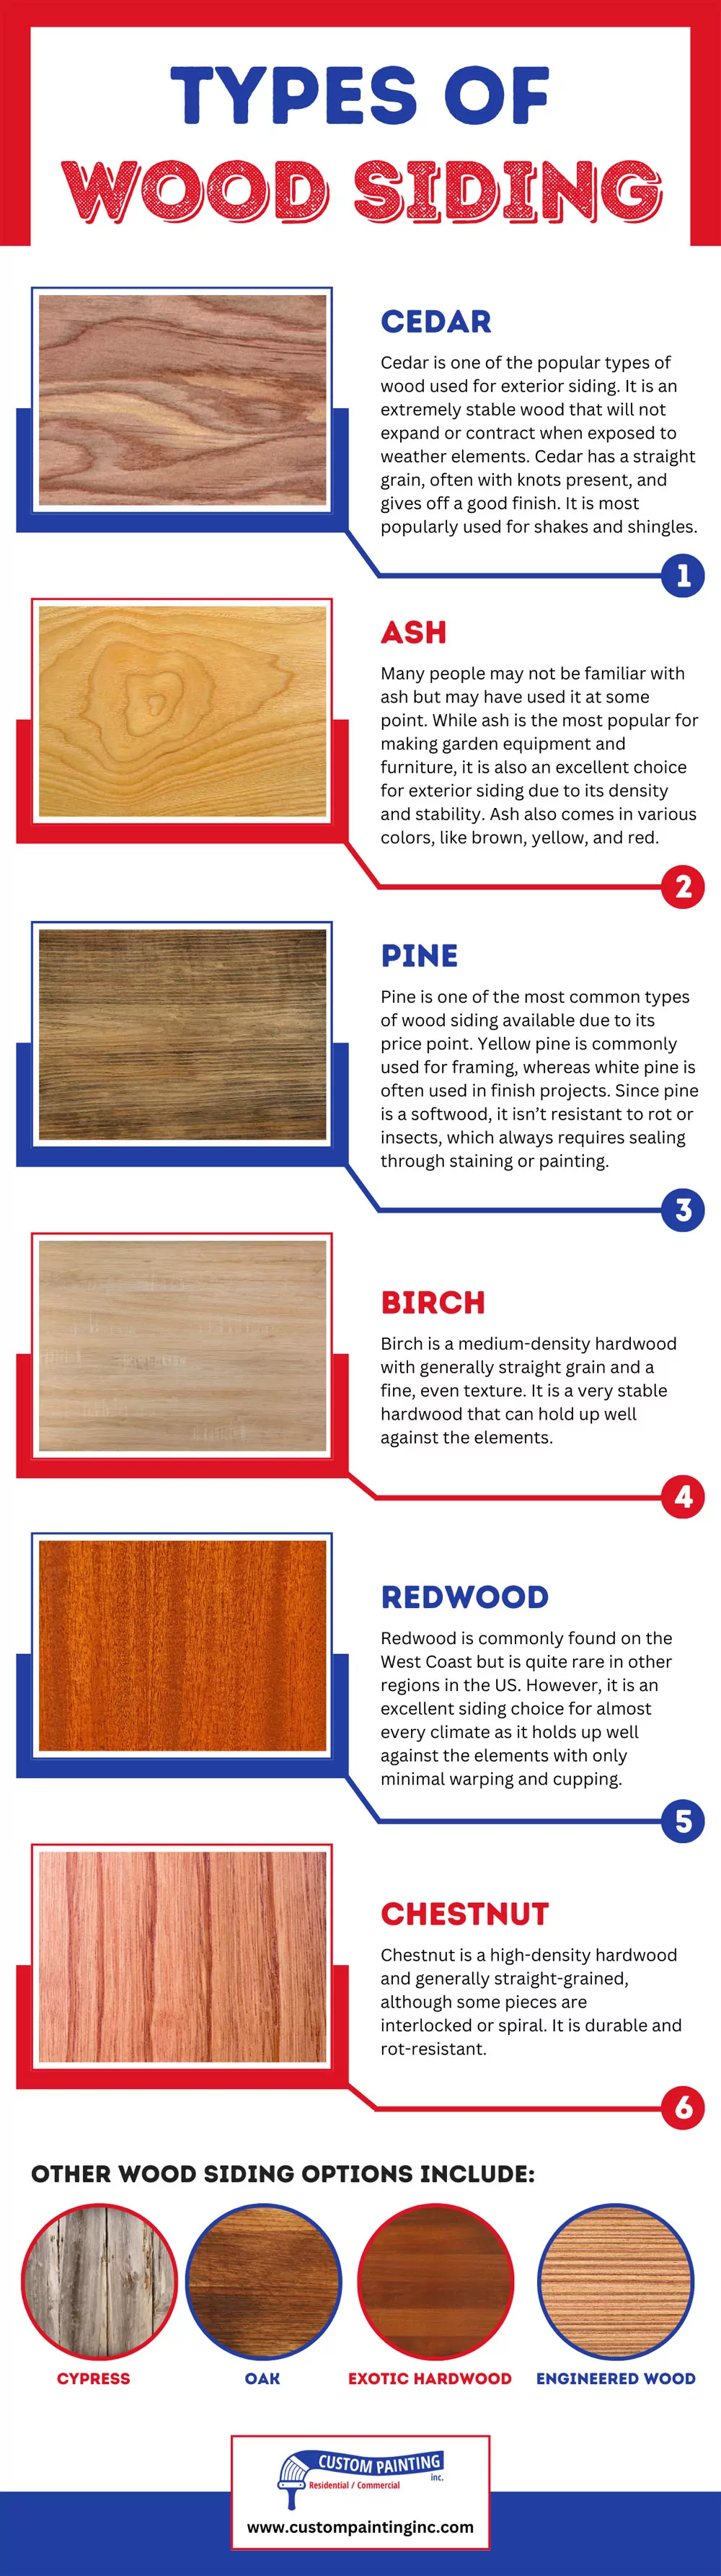
Here are some of the most common types of wood siding:
- Cedar – Cedar is one of the popular types of wood used for exterior siding. It is an extremely stable wood that will not expand or contract when exposed to weather elements. Cedar has a straight grain, often with knots present, and gives off a good finish. It is most popularly used for shakes and shingles.
- Ash – Many people may not be familiar with ash but may have used it at some point. While ash is the most popular for making garden equipment and furniture, it is also an excellent choice for exterior siding due to its density and stability. Ash also comes in various colors, like brown, yellow, and red.
- Pine – Pine is one of the most common types of wood siding available due to its price point. Yellow pine is commonly used for framing, whereas white pine is often used in finish projects. Since pine is a softwood, it isn’t resistant to rot or insects, which always requires sealing through staining or painting.
- Birch – Birch is a medium-density hardwood with generally straight grain and a fine, even texture. It is a very stable hardwood that can hold up well against the elements.
- Redwood – Redwood is commonly found on the West Coast but is quite rare in other regions in the US. However, it is an excellent siding choice for almost every climate as it holds up well against the elements with only minimal warping and cupping. Its earthy, reddish-brown color makes it a beautiful choice for your home’s exterior, but redwood can be more expensive than other options.
- Chestnut – Chestnut is a high-density hardwood and generally straight-grained, although some pieces are interlocked or spiral. It is durable and rot-resistant.
- Others – Other wood siding options include:
- Cypress – While cypress is a softwood, it is harder than other softwoods. It is strong, versatile, and resistant to rot and insects.Its durability can last for many years and generations, making cypress one of the most cost-effective wood siding options.
- Oak – Oak gives off a luxurious finish that only a few wood siding options can match, which is one of the main reasons for its popularity. The most common types include red and white, each with various applications.
- Exotic hardwood – Common types of exotic hardwood used for siding include mahogany, teak, ike, and cumaru. As they are exotic, they naturally come with a high price tag. These hardwoods are also not a sustainable choice for US homeowners, as many come from South America.
- Engineered wood – As the name suggests, engineered wood siding is made from manmade lumber or a composite of various materials. This type of wood is developed to have the highest strength and durability while having the appearance of natural wood.
Staining prevents the wood from taking on water
History of using stains
Wood parts and pieces have been stained for centuries for protection and decoration. From natural dyes from plants and minerals to synthetic ingredients, there are different types of wood stains to choose from, depending on your intended purposes and the desired aesthetic appearance of the wood. Here are some common types of wood stains and a brief history.
- Shellac – Shellac is a natural resin secreted by the lac bug native to India. Shellac became popular in the United States during the early or mid-19th century when it began importing shellac from India. In the next 80 years, shellac became more extensive, from a binding agent in manufacturing of gramophone records to shoe polish. From the early to mid-20th century, shellac was used as a sealer for plaster walls and varnish for woodwork and flooring.
- Wax – Wax was a popular wood finish in the United States from the mid-18th to early 19th century. While nearly every type of wax can be used as a wood finish, early New Englanders used beeswax because it came in surplus. Although not as durable as the other wood finishes, beeswax gives off a more lustrous and reflective appearance than oil.
- Varnish – Varnish is usually a blend of resin, oils, and solvents. It is a product that has been used for centuries. Earliest varnishes were made from linseed oil, wood sap, egg yolks, and gums, among other ingredients, and often gave off an amber-like appearance when dried. It is said that the word “varnish” originates from “Berenice,” the ancient name of present-day Benghazi in Libya, but this etymology is disputed. The varnishing technique is recorded in ancient Egypt, China, India, and Japan, where the practice of lacquer work was first known. One of the advantages of using varnish is that it offers adequate protection from the sun’s UV rays, making it an ideal finish for wooden exterior surfaces (such as siding and deck) and outdoor furniture.
- Polyurethane – Polyurethane was produced as a synthetic counterpart to varnish. It’s liquid, although it’s combined with resin in some versions. The earliest polyurethane prototype was invented by a German chemist, Otto Bayer, at the start of World War II. Polyurethane was developed as a protective layer for wood, masonry, and metal surfaces (for example, war machines and airplanes). Today, polyurethane is used in almost everything, from furniture to appliances to wall insulation.
How stains prevent moisture damage
If you plan to improve your woodwork projects or enhance your home’s curb appeal but find painting costly, time-consuming, or impractical, you can choose staining instead. This is how stains protect wood surfaces from potential moisture damage:
- Wood stains contain active ingredients that protect wood from external elements, such as moisture, therefore impeding wood decay.
- One of the active ingredients of wood stains is a film preservative that protects the wood from moisture, which is the cause of common wood surface problems such as molds and algae.
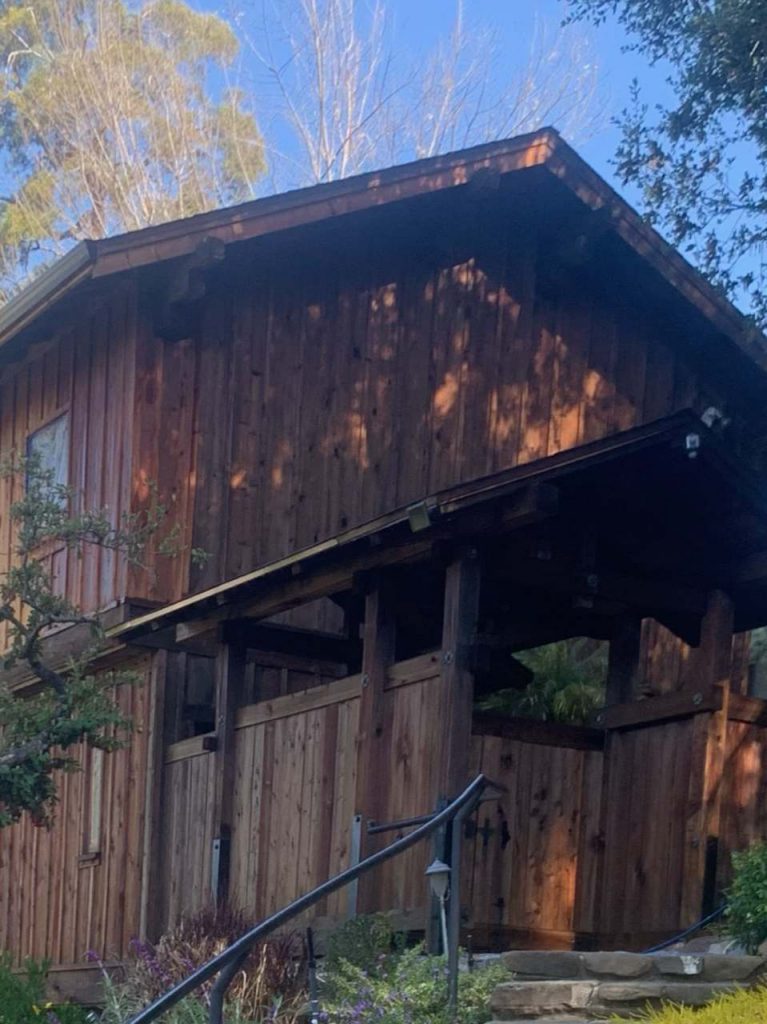
- Regularly applying a high-quality stain will improve your home’s wooden siding’s appearance, safety, and longevity. It renews the water-repellence and fungicidal properties of the wooden siding and beautifies the wood. The stain’s moisture-repelling qualities prevent the water droplets from penetrating the wood.
Staining protects the wood from the sun’s UV rays
Results of Leaving Wood Unprotected
- If your wood siding is not treated with stains, you will see a rapid change in the color and overall appearance of the wood.
- Graying is a common problem with unstained wood. While graying gives your wood siding a natural and rustic look, unfortunately, what’s going on beneath the surface is far worse than just color change. The sun’s UV rays penetrate the wood, damaging its fibers.
- The sun’s UV rays also break down the wood’s lignin, the “glue” that provides compressive strength and stiffness to the wood’s plant cells. As a result, the wood’s surface develops microfine cracking that deforms its smoothness.
How stains protect the wood from UV damage
If your home’s siding is frequently exposed to the sun, regularly staining it can be the best way to enhance the wood’s natural protective qualities against the sun’s damaging UV damage.
The pigments in wood stains do more than just physically change your wood siding’s color. These pigments also protect the wood from the sun’s harmful UV rays, minimizing or preventing the wood from discoloration and maintaining your wood siding’s smooth surface.
Staining helps protect against wood rot
Finding wood rot on wood siding
If you’re wondering whether your wood siding has developed rotting, consider the following signs:
- Discoloration – Your wood siding should be consistent in its color. Otherwise, take a more thorough inspection of it for wood rot.
- Paint issues – If your wood siding’s exterior paint is peeling or cracking, it’s possible that wood rot may occur beneath it.
- Dampness – If the wood’s surface feels damp, it’s a sign of moisture penetration, which ultimately causes the wood to rot.
- Softwood – Wood should always be hard. Test your wood siding’s hardness by touching or pressing on it. If it feels soft, it is an indication of wood rot.
- Other visible signs of wood rot – Look at your wood siding for other visible signs such as shrinking, warping, splitting, or splintering.
How to Fix Wood Rot on Wood Siding
As long as the rot has not spread further on your wood siding and caused serious structural damage, it only requires a minor repair. Early detection of wood rot allows you to prevent your wood siding from further damage. It can also save you from costly remedial repairs.
If the damage is just minor and only a few affected areas require repair, then it may be worth your time and money to do the repairs yourself.
- Let the wood dry completely. Depending on the condition of the weather, it can take a few days to even a few weeks for the wood to dry out completely. You can use a heat gun to speed up the drying process.
- Remove the wood rot. This will help facilitate the drying process. Also, remove any loose and unstable wood. If necessary, use the heat gun again to dry out damp areas.
- Have the two-part epoxy resin kit. The kit usually consists of epoxy consolidant (resin) to apply to the cleaned-up wood and epoxy filler to apply to the missing wood area. In a disposable plastic container, combine the two liquids. Use a chip brush to use liberal amounts of the epoxy consolidant. The consolidant’s working time is around 30 minutes. You can pour the consolidant into these deep crevices if the wood is heavily cracked or pitted.
- Allow the consolidant to harden for around two to three hours. Hardening can take longer in colder temperatures.
- Epoxy filler has two parts (usually Part A and Part B) that harden when combined. Mix these two parts in a clean, disposable plastic container. Make sure to wear latex gloves before doing the mixing.
- Apply generous amounts of the epoxy filler to the missing wood parts.
- Let the epoxy filler dry for at least four hours. Again, it may dry slower in colder temperatures.
- Once the filler has completely dried, sand it with an 80-grit sandpaper or sanding block. Then, smoothen the filler further with a 120-grit sandpaper.
- Clean the sanding dust off with a tack cloth.
- Paint or stain the filler as desired.
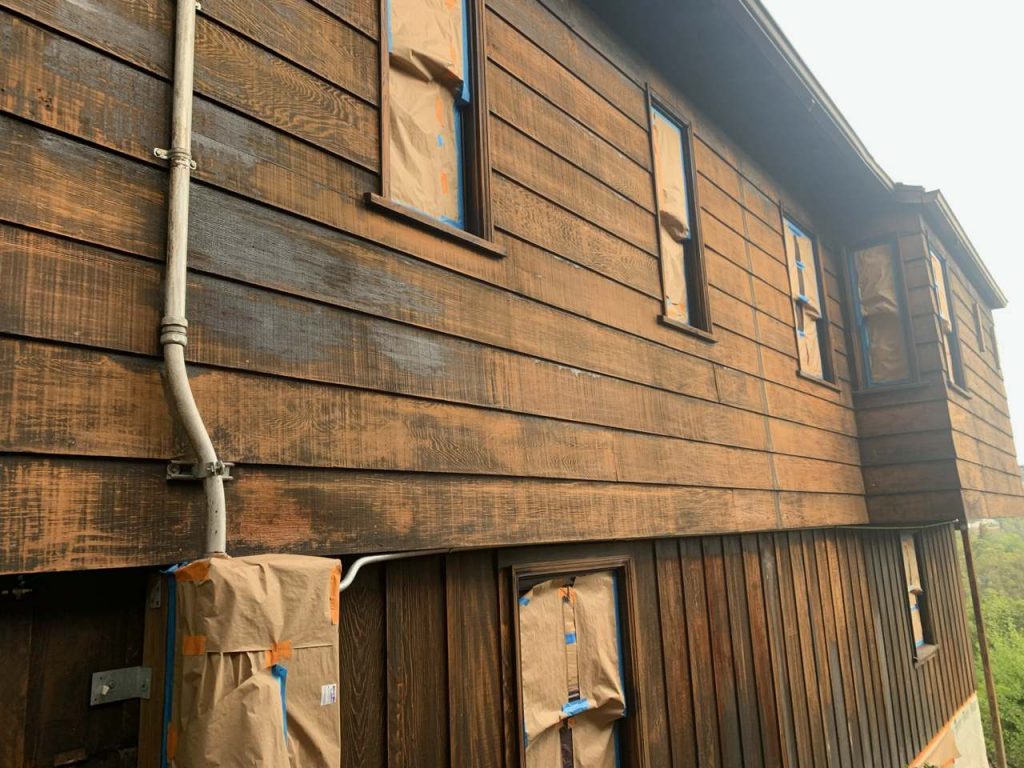
Staining keeps the home looking good and possibly more sellable
How often should homeowners use stains?
Whether you sell your house soon or just want to update the look of your home, you can boost its curb appeal by painting or staining. But if you stain your home, it will highlight the wood’s natural color and features and give your wood siding a more natural look and feel.
But how often should you re-stain your siding? The usual answer to that is every 3 to 7 years. But, of course, every home differs depending on the location, and the climate. But one thing is for sure – you shouldn’t stain your siding every so often!
When re-staining your wood siding, you must strip the existing coating first before applying a fresh layer of wood stain.
Pros of staining wood siding
- Staining improves the wood’s overall character by highlighting its natural appearance and beauty instead of masking them as painting does.
- Unlike paint, stain allows the wood for more natural airflow. In other words, stain allows the wood to “breathe.”
- High-quality stain penetrates the wood grain, preventing moisture from getting absorbed into the wood and causing rot.
- Staining your wood siding protects it from the sun’s harmful UV rays, preventing it from fading, cracking, warping, or splintering.
- Compared to painting, staining is a quicker process. Stains dry faster than paints, allowing several coats to be applied in less time.
- It allows the wood’s natural color, texture, and grain to show through.
Cons of staining wood siding
- Unlike paint, wood stains can last only a few years.
- Certain types of wood, such as exotic hardwoods, cannot hold stains well.
- Staining may be less predictable than painting. It should take a more experienced professional stain applicator to get the right look and finish.
- Since wood stains don’t last as long as paint, it requires re-application every few years. It can be a hassle, especially if you have a large area to cover or live in an area that experiences extreme weather conditions.
- Since wood stain requires maintenance and re-application in a few years, it can be costly and laborious.
Types of stains
Here are the three common types of wood stains based on transparency or opacity:
- Transparent – Transparent wood stains are clear finishes that allow the wood’s natural color and grain to come through, and weather graying naturally. They are best for new, previously unstained, or unpainted wood.
- Semi-transparent – Semi-transparent wood stains also allow the wood to show its natural color. They are a better choice for wood features that have seen better days. While semi-transparent stains still allow some of the grain to show through, it will hide more wear and tear that your wood siding has endured.
- Solid – Solid wood stains are best for wood features with many imperfections. These stains eliminate the wood’s natural color and grain, working almost in the same way as regular paint does. It is also a great staining choice if you want to add a splash of color.
Painting vs. Staining
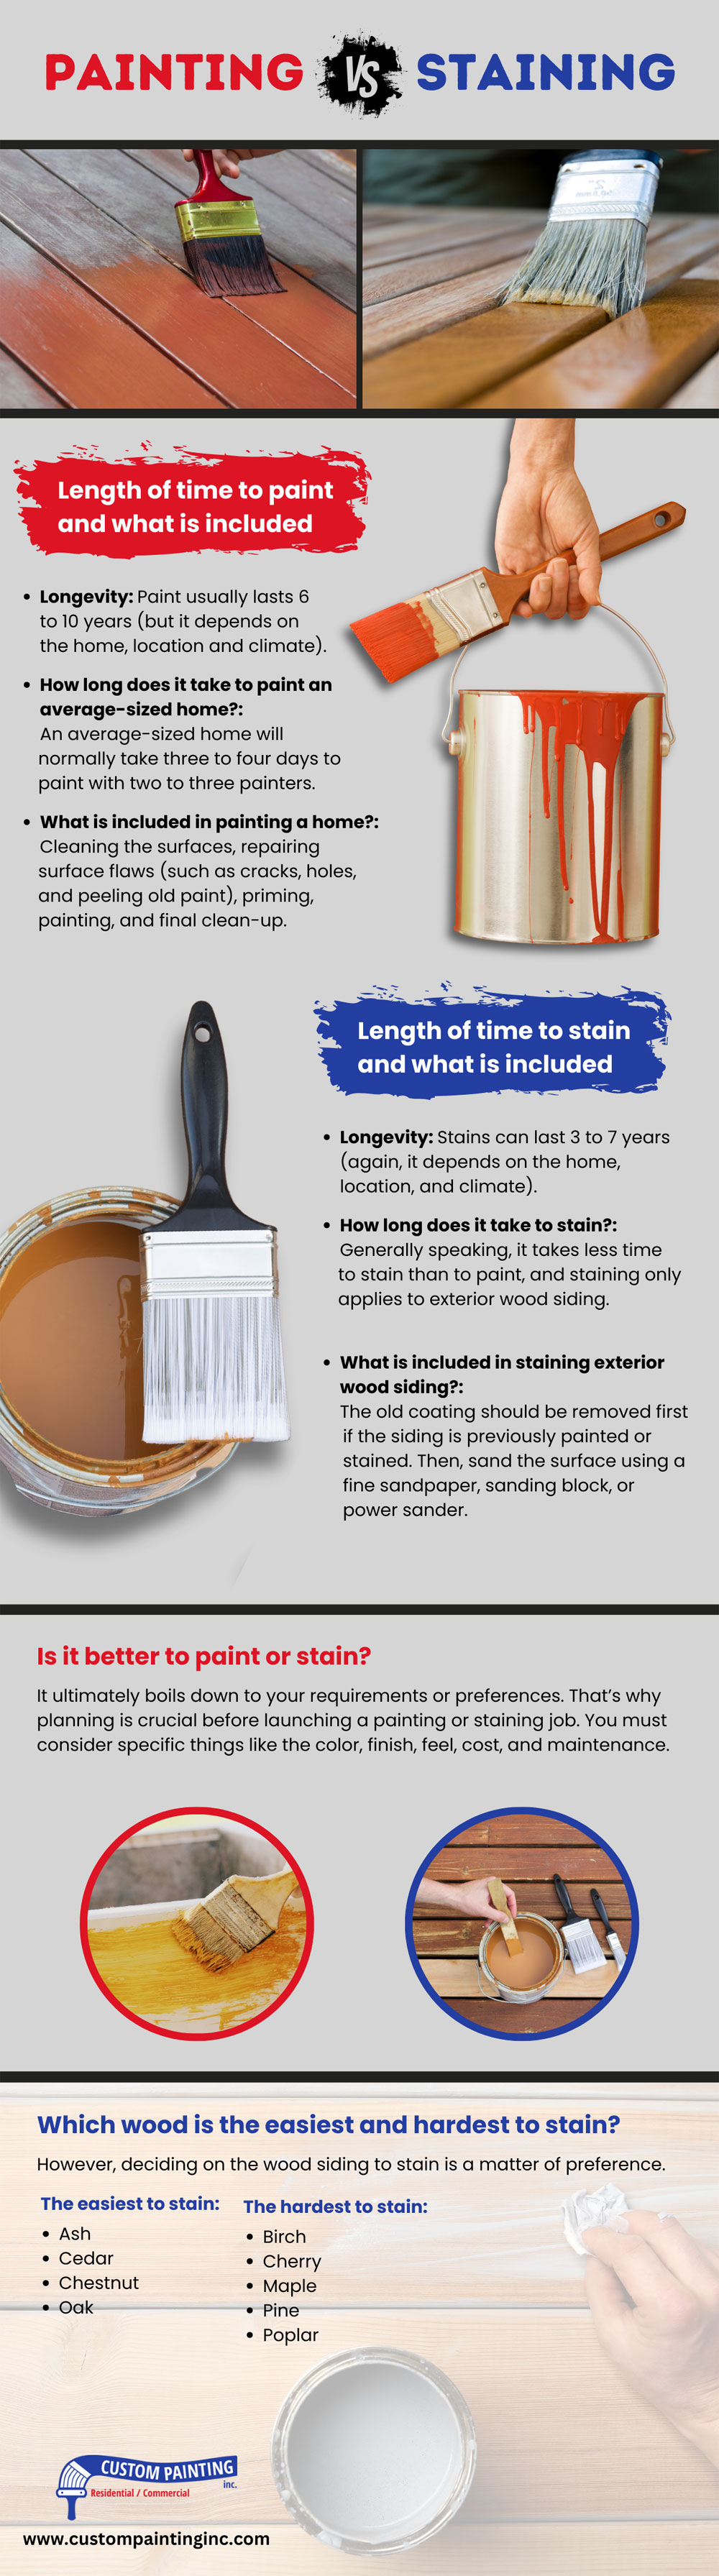
Length of time to paint and what is included
- Longevity – Paint usually lasts 6 to 10 years (but it depends on the home, location and climate).
- How long does it take to paint an average-sized home? – An average-sized home will normally take three to four days to paint with two to three painters.
- What is included in painting a home? – Painting a home – whether interior or exterior – usually consists of the following steps (in that order): cleaning the surfaces, repairing surface flaws (such as cracks, holes, and peeling old paint), priming, painting, and final clean-up.
Length of time to stain and what is included
- Longevity – Stains can last 3 to 7 years (again, it depends on the home, location, and climate).
- How long does it take to stain? – Generally speaking, it takes less time to stain than to paint, and staining only applies to exterior wood siding.
- What is included in staining exterior wood siding? –The old coating should be removed first if the siding is previously painted or stained. Then, sand the surface using a fine sandpaper, sanding block, or power sander. Next, use a tack cloth to clean every bit of sanding dust off the prepared surface. Finally, stain the surface.
“Is it better to paint or stain?”
That’s the common question homeowners usually face when planning a home improvement project.
It ultimately boils down to your requirements or preferences. That’s why planning is crucial before launching a painting or staining job. You must consider specific things like the color, finish, feel, cost, and maintenance.
Neither painting nor staining will last forever, but with the right planning and preparation, each job will last for long before you have to paint or stain your home again.
“Which wood is the easiest and hardest to stain?”
Not all wood can take in staining well. Some types of wood are so dense that it is almost impossible to stain them. They absorb more stains, creating an uneven, blotchy, or discolored effect.
However, deciding on the wood siding to stain is a matter of preference.
The easiest to stain:
- Ash
- Cedar
- Chestnut
- Oak
The hardest to stain:
- Birch
- Cherry
- Maple
- Pine
- Poplar
Conclusion
Staining your wood siding has several benefits, and it can be a better coating option than painting it for many reasons. Staining can also be a good finishing option following wood rot repairs.
Wood stains can make or break your wood siding’s appearance and feel. Knowing about the types of wood siding, the pros and cons of staining, the different types of stains, and other pertinent information in this article will help you decide whether or not to stain your exterior wood siding.