
Preparing your walls for a fresh coat of paint is a crucial step that shouldn’t be overlooked. Before diving into your painting project, cleaning your walls with Trisodium Phosphate (TSP) can make a big difference in the end result. TSP is a powerful cleaning agent that helps remove dirt, grease, and stains, ensuring the paint adheres properly and looks great.
In this article, we’ll guide you through the simple steps to clean your walls with TSP before painting. Whether sprucing up a room or giving your home a complete makeover, this guide will help you prepare your walls for a smooth and lasting finish. Let’s start transforming your space with a clean slate for painting!
What is TSP?
Trisodium Phosphate (TSP), a chemical compound with the formula Na3PO4, is a white, granular, or crystalline solid often used as a cleaning agent, builder, stain remover, lubricant, food additive, and degreaser. In the context of home improvement and painting, TSP is prized for its effectiveness in cleaning and preparing surfaces for painting. It efficiently removes dirt, grease, and mildew, providing a clean surface that ensures better paint adhesion.
Although TSP is effective, it’s also strong. It can be harsh on the skin and the environment, so it’s important to use it carefully and follow safety precautions, such as wearing gloves and ensuring adequate ventilation.
Preparing to Clean with TSP
Before you start cleaning with Trisodium Phosphate (TSP), you want to properly prepare to ensure a safe and effective cleaning process. Here’s how to get ready:
1. Safety First: TSP is a powerful cleaner, but it can be harsh on the skin and harmful if inhaled or ingested. Before you begin, have and use the right safety gear:
- Wear gloves to protect your hands from irritation.
- Goggles can safeguard your eyes from splashes.
- A mask or respirator will help prevent inhalation of dust or fumes.
- Long sleeves and pants provide additional skin protection.
2. Ventilation: Ensure the area is well-ventilated to dissipate fumes and dust. Open windows and doors, and use fans if necessary to circulate air.
3. Preparing the Solution: Follow the manufacturer’s instructions to mix the TSP solution. Typically, you’ll dissolve a specific amount of TSP powder in warm water to create the cleaning solution. The concentration may vary based on the level of cleaning needed.
4. Protecting Your Space: Cover floors and furniture using drop cloths or plastic sheeting to protect them from the TSP solution. Remove or cover hardware and fixtures to avoid damage or corrosion from the TSP solution.
5. Testing a Small Area: Before you start the full cleaning process, it’s wise to test the TSP solution on a small, inconspicuous wall area. This step will help you gauge the solution’s effectiveness and ensure it doesn’t damage the surface.
6. Gathering Cleaning Supplies: In addition to the TSP solution, you’ll need:
- Sponges or soft cloths are used to apply the solution.
- A bucket of clean water for rinsing.
- A ladder or step stool to reach higher areas safely.
7. Plan Your Cleaning Strategy: Decide where to start and finish cleaning to avoid missing spots and ensure an even and thorough clean. It’s generally best to work from top to bottom and in sections, cleaning and rinsing each area completely before moving on to the next.
Preparing to clean with TSP might seem like many steps, but taking these precautions will ensure you can clean effectively and safely, setting the stage for a successful painting project.
Mixing the TSP Solution
Mixing the TSP (Trisodium Phosphate) solution correctly is essential for effective cleaning without damaging surfaces or unnecessary risks to your health. Here’s a step-by-step guide to preparing the TSP solution:
- Read the Instructions: Read the manufacturer’s instructions on the TSP packaging. The recommended ratios of TSP to water can vary by brand and the specific cleaning task you need to do.
- Safety Gear: Before handling TSP, make sure you’re wearing your safety gear: gloves, goggles, and a mask. These precautions are vital to protect your skin, eyes, and lungs.
- Select the Right Container: Choose a bucket or container that’s large enough to hold the amount of solution you need, with some space to spare to avoid spills when mixing. Ensure the container is clean and free of any residues that could react with the TSP.
- Measure the TSP: Using a measuring cup or spoon, carefully measure the amount of TSP powder required for your solution. Avoid creating dust clouds as you pour the TSP.
- Measure the Water: The instructions indicate the appropriate amount of warm water. Warm water helps dissolve the TSP more effectively than cold water.
- Mix the Solution: Slowly add the TSP powder to the water, stirring gently but thoroughly with a stir stick or a clean, long-handled spoon. Continue stirring until the TSP is completely dissolved. Avoid splashing the solution to prevent skin contact or damage to surrounding areas.
- Adjusting Concentration: If your cleaning project involves light stains or you’re working on a sensitive surface, consider starting with a weaker solution. You can always change the concentration by adding more TSP if needed.
- Preparing for Use: The solution is ready to use once the TSP is fully dissolved. However, remember that it should be applied shortly after mixing for best results, as its effectiveness may diminish over time.
- Disposal of Leftovers: After your cleaning project, dispose of any leftover TSP solution according to local regulations. Do not pour it down domestic drains without checking local guidelines, as it can harm the environment.
Mixing the TSP solution correctly is crucial for the safety and success of your cleaning project. With the right preparation and precautions, you can effectively use TSP to prepare surfaces for painting or other renovations.
The Cleaning Process
Once you’ve prepared the TSP solution and taken all necessary safety precautions, you’re ready to begin the cleaning process. Here’s a straightforward guide to ensure you clean your walls effectively with TSP before painting:
- Start at the Top: Begin cleaning at the top of the wall and work your way down. This method prevents drips or streaks on areas you’ve already cleaned. If you’re cleaning an entire room, decide on a starting point and work your way around systematically.
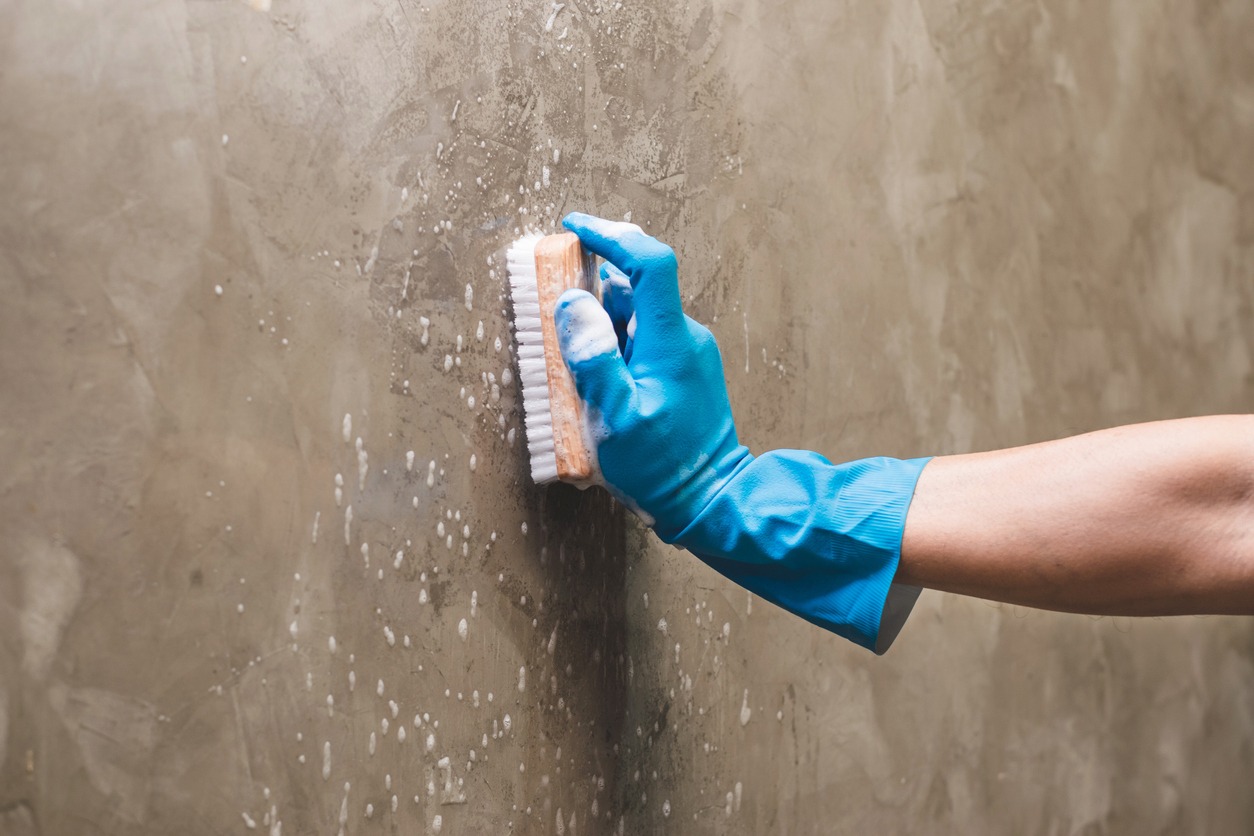
- Apply the TSP Solution: Dip a sponge or soft cloth into the TSP solution, wringing out excess liquid to avoid dripping. Gently apply the solution to the wall in a circular or back-and-forth motion. For textured walls or tough stains, you may need to use a soft-bristled brush but do so gently to avoid damaging the surface.
- Let It Sit, But Not Dry: Allow the solution to sit on the wall for a few minutes to break down grime and stains. However, do not let it dry on the wall, as this could lead to a residue that’s hard to remove and may affect paint adhesion.
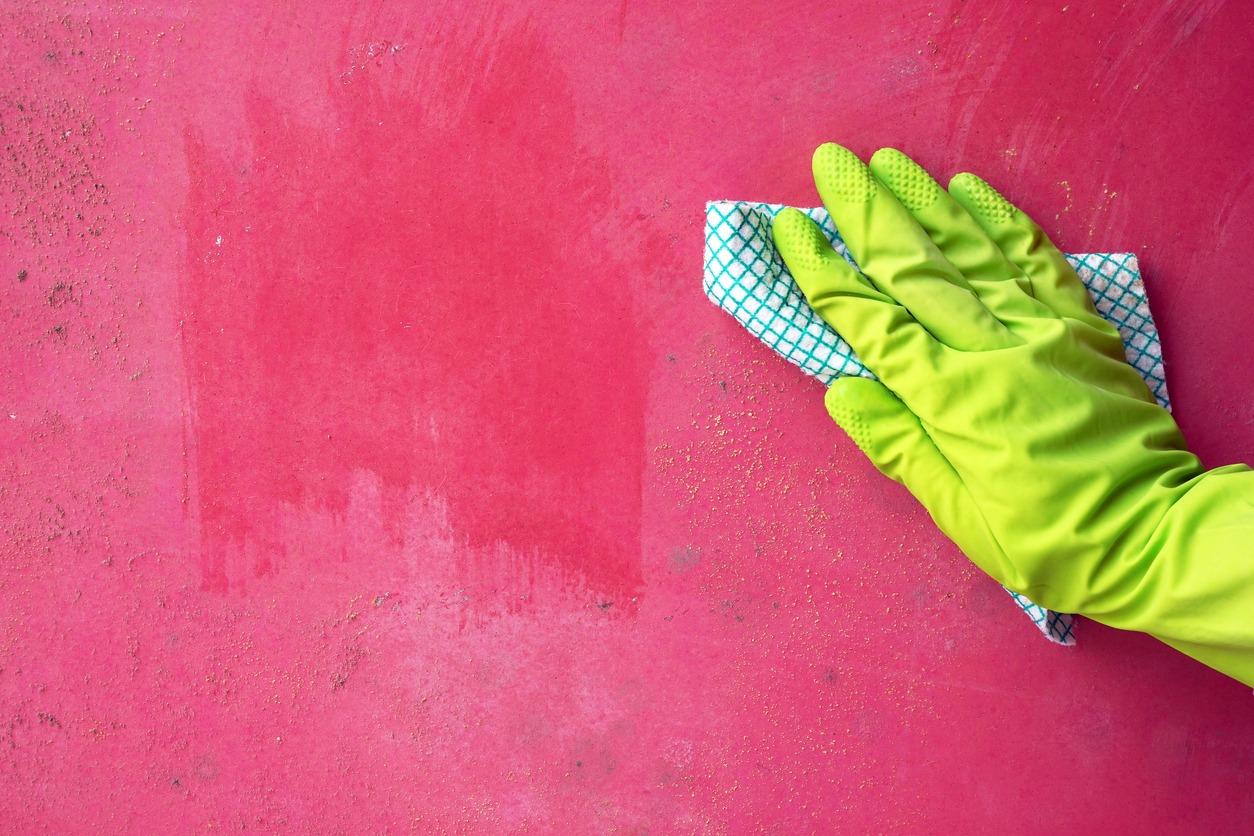
- Rinse Thoroughly: After letting the TSP solution sit, rinse the wall with clean water using a separate sponge or cloth. Rinsing is crucial to remove all traces of TSP, which, if left behind, can interfere with the paint. Change the rinsing water frequently to ensure you’re not spreading TSP residue.
- Tackle Stubborn Stains: For stubborn stains or areas with heavy buildup, you may need to apply the TSP solution more than once. Be patient and repeat the cleaning and rinsing process as needed, always being careful not to saturate the wall or damage the surface.
- Dry the Walls: After rinsing, allow the walls to dry completely before painting. You can speed up drying by opening windows, using fans, or employing a dehumidifier. The walls must be thoroughly dry to ensure the paint adheres correctly and dries evenly.
- Inspect and Touch-Up: Once the walls are dry, inspect them for any missed spots or remaining stains. Use the TSP solution to clean these areas, following the same process of applying, rinsing, and drying.
- Final Preparations for Painting: After cleaning and drying, your walls are almost ready for painting. You should sand any rough areas lightly or apply primer, depending on the condition of your walls and the type of paint you’re using.
Cleaning your walls with TSP before painting can seem like an extra step, but it’s crucial. It ensures your new paint job looks smooth and professional and lasts longer. Following these steps carefully, you’ll create the perfect canvas for your painting project.
Conclusion
Preparing your walls with TSP before painting is an essential step that shouldn’t be skipped. It ensures your paint adheres well and looks its best. If you’re planning a painting project in the Bay Area and want professional results, consider reaching out to Custom Painting, Inc. Our team is here to help with all your painting needs, ensuring a flawless finish every time. For a consultation or more information, call us at 925-294-8062 or fill out our online form. Let Custom Painting, Inc. bring your vision to life with expertise and care.