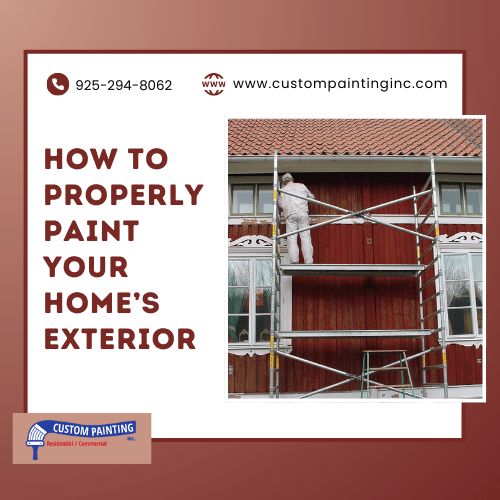
Does your home’s facade look worn out, or do you want to give it an eye-catching makeover? Whatever your reasons are, painting your home’s exterior can significantly enhance its curb appeal.
Like many other paint projects, exterior house painting involves specialized tools and equipment, time commitment, and basic DIY house painting skills. There’s also a lot of work even before dabbing the first coat of paint to the surface. For instance, deciding on a color scheme. If you belong to a homeowner’s association (HOA), your preferred color scheme should conform to their guidelines. Otherwise, you have no choice but to consider your HOA’s approved exterior color palettes.
There are other crucial matters to consider – surface preparation, site preparation, and safety considerations, to name a few. You may even want to enlist friends to help with the project. See how your exterior painting project turns out with the steps presented in this article.
Steps for Exterior House Painting
Painting the exterior of your house is a substantial project, but with the right approach and preparation, it can be accomplished efficiently and effectively. Below is a step-by-step process steps to ensure a fantastic paint finish:
Step 1: Planning and preparation
1. Inspect the exterior:
- Check for any damage, such as rot or cracks, and repair them.
- Identify the surface type (wood, stucco, brick), as this will influence the type of paint and primer needed.
2. Determine the amount of paint needed:
- Measure the perimeter and height of your house to get the total square footage.
- Subtract areas not being painted (windows, doors).
- Generally, one gallon of paint covers about 350 square feet.
- Consider the number of coats needed (usually two coats for the best coverage).
3. Choose the correct paint and primer:
- Select high-quality exterior paint suitable for your climate and surface.
- Choose the appropriate primer based on the surface material and the existing paint’s condition.
4. Gather supplies:
- Paint and primer
- Brushes, rollers, and sprayers
- Painter’s tape
- Drop cloths
- Ladders and scaffolding
- Safety gear (gloves, goggles, masks)
Step 2: Preparation
1. Clean the surface:
- Wash the exterior using a pressure washer or a scrub brush with soapy water to remove dirt, mildew, and old flaking paint. For stubborn dirt, you may need to apply cleaning chemicals or use a power washer (it’s best to rent it).
- Allow the surface to dry completely.
2. Scrape and sand:
- Scrape off loose or peeling paint.
- Sand rough areas for a smooth and even surface for painting.
3. Repair and caulk:
- Repair cracks, holes, or damaged areas with suitable filler or caulk.
- Apply caulk around windows, doors, and trim to prevent moisture intrusion.
4. Prime the surface:
- Apply one coat of primer to seal the surface and provide a good base for the paint.
- Allow the primer to dry completely as per the manufacturer’s instructions.
Step 3: Painting
1. Protect surrounding areas:
- Use painter’s tape to mask off areas not being painted (windows, doors, trim).
- Cover plants, walkways, and other surfaces with drop cloths.
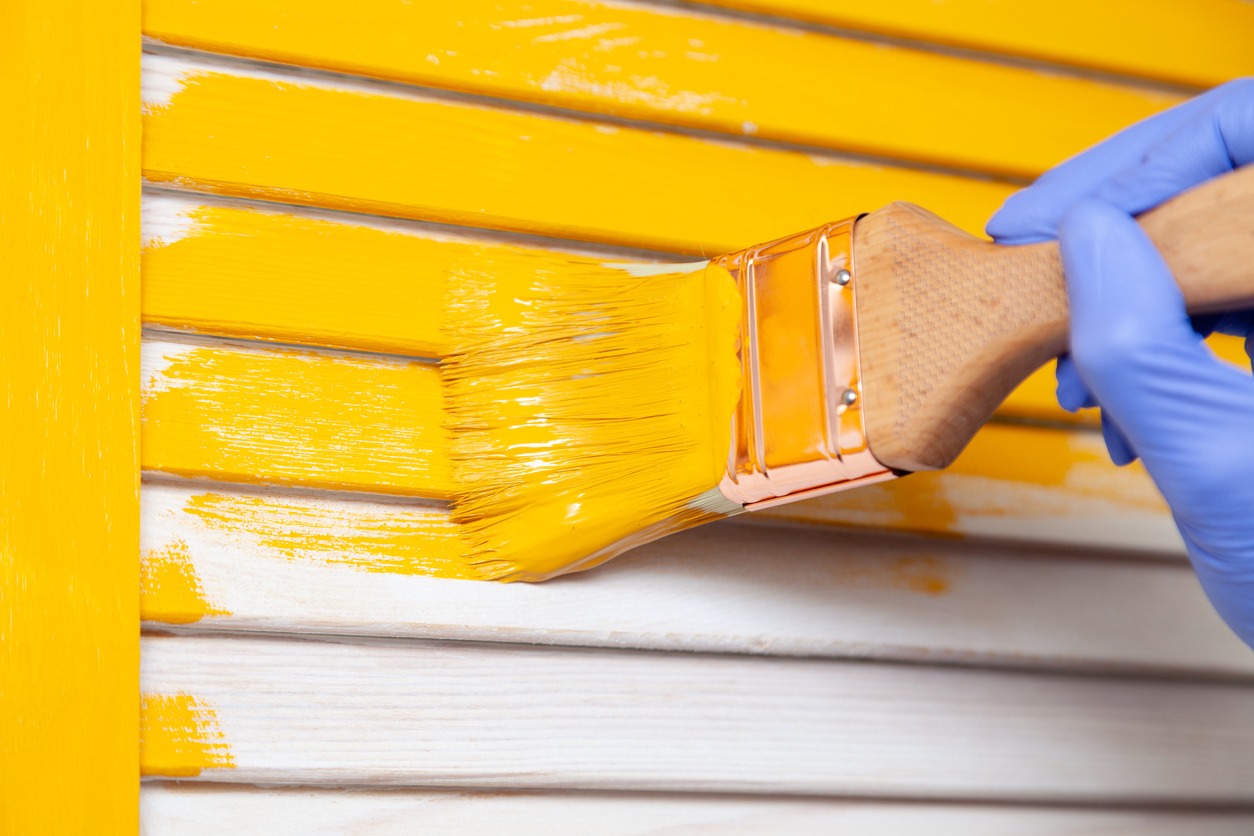
2. Apply the paint:
- Start from the top and work your way down.
- Use brushes for edges and trim, rollers for large flat areas, and sprayers for even coverage on rough surfaces.
- Apply the paint evenly and allow sufficient drying time between coats.
3. Inspect and touch-up:
- After the first coat is dry, inspect for missed spots or thin areas.
- Apply a second coat for uniform coverage and a polished look.
Step 4: Clean-up and disposal
1. Clean your tools:
- Clean brushes, rollers, and sprayers immediately after use with the appropriate solvent (water for latex paint, mineral spirits for oil-based paint).
- Dispose of used painter’s tape and drop cloths properly.
2. Dispose of leftover paint and materials:
- Check with your local waste management for guidelines on disposing of or recycling leftover paint.
- Store any remaining paint properly for future touch-ups.
3. Remove protective coverings:
- Carefully remove the painter’s tape while the paint is still slightly wet to avoid peeling.
- Clean up any spills or drips promptly.
4. Final inspection:
- Conduct a final walk-around to ensure all areas are adequately covered and have no missed spots.
Tips for Success
- Choose a day with mild weather for painting to ensure proper drying.
- Work in sections to manage drying times and maintain a wet edge.
- Keep safety in mind when using ladders and scaffolding.
If you follow these steps, you can achieve a professional-looking exterior paint job. Get a cold drink, relax, and enjoy a beautifully painted exterior that enhances your home’s appearance and protects it from the elements.
Consider the Other Option – Hire a Professional Painter
Despite trying your best to produce a decent exterior paint finish, nothing can match the work of a qualified professional painter.
We know you might worry about the costs involved with enlisting professional help. However, it’s still worth considering for several reasons:
- Quality workmanship – Professionals deliver high-quality results with a polished finish that is often difficult to achieve with DIY efforts.
- Time efficiency – Experienced painters complete projects faster, minimizing disruptions to your daily routine.
- Expertise and knowledge – Professionals understand the best techniques, tools, and materials for different surfaces and conditions, ensuring durability and aesthetic appeal.
- Proper preparation – Thorough surface preparation is crucial for a long-lasting paint job. Contractors handle this efficiently, including cleaning, sanding, and priming.
- Safety – Professionals have sufficient training to work safely at heights and handle hazardous materials, reducing the risk of accidents or injuries.
- Cost-effectiveness – Although initially more expensive, professional work can be more cost-effective in the long run by avoiding mistakes, rework, and frequent repainting.
- Access to quality materials – Contractors often have access to higher-quality paints and supplies at better prices, ensuring a superior finish.
- Warranty and insurance – Many professional painters offer warranties on their work and carry insurance, providing peace of mind and protection against potential damages.
- Stress reduction – Hiring a contractor removes the stress and hassle of a painting project, allowing you to focus on other priorities.
- Increased property value – A professionally painted home can enhance curb appeal and potentially increase the property’s market value.
If you decide to hire a professional painter, make sure that the candidate has the following qualities and credentials:
- Experience: Several years of experience in residential painting.
- Portfolio: A strong portfolio of completed projects.
- References: Positive references and reviews from past clients.
- Licensing: Proper licensing as required by local regulations.
- Insurance: Adequate liability and workers’ compensation insurance.
- Detailed Estimate: Provides a clear, written estimate with itemized costs.
- Professionalism: Punctual, communicative, and respectful.
- Guarantee/Warranty: Offers a warranty or guarantee on their work.
- Knowledge: In-depth knowledge of different paint types, techniques, and preparation methods.
- Cleanliness: Maintains a clean and organized work area.
Parting words
Painting the exterior surface can be a fun and exciting home improvement project. You would love to see how your house looks with new colors and finishes. With the right color scheme, your house will stand out in your neighborhood.
However, exterior house painting can also be a substantial and demanding work. Once you dab your first coat of paint on the surface, there’s no turning back! It requires your undivided commitment to ensure your house turns out as you want. Otherwise, hire a professional team of paint experts from Custom Painting, Inc.! We have the skills, tools, finesse, and time to ensure your house looks beautiful and has solid protection from the elements. Schedule a free consultation and estimate today by calling us at 925-294-8062, completing our contact form, or filling out our quote request form.