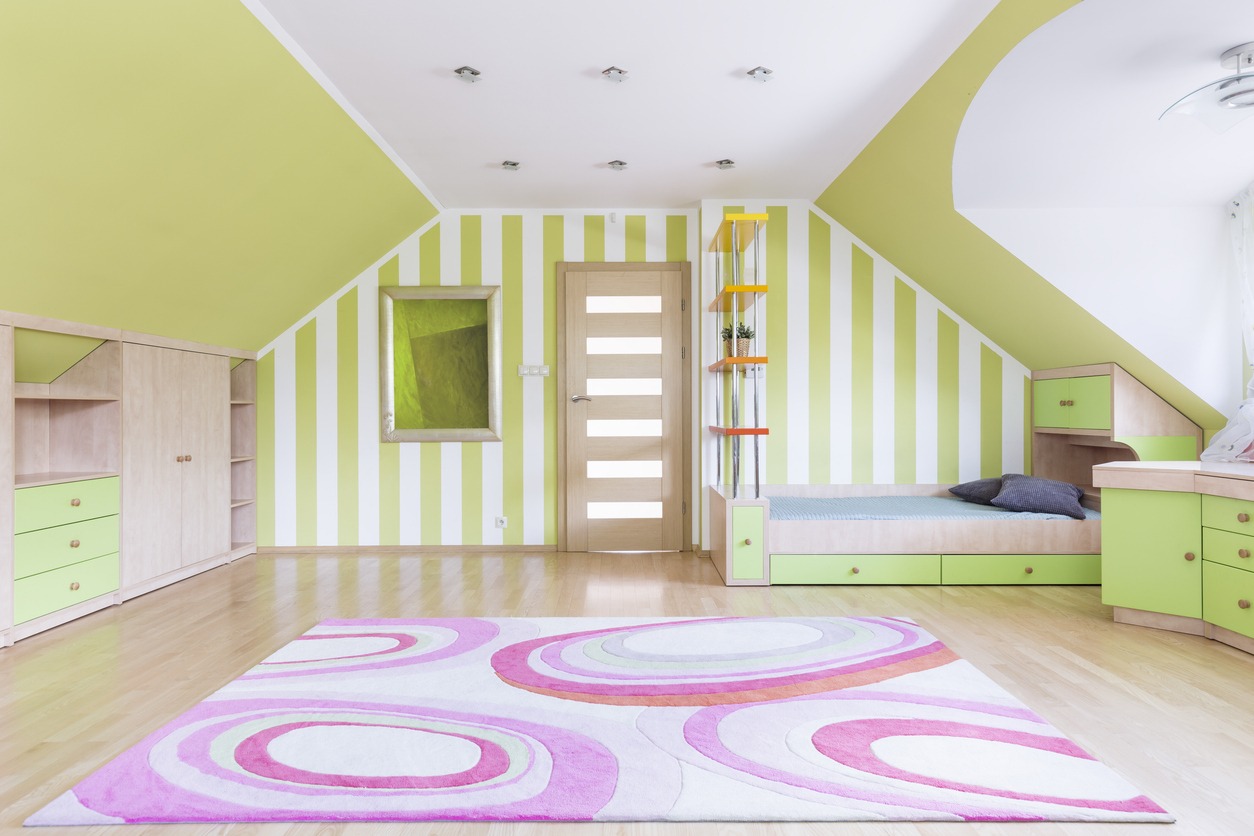
One of the best things about painting your home is that it opens you to endless possibilities. You do not have to limit yourself to painting plain and solid colors on your walls. A plain color may look neat and create a seamless look in your room. However, why won’t you add some design interest to your space by painting crisp decorative stripes on the walls?
You can paint wall stripes in diverse ways. Stripes can be horizontal or vertical, subtle, bold, symmetrical, or mixed. Stripes in a different paint finish can add texture to your space. If you are on a budget but want to make your room more stylish, adding stripes to walls is a fantastic idea.
With the correct tools, patience, and imagination, you can create crisp stripes on walls that will transform your room’s look and feel – in ways you’ve never imagined.
The many ways striped walls can add design interest to your room
Have you ever considered painting stripes on walls? If you haven’t, it’s a great time to do so, especially when you’ve grown tired of your room’s current look. Striped walls can significantly alter the appearance and feel of a room. Here are several ways how:
1. Creating illusions of space
- Vertical stripes – These can make a room appear taller, particularly useful in rooms with low ceilings. The upward lines draw the eye up, giving an impression of increased height.
- Horizontal Stripes – These can make a room appear wider or longer. This effect is beneficial in narrow rooms or hallways, as it can create a sense of more open space.
2. Adding visual interest
- Bold stripes – Thick, bold stripes can create a dramatic focal point, make a statement, and add personality to the room.
- Subtle stripes – Thin or muted stripes can add texture and interest without overwhelming the space. They can also bring a sophisticated touch to the decor.
3. Enhancing color schemes
- Contrasting colors – Using stripes in contrasting colors can make the walls stand out and energize the room.
- Tone-on-Tone Stripes – Stripes in similar hues can create a more subtle, elegant effect, adding depth and richness to the room’s color scheme.
4. Defining zones
- Accentuating features – Stripes can highlight architectural features such as alcoves, fireplaces, or headboards.
- Creating zones – In open-plan spaces, stripes can help define different areas, like separating a living space from a dining area.
5. Setting a mood
- Playful and fun – Bright, multi-colored stripes can create a lively, playful atmosphere, perfect for kids’ rooms or casual spaces.
- Elegant and sophisticated – Monochromatic or neutral stripes can lend a more refined and elegant feel to living rooms or bedrooms.
6. Balancing proportions
- Altering perceptions – You can add stripes strategically to change the perception of a room’s proportions. For example, vertical stripes can balance out a spacious room, making it feel more proportionate.
7. Adding texture
- Visual texture – Even if the walls are smooth, striped patterns can give the illusion of texture and depth, making the room feel more layered and luxurious.
8. Expressing individual style
- Customization: Stripes offer a versatile way to express personal style. Whether through color choice, stripe width, or arrangement (diagonal, chevron, etc.), you can tailor stripes to fit your tastes and preferences.
Incorporating striped walls is a versatile design choice that can transform a room in various ways, from creating the illusion of space to adding a unique personal touch.
Where to paint stripes in your home?
Painting stripes in different areas of your home can create unique focal points and enhance the aesthetic appeal of each space. Here are some suggestions on where to paint stripes in a home:
1. Living room
- Accent wall – Choose one wall as the focal point and paint bold or subtle stripes to draw attention.
- Fireplace wall – Enhance the area around a fireplace with vertical or horizontal stripes to make it stand out.
2. Bedroom
- Behind the headboard – Vertical or horizontal stripes behind the headboard can create a striking backdrop and add depth to the room.
- Ceiling – For a unique touch, consider painting stripes on the ceiling to add interest and a sense of height.
3. Hallways
- Narrow hallways – Horizontal stripes can make narrow hallways feel more spacious.
- End walls – Painting stripes on the end wall of a hallway can create a focal point and draw the eye through the space.
4. Bathroom
- Above wainscoting –If you have wainscoting, paint stripes above it to add a fun and elegant touch.
- Behind mirrors – Stripes behind mirrors or vanity areas can create a sophisticated and stylish look.
5. Dining room
- Entire Room – Consider subtle tone-on-tone stripes throughout the entire dining room for a formal look.
- One wall – An accent wall with bold stripes can add a contemporary and chic vibe to the dining area.
6. Kitchen
- Breakfast nook – Paint stripes in a cozy breakfast nook to delineate the space and add charm.
- Backsplash area – Vertical stripes in the backsplash area can make a small kitchen feel taller and more dynamic.
7. Entryway
- Foyer walls – Create a welcoming entrance by painting stripes in the foyer or entryway.
- Stairwell – Vertical stripes in a stairwell can enhance the height and make the space feel grander.
8. Children’s rooms
- Playroom – Bright and colorful stripes can create a playful and energetic atmosphere in a playroom.
- Nursery – Soft pastel stripes can add a calming and adorable touch to a nursery.
9. Home office
- Accent wall – Stripes can add a professional and stylish touch to a home office, making it feel more inspiring and dynamic.
- Behind Shelves – Add paint stripes behind open shelves to add depth and visual interest to your storage area.
10. Outdoor areas
- Porch or patio walls – Add stripes to exterior walls or fences to create a lively and inviting outdoor space.
- Garden shed – Brighten a garden shed with stripes to make it a charming focal point in your yard.
When choosing where to paint crisp stripes, consider your space’s overall style and function and the effect you want to achieve. Stripes can add elegance, playfulness, or a modern touch, depending on your chosen colors and widths.
How to paint stripes on your wall
Incorporating stripes on your walls seems daunting at first. But if you have the correct tools and follow instructions carefully and faithfully, you’ll be assured of a crisp and beautiful finish.
Before everything else:
It’s crucial to visualize and plan for your stripes before getting to work. Determining your stripe layout and coordinating colors and finishes beforehand allows you to make the process more streamlined.
1. Planning your stripe layout
- Measure and mark: Start the project by measuring the walls where you want to add stripes. Decide on the width and spacing of the stripes. Use a pencil and a level to lightly mark the top and bottom of each stripe on the wall.
- Determine stripe orientation: Decide whether you want horizontal or vertical stripes. Vertical stripes can make the ceiling look higher, while horizontal stripes can make a room appear larger.
2. Picking the right colors and finishes
- Color selection: Choose colors that complement the existing décor of the room. You can use contrasting colors for a bold look or shades of the same color for a more subtle effect.
- Finish types: Decide between matte, satin, or glossy finishes. Combining different finishes (e.g., matte and glossy) can add texture and depth to the stripes.
3. Gathering tools and materials
- Essential tools: Painter’s tape, measuring tape, level, pencil, paintbrushes or rollers, drop cloths, and a paint tray.
- Materials: Paint in chosen colors and finishes, primer (if necessary), and painter’s tape specifically designed for clean lines.
4. How to paint stripes on the wall
- Prepare the wall: Clean the wall to remove any dust or grease. If necessary, apply a base coat of paint. Then, let the paint dry.
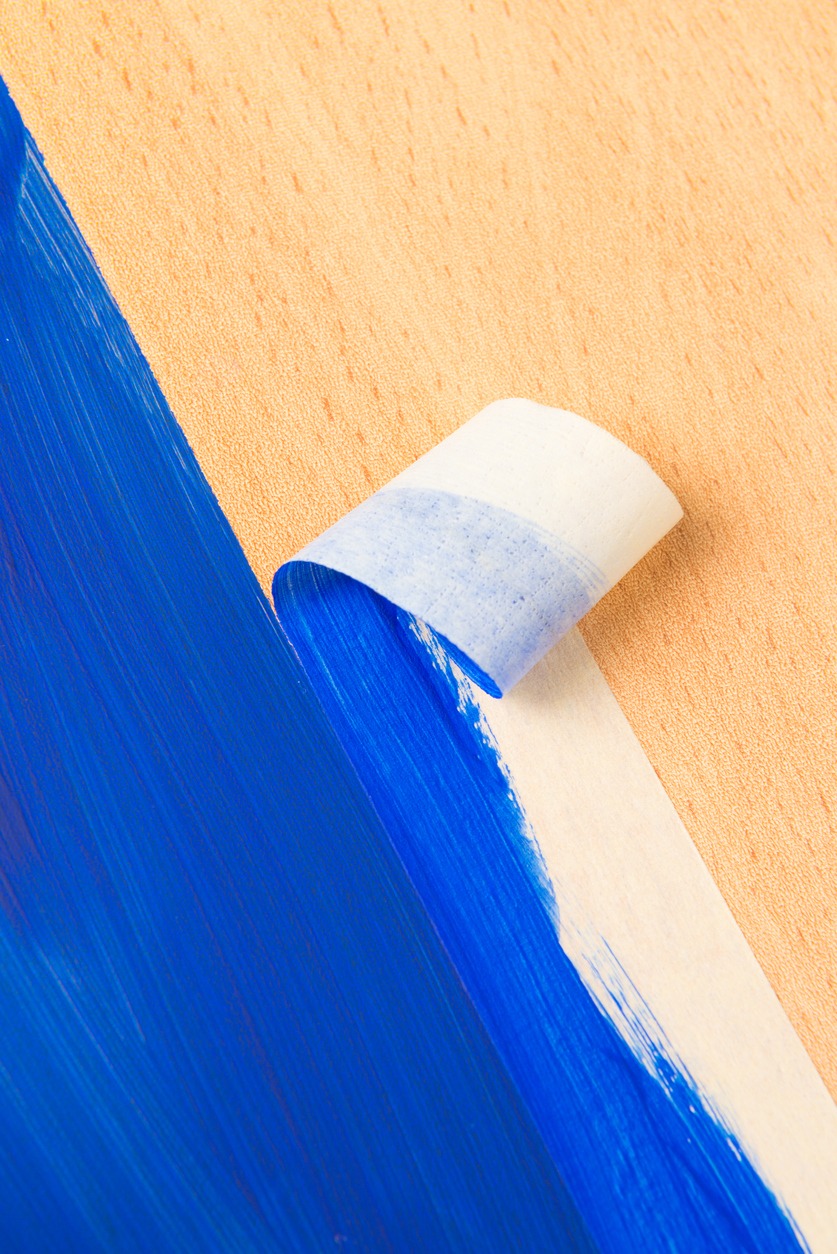
- Tape the stripes: Outline the stripes using painter’s tape. Firmly press down the tape’s edges to prevent paint bleed.
- Painting: Start painting the stripes within the taped areas. Use a roller or brush, depending on the size of the stripes. Apply a second coat if needed, allowing the first coat to dry as per the paint manufacturer’s instructions.
- Remove the tape: Carefully remove the painter’s tape while the paint is still slightly wet to avoid peeling off any paint.
5. Post-paint care and maintenance
- Drying time: Allow the paint to dry completely before touching the walls or moving furniture back.
- Cleaning: Clean any smudges or mistakes with a damp cloth while the paint is fresh.
- Touch-Ups: Keep some extra paint for future touch-ups to maintain the look. Regularly dust the walls to keep them looking fresh.
Following these steps allows you to successfully add crisp stripes to your room, enhancing its visual appeal and giving it a unique touch.
Parting words
Adding visual interest to your home can enhance its aesthetic appeal and make your living space more enjoyable. Consider adding stripes on your walls or other creative painting techniques to bring a fresh and dynamic look to your rooms. These simple yet effective changes can transform the ambiance of your home, making it feel more personalized and stylish.
If you’re ready to elevate your home’s interior with unique and captivating designs, now is the perfect time to take action. Contact Custom Painting, Inc. by phone at 925-294-8062 or add a message on our contact form for a free estimate! We will help you explore the endless possibilities of your space. Our qualified paint experts can help you achieve the perfect look with precision and quality, ensuring your home reflects your style and personality.


