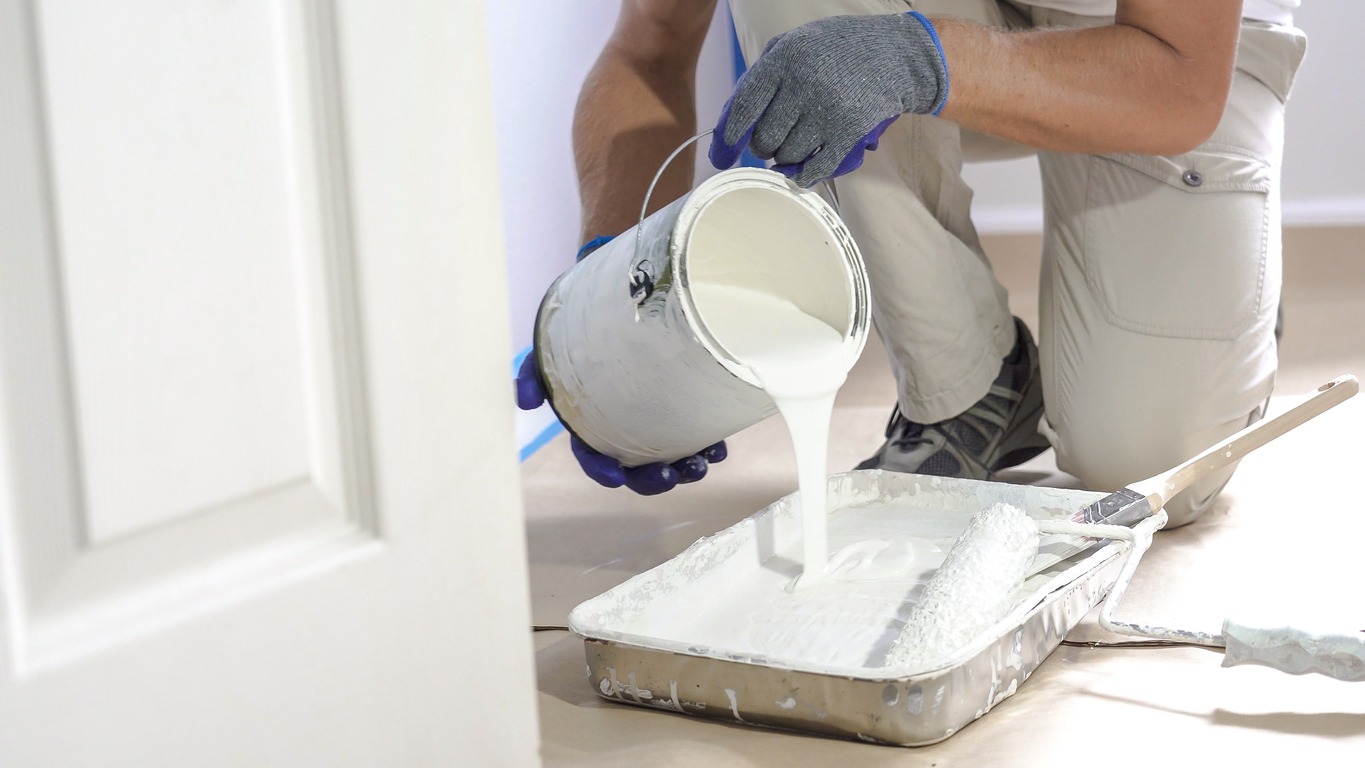
Getting your home painted can be a daunting task. The goal is to have it done right the first time to avoid the hassle of touch-ups and repairs. Proper preparation and attention to detail is essential in achieving a finish that is high-quality and long-lasting. This article will guide you through the key steps to get your residential painting done right the first time.
What are the Tools Needed for Residential Painting?
Having the right tools is needed to achieve a professional-looking paint job in your home. Below are the essential tools you will need for residential painting.
- Paintbrushes: Different sizes and types of brushes are needed for various surfaces and details. A good set includes angled brushes for cutting in and flat brushes for larger areas.
- Rollers: Rollers are ideal for covering large areas quickly. Use different roller covers depending on the texture of your walls and ceilings.
- Painter’s Tape: This tape helps to create clean edges and protect areas that you do not want to paint, like trim and windows.
- Drop Cloths: Protect your floors and furniture with drop cloths. They catch any drips and spills during the painting process.
- Paint Trays: Trays hold your paint and make it easy to load your roller. Use liners to make cleanup easier.
- Ladders: A sturdy ladder is necessary for reaching high places safely. Make sure it is the right height for your needs.
- Sandpaper: Sandpaper is used to smooth surfaces before painting. This helps the paint adhere better and results in a cleaner finish.
- Putty Knife: Use a putty knife to apply a smooth spackle or putty over holes and imperfections in the walls.
- Paint Stirrer: A stirrer helps mix the paint thoroughly to ensure an even color and consistency.
- Safety Gear: Protect yourself with safety gear like gloves, goggles, and masks, especially when sanding or using strong-smelling paints.
Proper Prep Work Before Painting

Proper prep work is a must-have for any painting project. Taking the time to prepare your surfaces can make the painting process smoother and the results longer-lasting. Here are the steps to follow for proper prep work before painting.
Clean the Walls
Start by cleaning your walls to remove any dust, dirt, or grease. Use a mild detergent and water, then rinse with clean water. Let the walls dry completely before you begin painting.
Repair Any Damage
Inspect your walls for any holes, cracks, or dents. Use spackle or putty to fill these areas, and smooth them with a putty knife. Once dry, sand the repairs to ensure they are flush with the wall surface.
Sand the Surfaces
Lightly sand your walls to create a smooth surface for the paint to adhere to. Use fine-grit sandpaper and sand in a circular motion. Wipe away any dust with a damp cloth after sanding.
Tape and Cover
Use painter’s tape to protect areas you don’t want to paint, like trim, windows, and door frames. Cover floors and furniture with drop cloths to protect them from paint splatters and spills.
Prime the Walls
Apply a coat of primer to your walls, especially if you are painting over a dark color or new drywall. Primer helps the paint adhere better and provides a uniform base for your topcoat.
Tips for Painting Surfaces
Painting surfaces can be a straightforward task if you follow the right techniques. Have a look at these tips to help you get the best results when painting different surfaces.
Use the Right Brush or Roller
Choose the appropriate brush or roller for the surface you are painting. Use angled brushes for corners and edges and rollers for large, flat areas. The right tool makes the job easier and gives a better finish.
Apply Thin Coats
Apply paint in thin, even coats instead of thick layers. This helps the paint dry faster and reduces the risk of drips and uneven coverage. Multiple thin coats will give you a smoother and more professional look.
Keep a Wet Edge
When painting, keep a wet edge to avoid lap marks. This means painting in sections and overlapping the edges before the paint dries. This technique ensures a seamless finish.
Paint in Proper Lighting
Good lighting helps you see areas that need more attention. Paint in natural daylight if possible, or use bright artificial lights. This will help you spot missed spots and uneven coverage.
Follow Drying Times
Allow each coat of paint to dry completely before applying the next one. Follow the manufacturer’s instructions for drying times. Rushing the process can lead to poor adhesion and a less durable finish.
Hiring the Best Painters for the Job

Hiring the best painters in your area may be the best option if you don’t have the skills or knowledge to paint different surfaces of your home. Below are tips to help you hire the best painters for the job.
- Check References and Reviews: Look for painters with positive reviews and strong references. Ask for contact information of previous clients to get feedback on their work quality and professionalism.
- Get Multiple Quotes: Obtain quotes from several painting companies to compare prices and services. This helps you understand the market rate and choose a painter that fits your budget.
- Verify Licenses and Insurance: Make sure the painters are licensed and insured. This protects you from liability in case of accidents or damage during the painting process.
- Ask About Experience: Inquire about the painters’ experience with similar projects. Experienced painters are likely to deliver better results and handle any challenges that arise.
- Discuss the Scope of Work: Clearly outline the scope of work with the painter. Discuss details such as preparation, number of coats, and types of paint to be used to avoid misunderstandings.
- Request a Written Contract: Get a written contract that includes all the terms of the job, such as cost, timeline, and payment schedule. This ensures both parties are clear on what to expect.
- Look for Warranties: Ask if the painter offers any warranties on their work. A warranty can give you peace of mind that the job will be done well and any issues will be addressed.
Conclusion
Getting your residential painting done right the first time involves careful planning and proper prep work. By following the steps we provided, you can achieve a beautiful and lasting finish for your home.
- For expert painting services, contact Custom Painting, Inc. at 925-294-8062 or fill out a Contact Form. Our team is ready to help you with your painting needs.

