Here at Custom Painting, Inc., we have a transparent process that ensures every aspect of your home improvement project is handled well. Here is our process:
Initial Consultation:
Our initial consultation can be scheduled over the phone or through our online contact form. During this step, we’ll discuss your needs, preferences, and the scope of the project. This is the best time to share any inspirations or specific ideas you have in mind.
Detailed Project Proposal:
We will give you a detailed project proposal that outlines the costs, timeline, and materials needed based on our consultation. You can review the proposal and make changes that will match your needs. We ensure that you are fully informed and comfortable with the plan before proceeding.
Scheduling and Planning:
Once the proposal is accepted, we will schedule the work according to your convenience and our availability. We handle all the logistics, including ordering materials and coordinating with any other contractors involved in the project.
Project Kick-off:
Our team will prepare the work area to protect your property and minimize disruption to your daily life. This includes covering floors, moving furniture, and setting up necessary safety equipment. You will meet the team working on your project. This helps establish a clear line of communication from the start.
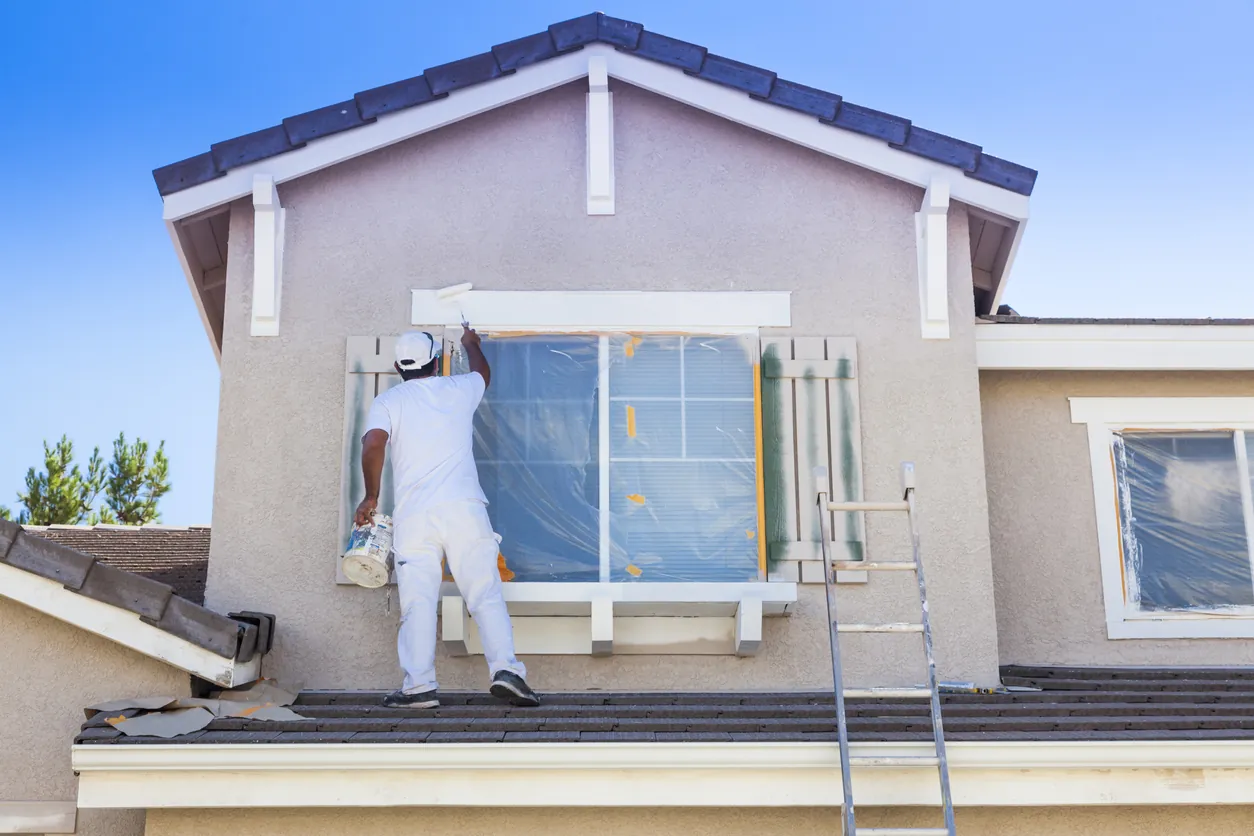
Execution:
Our skilled professionals will carry out the work outlined in the proposal. We maintain high standards of craftsmanship and attention to detail throughout the project. We will keep you updated on the progress and discuss any adjustments or additional decisions that need to be made.
Inspection and Touch-ups:
We conduct a thorough inspection upon completion of the main work to ensure everything is up to our high standards. Any necessary touch-ups or corrections are made to guarantee your complete satisfaction.
Final Walkthrough:
We invite you to inspect our work and provide feedback. Our job is not done until you are completely happy with the outcome. Once you approve the final results, we will ensure the work area is cleaned up and restored to its original state.
Follow-up:
After the project is completed, we reach out to ensure that you are still satisfied with the work and to address any questions you may have post-project. We also provide tips for maintaining the new improvements and extend offers for future service needs.
For home improvement, a team that stands out for its commitment to quality and customer satisfaction is what you need. When you choose Custom Painting, Inc., you are also choosing:
Unmatched Expertise:
We are a team of highly skilled painters and craftsmen with years of experience in the industry. We are up-to-date with the latest techniques and materials through training to keep us at the forefront of the industry.
Quality Materials and Techniques:
We use only high-quality, durable paints and materials that ensure a long-lasting finish and optimal performance. From preparation to the final coat, we employ advanced painting techniques that result in a superior finish.
Personalized Service:
Every home and every client is unique. We provide personalized service that considers your specific needs and vision. We take the time to understand what you want to achieve and offer tailored solutions that bring your ideas to life. Our clients are always informed and involved in decision-making, ensuring there are no surprises.
Reliability and Timeliness:
We respect your time and understand the importance of meeting deadlines. Our project management skills and efficient processes ensure we complete your project on time without compromising quality. Our team also ensures a clean work environment and strives to minimize disruption to your daily routine.
Excellent Customer Feedback:
We are committed to your satisfaction. Our job is not done until you are completely happy with the outcome. We stand behind our work with a satisfaction guarantee.
Comprehensive Services:
Beyond painting, we offer a full spectrum of home improvement services. This means we can be your one-stop shop for all your home enhancement needs, from simple renovations to major remodels.
Comprehensive Services:
Beyond painting, we offer a full spectrum of home improvement services. This means we can be your one-stop shop for all your home enhancement needs, from simple renovations to major remodels.
Community Commitment:
We believe in building lasting relationships with our clients and contributing positively to our community.
Proudly serving the entire Bay area including:
Alamo Antioch, Bay Point, Benicia, Blackhawk, Concord, Danville, Diablo, Dublin, Fremont, Lafayette, Livermore, Milpitas, Moraga, Mountain House, Mountain View, Newark, Orinda, Pleasant Hill, Pleasanton, San Jose, San Ramon, Santa Clara, Sunnyvale, Sunol, Tracy, Union City, Vallejo, and Walnut Creek!
Lead Paint: What You Need to Know
If your property was built before 1978, there is a significant chance it contains lead-based paint. Because lead exposure poses severe health risks, identifying and managing it is a critical safety and legal requirement for any renovation. Professional testing is the first step, where experts use specialized kits to detect lead presence before any surfaces are disturbed.
Once lead is identified, you have several management options. Encapsulation is a cost-effective method involving a special liquid coating that seals the lead paint behind a durable barrier to prevent chipping. Enclosure involves covering the affected surface with new materials like drywall or siding. For a permanent solution, you can choose professional removal, which involves stripping the paint, or complete replacement of components like windows and doors. Any work involving lead must be handled by certified contractors. These professionals use wet sanding, HEPA vacuuming, and strict containment strategies to prevent hazardous dust from spreading, ensuring the environment remains safe.