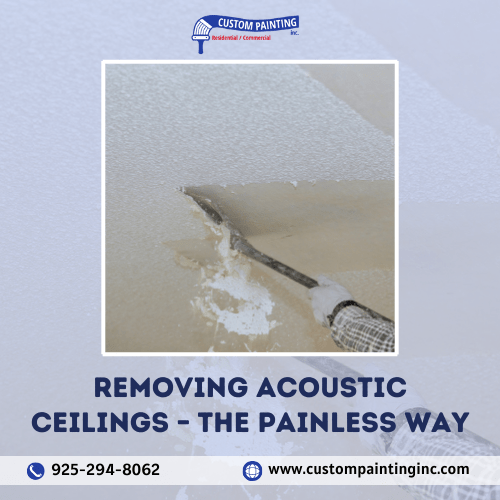
Removing acoustic ceilings can be challenging for many homeowners. Fortunately, advancements in techniques and tools have made the process easier and less messy. This article will provide a step-by-step guide to removing acoustic ceilings painlessly.
The Disadvantages of Acoustic Ceilings
Acoustic ceilings, also known as popcorn ceilings, were once popular for their ability to reduce noise. However, many homeowners now see them as outdated and problematic. Here are the main disadvantages of acoustic ceilings:
- Difficult to Clean: The textured surface traps dust and cobwebs, making cleaning a challenging task.
- Appearance: Many people find the look of popcorn ceilings unattractive and dated.
- Asbestos Risk: Older acoustic ceilings may contain asbestos, which poses health risks if disturbed.
- Lighting Issues: The texture can cast shadows and make rooms appear darker than they are.
- Damage and Repair: Cracks and damage are hard to fix seamlessly on a textured ceiling.
- Allergen Accumulation: The rough surface can collect allergens, which may affect indoor air quality.
Why Would It Be Difficult to Remove Acoustic Ceilings?
Removing acoustic ceilings can be a challenging task for various reasons. Below are some of the difficulties you might encounter when removing them:
Asbestos Risk
Many popcorn ceilings installed before the 1980s contain asbestos, a hazardous material. Disturbing these ceilings without proper safety measures can release harmful asbestos fibers into the air.
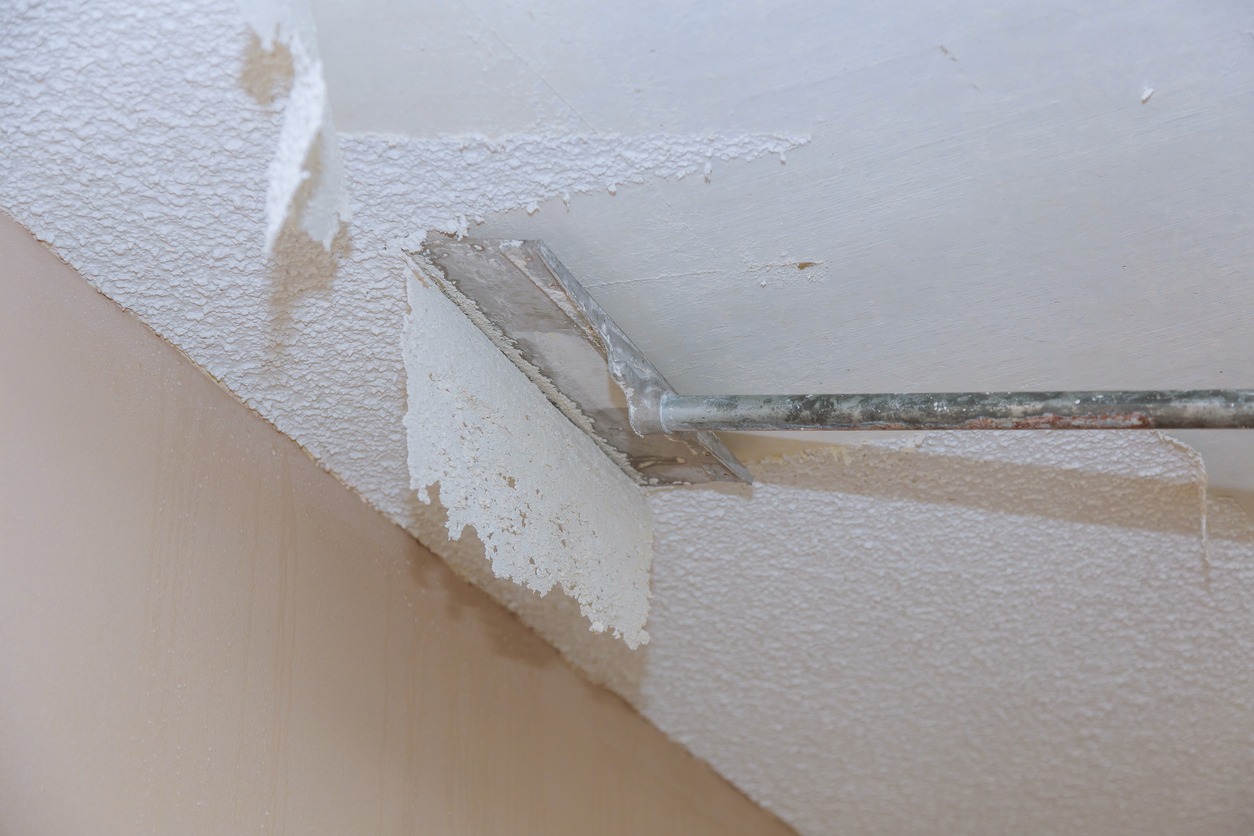
Messy Process
Removing an acoustic ceiling creates a lot of dust and debris. This makes the process extremely messy and requires thorough preparation and cleanup to protect your home and belongings.
Time-Consuming
The removal process can be very time-consuming. It involves spraying the ceiling with water to soften the texture, scraping it off, and then sanding the surface smooth, which can take several days.
Requires Special Tools
Proper removal of popcorn ceilings requires specific tools and equipment. These include protective gear, sprayers, scrapers, and sanders, which you may need to rent or purchase if you don’t already have them.
Potential Ceiling Damage
Scraping off the textured surface can sometimes damage the underlying ceiling. This may lead to additional repairs and surface preparation before the ceiling can be repainted or refinished.
Professional Assistance Needed
Given the complexities and potential hazards involved, many homeowners find it necessary to hire professional contractors. This can add to the overall cost and require a careful selection of experienced professionals.
Hiring Professionals for Acoustic Ceiling Removal
Hiring professionals for acoustic ceiling removal can save you time and effort while ensuring the job is done safely and correctly. Check below for the reasons why you should consider bringing in experts for this task:
Asbestos Expertise
Professionals are trained to handle ceilings that may contain asbestos. They have the necessary safety equipment and know the proper procedures to minimize health risks during removal.
Efficient Process
Experienced contractors can complete the job more quickly and efficiently. They have the right tools and techniques to handle the task, reducing the overall time required for removal.
Quality Results
Professionals ensure that the ceiling is properly prepared for any new treatment. They take care to avoid damaging the underlying structure and provide a clean and smooth surface ready for painting or refinishing.
Mess and Cleanup
Removing an acoustic ceiling is messy work. Professionals manage the dust and debris, ensuring your home is protected during the process and thoroughly cleaned afterward.
Cost-Effective
While hiring professionals involves an upfront cost, it can be more cost-effective in the long run. They help avoid potential damage and additional repairs that can occur with DIY removal, saving you money and hassle.
Finding the Best Professionals for Acoustic Ceiling Removal

Finding the right professionals for acoustic ceiling removal is important to ensure the job is done safely and efficiently. Here are several tips to help you find the best experts for the task:
Check Reviews and References
Start by looking for reviews and testimonials online. Websites like Yelp, Google Reviews, and Angie’s List can provide insights from previous clients.
Positive feedback and high ratings are good indicators of a reliable contractor. Additionally, ask the contractors for references and contact past clients to get a firsthand account of their experience.
Verify Credentials and Experience
Ensure the contractors you consider are licensed and insured. Licensing indicates that they meet industry standards, while insurance protects you in case of accidents.
Experience is crucial for a job like acoustic ceiling removal, especially if there is a risk of asbestos. Ask how long they have been in business and if they have handled projects similar to yours.
Request Detailed Quotes
Get detailed quotes from multiple professionals. A thorough quote should include the cost of labor, materials, and any additional services like cleanup.
Comparing quotes helps you understand the going rate and what you are paying for. Be wary of quotes that are significantly lower than others, as they may indicate lower quality work or hidden fees.
Ask About Tools and Techniques
Inquire about the tools and techniques the contractors use for acoustic ceiling removal. Professionals should have the right equipment to handle the job safely and effectively. Knowing their approach will give you confidence that they will manage the process correctly and avoid damaging your home.
Check Availability and Scheduling
Discuss the project timeline and ensure the contractors are available to work within your desired schedule. Removing acoustic ceilings can be time-consuming, and delays can affect your overall renovation plans. Make sure they can commit to your timeline and have a plan to complete the job on time.
Look for Guarantees and Warranties
Find out if the professionals offer any guarantees or warranties for their work. A reputable company will stand behind its services and provide assurances that the job will be done to your satisfaction. This can give you peace of mind and protection in case any issues arise after the work is completed.
Conclusion
Removing acoustic ceilings can be a straightforward process with the right approach and resources. By understanding the potential challenges and knowing when to hire professionals, you can avoid common pitfalls and achieve a clean look and a safe environment for your home.
For professional assistance with acoustic ceiling removal, Custom Painting, Inc. offers reliable services. Contact us at 925-294-8062 or fill out a Contact Form for more information.